- 0 Facebook
- 1 Pinterest
- 0 Email
- Copy Link
- 1 share
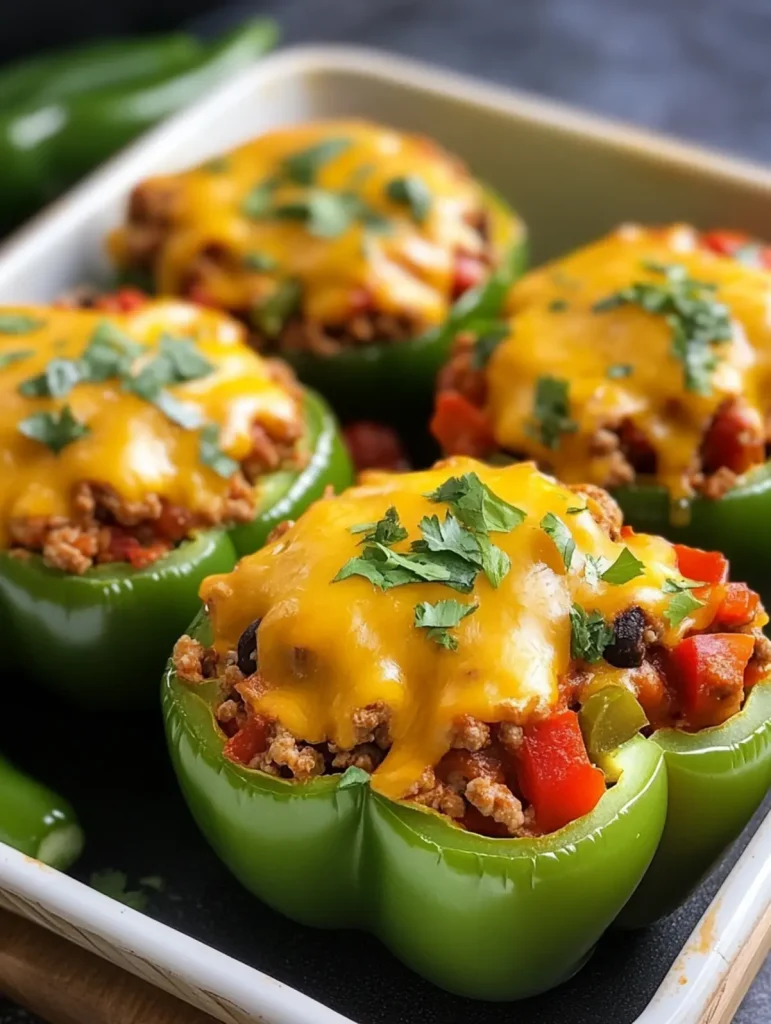
These Hearty Taco Stuffed Bell Peppers transform ordinary ingredients into a vibrant, homemade fiesta of flavors. Tender green bell peppers create perfect edible vessels for a mouthwatering blend of seasoned taco meat, zesty rice, and tomatoes — all crowned with a blanket of melted Mexican cheese that bubbles to golden perfection. The combination delivers all the beloved taco flavors in a nutritious, colorful package that’s substantial enough for dinner yet simple enough for weekday cooking. A dollop of cool sour cream or fresh guacamole makes these stuffed peppers truly restaurant-worthy.
Why You’ll Love This Recipe
These stuffed peppers bring the excitement of taco night with half the mess and double the flavor. Here’s why they deserve a spot in your regular rotation:
- Complete Meal Solution : Each pepper delivers protein, vegetables, and grains in one colorful, self-contained package that eliminates the need for multiple side dishes.
- Meal Prep Champion : These peppers actually taste better the next day as flavors meld, making them perfect for Sunday prep that delivers delicious dinners through midweek.
- Customization Friendly : The basic formula works beautifully with ground beef, turkey, chicken, or even plant-based protein crumbles depending on dietary preferences.
- Heat Control Mastery : Easily adjust the spice level from mild to wild by selecting different taco seasonings and controlling the amount of chilies in the Rotel tomatoes.
- Texture Perfection : The contrast between the slightly crisp pepper shell and the savory, cheesy filling creates that satisfying mouthfeel that makes memorable home-cooked meals.
Ingredient Notes: Building Your Taco Pepper Success
Every component in these Hearty Taco Stuffed Bell Peppers plays a crucial role in creating that perfect balance of flavors and textures that makes this dish so satisfying. Understanding each ingredient helps you make the most of this homemade fiesta.
- Green bell peppers : These vibrant vessels provide a slightly sweet, earthy foundation that stands up beautifully to the bold filling. Choose peppers with firm, glossy skin and even bottoms so they’ll stand upright while baking.
- Taco meat : The protein-packed heart of this recipe brings savory depth and satisfying texture. While ground beef (80/20) offers the most traditional flavor, lean ground turkey or chicken works wonderfully for a lighter option without sacrificing taste.
- Knorr Taco Rice : This convenient seasoned rice blend delivers authentic Mexican flavors and the perfect texture in one step. The pre-measured seasonings ensure consistent results every time, though homemade Mexican rice can be substituted if you prefer controlling the sodium.
- Rotel tomatoes : These canned diced tomatoes with green chilies provide both moisture and a perfect balance of acidity and heat. The “mild” variety works well for family meals, while “hot” can satisfy those who enjoy more spice.
- Shredded Mexican cheese : This blend typically contains cheddar, Monterey Jack, and queso quesadilla for the ultimate melt-factor and authentic flavor. Freshly shredded cheese melts more smoothly than pre-packaged options, which often contain anti-caking agents.
Let’s Cook It
- Preheat your oven to 375°F. Slice the tops off the green bell peppers, then remove the seeds and membranes to create hollow shells that will stand upright.
- Brown the ground meat in a large skillet over medium-high heat, breaking it into crumbles as it cooks. Once no pink remains, drain excess fat if needed — I find keeping just a little bit adds tremendous flavor.
- Stir your favorite taco seasoning into the meat according to package directions, then reduce heat to medium-low and let it simmer for about 5 minutes until the flavors meld together.
- Prepare the Knorr Taco Rice following package instructions. This usually takes about 7 minutes, and you’ll know it’s ready when the rice has absorbed all the liquid but still maintains a slight bite.
- Combine the cooked taco meat, prepared rice, and drained Rotel in a large mixing bowl. Mix thoroughly until everything is evenly distributed throughout the filling.
- Spoon the mixture generously into each prepared bell pepper. Pack it in well but don’t overstuff — you want the peppers to maintain their shape while baking.
- Place the stuffed peppers in a baking dish , sprinkle half the cheese inside each pepper, then top with the remaining cheese. Cover the dish with foil and bake for 25 minutes.
- Remove the foil and bake for an additional 5-10 minutes until the peppers are tender and the cheese turns golden and bubbly. The perfect pepper should yield to a fork but still hold its shape when served.
Make Ahead Options for Taco Stuffed Bell Peppers
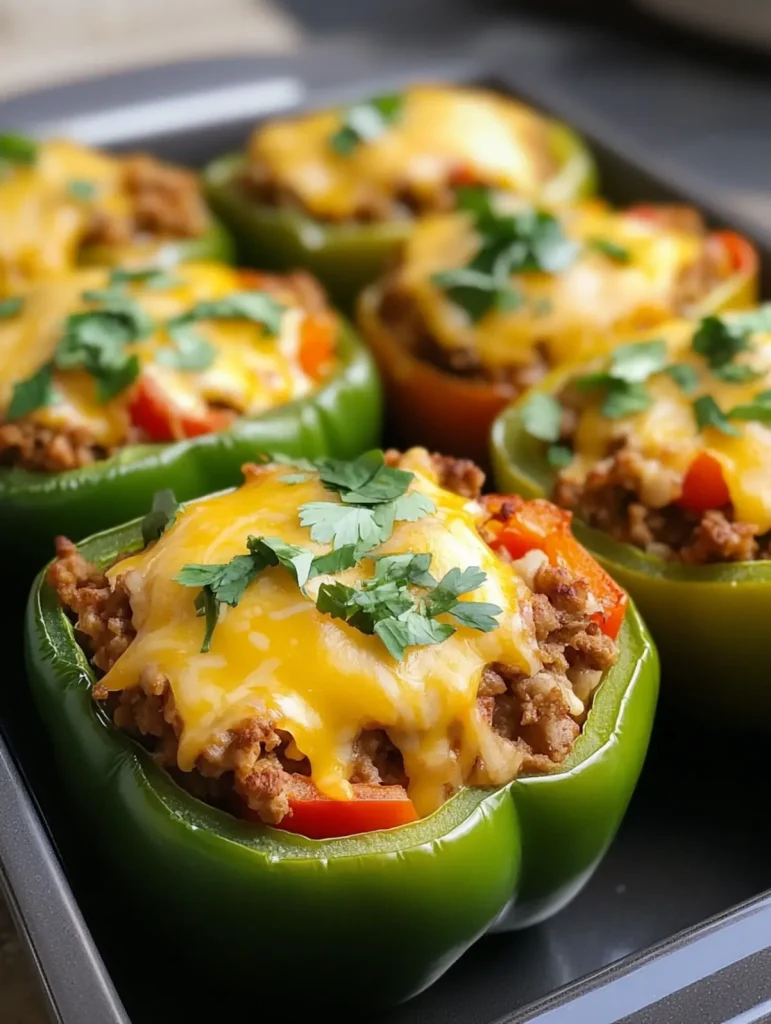
These Taco Stuffed Bell Peppers are a meal prep superstar that actually improves with time! You can prepare the entire filling mixture (taco meat, rice, and Rotel) up to 24 hours in advance and store it covered in the refrigerator — the flavors will meld beautifully overnight. The bell peppers can also be prepped and hollowed out up to 2 days ahead, stored in airtight containers to prevent moisture loss. For ultimate convenience, stuff the peppers completely and refrigerate for up to 24 hours before baking (just add an extra 5-10 minutes to the cooking time if baking straight from cold). When ready to serve, simply top with cheese and bake as directed for a stress-free weeknight dinner that tastes like you spent hours in the kitchen.
Tips for the Best Hearty Taco Stuffed Bell Peppers: A Homemade Fiesta
Master these insider tricks to elevate your Taco Stuffed Bell Peppers from good to unforgettable:
- Pre-bake the peppers : For perfectly tender peppers, I like to bake the empty shells for 10 minutes before stuffing them – this prevents that too-crunchy texture many recipes miss.
- Drain Rotel properly : Press the drained tomatoes with a spoon against the colander to remove excess moisture that could make your filling soggy.
- Layer your cheese strategically : Mixing some cheese into the filling creates pockets of melty goodness, while reserving some for topping ensures that Instagram-worthy cheese pull.
- Rest before serving : Let your stuffed peppers stand for 5 minutes after baking – this helps the filling set and prevents the dreaded “filling avalanche” when you cut into them.
- Choose the right dish : Use a baking dish where peppers fit snugly against each other – this keeps them upright and prevents the rice mixture from spilling during baking.
Serving Suggestions
These Taco Stuffed Bell Peppers are a meal in themselves, but the right accompaniments can transform them from delicious to absolutely unforgettable!
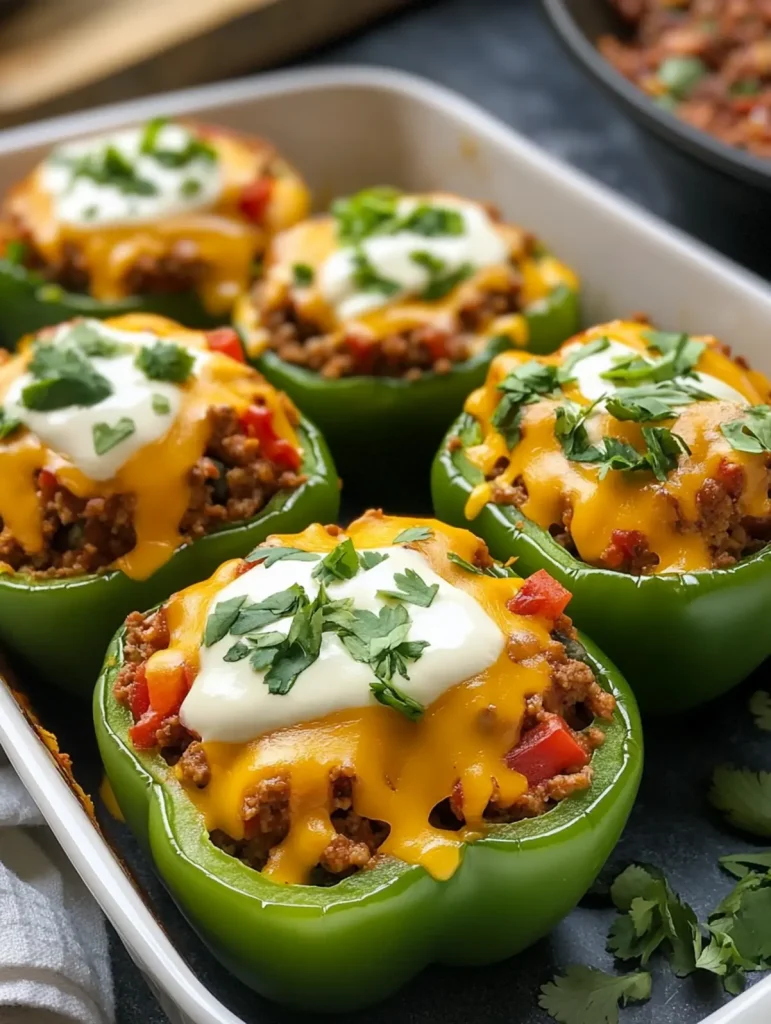
I love serving these colorful pepper boats on individual plates, letting each vibrant green shell shine as the centerpiece. A dollop of sour cream and a sprinkle of fresh cilantro on top adds both visual appeal and a cooling contrast to the zesty filling. For an extra touch of restaurant-quality presentation, add a lime wedge on the side of each plate – that fresh squeeze just before eating brightens all the flavors.
For sides that complement without overwhelming, consider a simple corn and black bean salad dressed with lime juice and a hint of cumin. The sweetness of corn plays beautifully against the savory taco-seasoned meat inside the peppers. If you’re serving a crowd, a basket of warm tortilla chips with fresh pico de gallo makes the meal feel like a complete fiesta. For beverages, nothing beats an ice-cold Mexican beer or a tart margarita to cut through the richness of the cheesy topping.
These stuffed peppers shine as a casual weeknight dinner, but they’re equally impressive for entertaining. When hosting, I arrange them on a large platter surrounded by small bowls of additional toppings like diced avocado, pickled jalapeños, and extra cheese, letting guests customize to their preference. The beauty of these taco-inspired peppers is their ability to feel special without requiring hours in the kitchen!
Storage & Freezing
These Hearty Taco Stuffed Bell Peppers are excellent candidates for meal prep and freezing, allowing you to enjoy your homemade fiesta any time with minimal effort. Proper storage is key to maintaining their delicious flavors and textures.
For refrigeration, allow the peppers to cool completely before transferring to an airtight container. They’ll keep beautifully in the refrigerator for up to 4 days. I’ve found the flavors actually intensify overnight as the seasonings meld together, making these stuffed peppers even more delicious the next day!
To freeze, wrap each cooled pepper individually in aluminum foil, then place in a freezer-safe zip-top bag with the air pressed out. These will maintain their quality for up to 3 months in the freezer. The rice and taco meat freeze exceptionally well, though the peppers may soften slightly upon thawing.
For reheating refrigerated peppers, microwave them for 2-3 minutes or bake at 350°F for about 15-20 minutes until heated through. For frozen peppers, thaw overnight in the refrigerator first, then reheat as above, adding an extra 5-10 minutes to the baking time. Sprinkle with a little fresh cheese before reheating to revive that gooey, melty topping that makes these peppers so irresistible.
Variations & Substitutions
Don’t feel locked into the exact recipe! These stuffed peppers are incredibly versatile and perfect for adapting to what you have on hand or your dietary preferences.
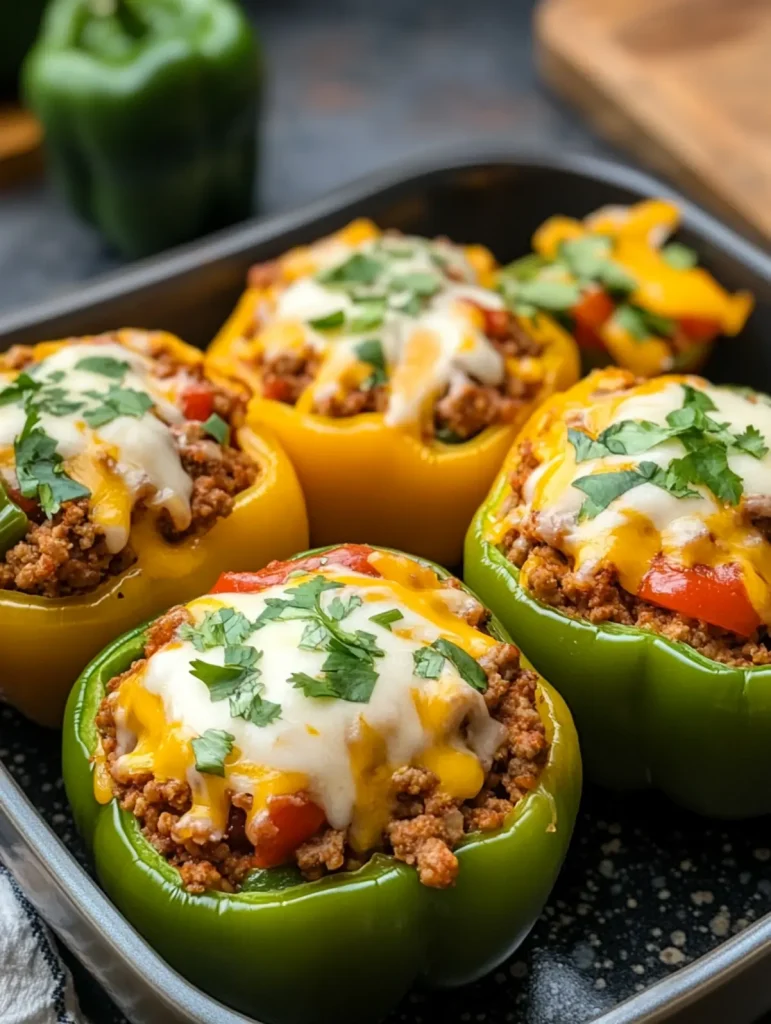
- Colorful pepper options: Swap green bell peppers for red, yellow, or orange varieties for a sweeter flavor profile and beautiful presentation when serving guests.
- Make it vegetarian: Replace the taco meat with a combination of black beans and corn, or use plant-based crumbles seasoned with the same taco spices for a meatless version that’s just as satisfying.
- Rice alternatives: I sometimes substitute cauliflower rice or quinoa for the Knorr Taco Rice when I’m looking for a lower-carb or higher-protein option – just add your own taco seasoning to maintain that authentic flavor.
- Cheese choices: While Mexican blend provides classic flavor, pepper jack adds a nice kick, and dairy-free shreds work beautifully for those avoiding dairy without sacrificing that essential melty topping.
- Spice it up or down: Customize the heat level by using mild, medium, or hot taco seasoning, and control additional spice by choosing different varieties of Rotel – from mild to habanero depending on your family’s preferences.
- Add hidden veggies: Finely diced zucchini, carrots, or mushrooms blend seamlessly into the meat mixture, boosting nutrition without changing the taco flavor profile that everyone loves.
Recipe FAQs
Can I use red or yellow bell peppers instead of green? Yes! Sweeter flavor that complements the taco filling.
What can I substitute for Knorr Taco Rice? Plain rice mixed with extra taco seasoning works perfectly.
Do I need to pre-cook the bell peppers? No, they’ll cook perfectly in the specified baking time.
Can I make these vegetarian? Replace taco meat with seasoned black beans or plant-based crumbles.
How do I know when the peppers are done? They should be tender but still hold their shape.
Can I freeze these stuffed peppers? Yes! Freeze individually wrapped for up to three months.
- 0 Facebook
- 1 Pinterest
- 0 Email
- Copy Link
- 1 share
Hearty Taco Stuffed Bell Peppers: A Homemade Fiesta
Ingredients
Instructions
Preheat your oven to 375°F. Slice the tops off the green bell peppers, then remove the seeds and membranes to create hollow shells that will stand upright.
Brown the ground meat in a large skillet over medium-high heat, breaking it into crumbles as it cooks. Once no pink remains, drain excess fat if needed — I find keeping just a little bit adds tremendous flavor.
Stir your favorite taco seasoning into the meat according to package directions, then reduce heat to medium-low and let it simmer for about 5 minutes until the flavors meld together.
Prepare the Knorr Taco Rice following package instructions. This usually takes about 7 minutes, and you’ll know it’s ready when the rice has absorbed all the liquid but still maintains a slight bite.
Combine the cooked taco meat, prepared rice, and drained Rotel in a large mixing bowl. Mix thoroughly until everything is evenly distributed throughout the filling.
Spoon the mixture generously into each prepared bell pepper. Pack it in well but don’t overstuff — you want the peppers to maintain their shape while baking.
Place the stuffed peppers in a baking dish, sprinkle half the cheese inside each pepper, then top with the remaining cheese. Cover the dish with foil and bake for 25 minutes.
Remove the foil and bake for an additional 5-10 minutes until the peppers are tender and the cheese turns golden and bubbly. The perfect pepper should yield to a fork but still hold its shape when served.
Notes
Pre-bake the peppers : For perfectly tender peppers, I like to bake the empty shells for 10 minutes before stuffing them – this prevents that too-crunchy texture many recipes miss.
Drain Rotel properly : Press the drained tomatoes with a spoon against the colander to remove excess moisture that could make your filling soggy.
Layer your cheese strategically : Mixing some cheese into the filling creates pockets of melty goodness, while reserving some for topping ensures that Instagram-worthy cheese pull.
Rest before serving : Let your stuffed peppers stand for 5 minutes after baking – this helps the filling set and prevents the dreaded ‘filling avalanche’ when you cut into them.
Choose the right dish : Use a baking dish where peppers fit snugly against each other – this keeps them upright and prevents the rice mixture from spilling during baking.
Nutrition
| Serving Size | 1 stuffed pepper |
|---|---|
| Calories | 350 calories |
| Sugar Content | 2g |
| Sodium Content | 800mg |
| Fat Content | 20g |
| Saturated Fat Content | 10g |
| Unsaturated Fat Content | 8g |
| Trans Fat Content | 0g |
| Carbohydrate Content | 30g |
| Fiber Content | 4g |
| Protein Content | 20g |
| Cholesterol Content | 60mg |