- 0 Facebook
- 0 Pinterest
- 5 Email
- Copy Link
- 5 shares
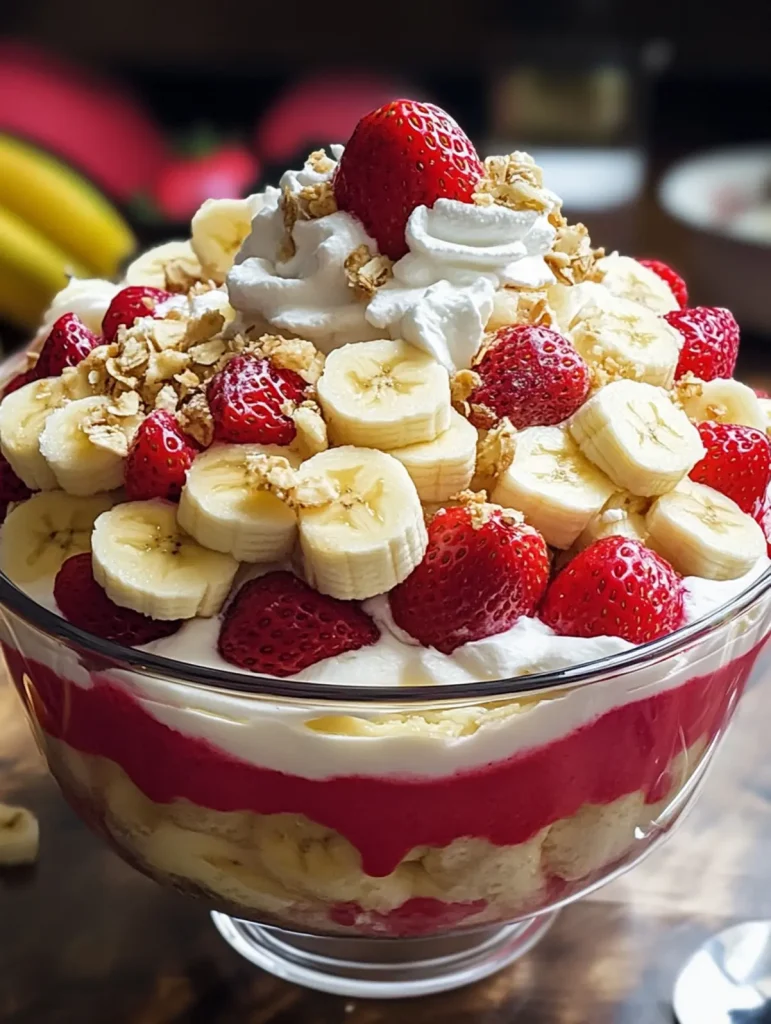
This classic strawberry banana pudding dream takes the nostalgic comfort of traditional banana pudding and elevates it with sweet-tart slices of fresh strawberries. Layers of creamy vanilla pudding, cloud-like whipped topping, and crunchy vanilla wafers create a dessert with delightful textural contrast in every spoonful. The bright colors of red strawberries and yellow bananas make this an eye-catching centerpiece that’s as beautiful as it is delicious. For an extra special presentation, serve in a glass trifle dish to showcase the gorgeous layered effect.
Why You’ll Love This Recipe
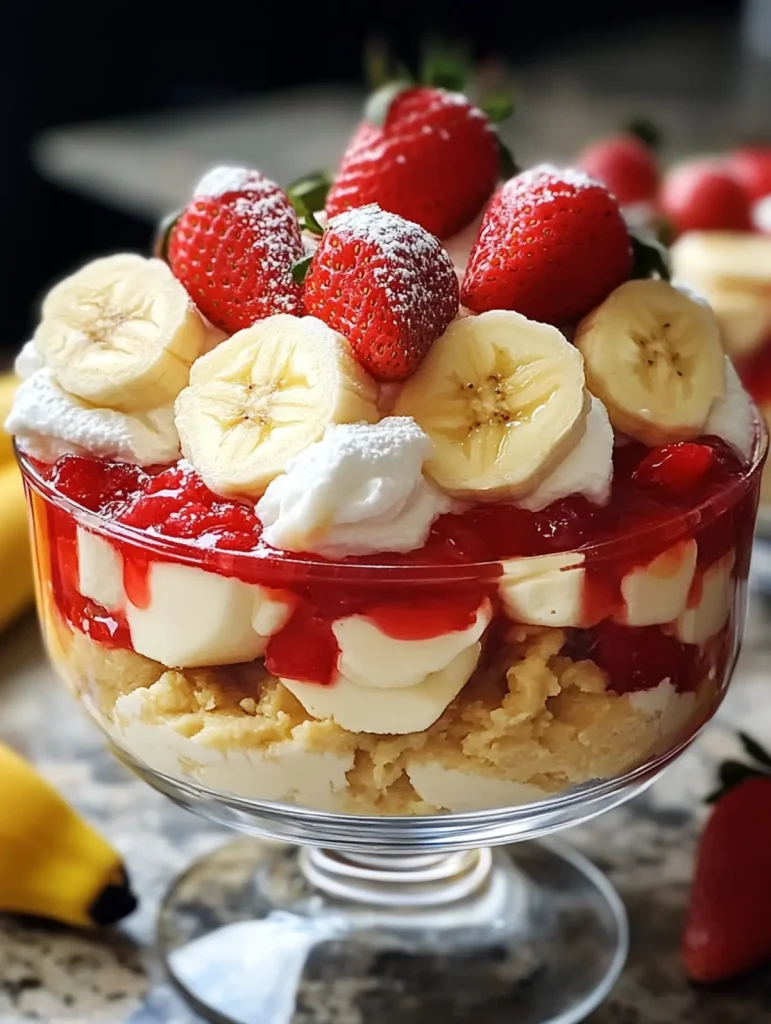
This Strawberry Banana Pudding Dream combines classic comfort with impressive presentation, making it perfect for both casual family desserts and special occasions.
- No-Bake Simplicity : Assemble this showstopper dessert in just 20 minutes with zero oven time, perfect for warm weather entertaining or last-minute gatherings.
- Make-Ahead Magic : Prepare this pudding dream up to 24 hours in advance, allowing the flavors to meld while the wafers soften to cake-like perfection.
- Budget-Friendly Elegance : Transform simple pantry staples and fresh fruit into a dessert that looks professionally crafted without breaking the bank.
- Crowd-Pleasing Versatility : The familiar flavor profile appeals to both children and adults, while the presentation elevates it beyond ordinary pudding cups.
- Texture Symphony : Each spoonful delivers the perfect balance of creamy pudding, pillowy whipped topping, softened wafers, and fresh fruit for an extraordinary mouthfeel experience.
- Customization Potential : Adapt this flexible recipe by adding chocolate drizzle, substituting seasonal berries, or creating individual parfait portions for personalized serving options.
Ingredient Breakdown with Tips
The secret to creating a truly exceptional Strawberry Banana Pudding Dream lies in understanding how each ingredient contributes to the finished dessert. From providing structure to adding sweetness and creaminess, every component plays a crucial role in creating those magical layers of flavor and texture.
- Vanilla wafers : These crisp, sweet cookies form the foundation of the dessert, gradually softening as they absorb moisture from the pudding. Choose name-brand cookies like Nilla Wafers for consistent quality and superior texture transformation during chilling.
- Bananas : Select bananas that are yellow with slight green tips for perfect ripeness—they’ll continue to soften in the dessert. Slice them about ¼-inch thick for ideal texture and toss with a small amount of lemon juice to prevent browning if not assembling immediately.
- Strawberries : Look for bright red berries with minimal white shoulders for maximum sweetness and vibrant color throughout your Strawberry Banana Pudding Dream. Hull and slice them uniformly (about ¼-inch thick) to ensure consistent flavor distribution across each serving.
- Milk : Whole milk creates the richest pudding texture, though 2% works well for a lighter version. For extra creaminess and flavor depth, professional pastry chefs sometimes substitute a portion of the milk with half-and-half.
- Instant vanilla pudding mix : This time-saving ingredient provides consistent thickening power and sweet vanilla flavor. For a homemade alternative, substitute with 2 cups of scratch-made vanilla custard prepared with real vanilla bean for enhanced flavor complexity.
- Whipped topping : This stabilized whipped cream alternative maintains its structure beautifully in layered desserts. For a more artisanal approach, substitute homemade whipped cream stabilized with 1-2 tablespoons of softened cream cheese or mascarpone for similar durability with enhanced richness.
Let’s Cook It
- Layer the bottom of a large trifle dish or 9×13 baking dish with vanilla wafers, arranging them in a single layer to create a sturdy base. I like to place a few wafers around the sides of clear dishes too—it creates such a beautiful presentation!
- Scatter half of the sliced bananas over the wafer layer, then add half of the sliced strawberries in an even layer. The bright red strawberries create gorgeous color contrast against the creamy layers.
- Whisk the instant vanilla pudding mix with the cold milk in a large bowl for about 2 minutes until it begins to thicken. Be thorough with your whisking to avoid any powder lumps in the final dessert.
- Fold in half of the whipped topping into the pudding mixture using a rubber spatula with gentle, sweeping motions. This technique keeps the mixture light and airy while creating a perfectly smooth consistency.
- Spread half of the pudding mixture over the fruit layer, taking care to reach all the way to the edges of the dish. The pudding will continue to set as it chills.
- Repeat the layering process—wafers, remaining bananas and strawberries, and the rest of the pudding mixture—finishing with a final layer of the remaining whipped topping.
- Garnish the top with a few crushed vanilla wafers and sliced strawberries for a professional finishing touch.
- Refrigerate for at least 3 hours before serving, though overnight is even better as it allows the wafers to soften perfectly and the flavors to fully meld together.
Variations & Substitutions
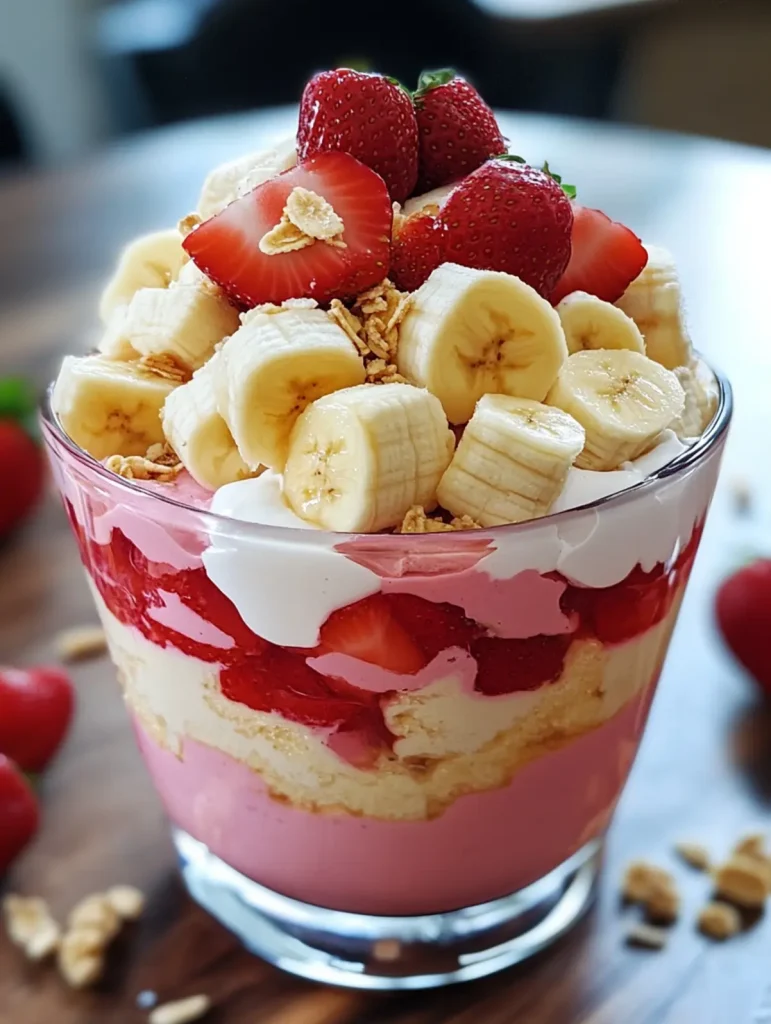
Don’t be afraid to make this Strawberry Banana Pudding Dream your own! The classic recipe is delicious as written, but there’s plenty of room to customize based on what you have on hand or your flavor preferences.
- Berry bonanza : Swap strawberries for raspberries, blueberries, or blackberries—or use a combination for a beautiful mixed berry version. Each berry brings its own unique flavor profile to complement the creamy pudding.
- Cookie alternatives : No vanilla wafers? Graham crackers, shortbread cookies, or even ladyfingers make excellent substitutions. I’ve even used crushed butter cookies when in a pinch, and they create a decadent, rich base.
- Pudding variations : Change the entire character of this dessert by using chocolate, cheesecake, or banana cream pudding mix instead of vanilla. For a truly luxurious twist, try using French vanilla pudding for extra richness.
- Make it dairy-free : Use almond milk or oat milk with dairy-free instant pudding mix and coconut whipped topping. This creates a surprisingly authentic flavor while accommodating dairy sensitivities.
- Add a little crunch : Sprinkle chopped toasted pecans or walnuts between layers for added texture contrast. The subtle nuttiness pairs beautifully with both the fruit and creamy elements.
- Fancy it up : For special occasions, add a drizzle of caramel sauce between layers or a splash of rum or banana liqueur to the pudding mixture for sophisticated depth of flavor.
Serving Suggestions
This Strawberry Banana Pudding Dream is a showstopper dessert that deserves a special presentation to match its delightful flavors and textures.
For casual family gatherings, I love serving this dessert in individual glass trifle cups or mason jars – the clear glass showcases those beautiful layers and lets everyone enjoy their own personal portion. Top each serving with a fresh strawberry and a vanilla wafer for an elegant finishing touch.
When entertaining guests, pair this dreamy dessert with a complementary beverage like chilled Prosecco, a creamy coffee liqueur, or even a simple cup of freshly brewed coffee with vanilla notes. The contrast between the cold, creamy pudding and a warm beverage creates a wonderfully balanced dessert experience.
This pudding dream works beautifully as the sweet finale to a summer barbecue, baby shower, or potluck dinner. For an extra special touch, set up a “pudding bar” with small dishes of additional toppings like toasted coconut flakes, chocolate shavings, or crushed nuts that guests can sprinkle over their servings to customize their Strawberry Banana Pudding Dream experience.
Make Ahead Options
This Strawberry Banana Pudding Dream is an absolute lifesaver for busy home cooks and party planners! You can assemble the entire dessert up to 24 hours in advance, which actually improves the final result as the vanilla wafers soften to cake-like perfection and all the flavors meld beautifully together. To prevent the bananas from browning, toss the sliced bananas with a tablespoon of lemon juice before layering. Store the completed dessert covered tightly in the refrigerator for up to 3 days , keeping those gorgeous layers intact. When ready to serve, simply add any final garnishes like fresh strawberry slices or crushed wafers, and you’ll have a restaurant-quality dessert with minimal last-minute effort!
Storage & Freezing
This Strawberry Banana Pudding Dream keeps beautifully in the refrigerator for up to 3 days when stored in an airtight container or tightly covered with plastic wrap. The flavors actually continue to develop and meld overnight, making this the perfect make-ahead dessert for gatherings. For best presentation, try to keep the distinct layers intact when scooping out portions.
Freezing this dessert isn’t recommended due to the way the fresh fruits and dairy components react to freezing and thawing. The bananas and strawberries will release excess moisture when thawed, and the creamy pudding texture can become grainy or separated. I’ve tried freezing similar desserts before, and the result is never as delightful as the fresh version.
For make-ahead convenience, consider preparing the components separately up to a day in advance—slice the strawberries, prepare the pudding mixture with whipped topping folded in, and store them in separate containers. Then simply assemble the layers about 3-6 hours before serving to allow the wafers time to soften while maintaining the optimal texture and freshness of the fruits.
Expert Tips
Make these expert shortcuts and upgrades to create the perfect Strawberry Banana Pudding Dream every time:
- Banana ripeness matters : Choose bananas with slight green tips for layering—they’ll maintain their shape and continue to soften perfectly as the pudding chills.
- Prevent fruit browning : I like to dip banana slices in diluted lemon juice (1 part juice to 3 parts water) before layering to keep them looking fresh in your Strawberry Banana Pudding Dream.
- Chill the mixing bowl : Refrigerate your bowl for 10 minutes before whisking the milk and pudding mix—cold ingredients set faster and create a smoother pudding consistency.
- Create clear layers : Use the back of a spoon to gently spread the pudding mixture to the edges of your dish without disturbing the fruit and wafer layers beneath.
- Texture transformation : For the perfect wafer softness, refrigerate at least 6 hours—the vanilla wafers need time to absorb moisture and transform into that cake-like texture everyone loves.
Recipe FAQs
Can I use fresh strawberries that are frozen? Thaw and drain thoroughly first.
How ripe should the bananas be? Yellow with slight green tips works best.
Can I make this pudding dream ahead? Yes, overnight makes flavors meld perfectly.
Is homemade whipped cream an option? Yes, stabilize with cream cheese for structure.
What if I don’t have a trifle dish? Any 9×13 baking dish works beautifully.
Can I substitute sugar-free pudding mix? Absolutely, it sets just as well.
- 0 Facebook
- 0 Pinterest
- 5 Email
- Copy Link
- 5 shares
Irresistible Strawberry Banana Pudding Dream You'll Crave
Ingredients
Instructions
- Layer
the bottom of a large trifle dish or 9×13 baking dish with vanilla wafers, arranging them in a single layer to create a sturdy base.
- Scatter
half of the sliced bananas over the wafer layer, then add half of the sliced strawberries in an even layer.
- Whisk
the instant vanilla pudding mix with the cold milk in a large bowl for about 2 minutes until it begins to thicken.
- Fold
in half of the whipped topping into the pudding mixture using a rubber spatula.
- Spread
half of the pudding mixture over the fruit layer.
- Repeat
the layering process with the remaining ingredients.
- Garnish
the top with a few crushed vanilla wafers and sliced strawberries.
- Refrigerate
for at least 3 hours before serving.
Notes
Banana ripeness matters : Choose bananas with slight green tips for layering.
Prevent fruit browning : Dip banana slices in diluted lemon juice before layering.
Chill the mixing bowl : Refrigerate your bowl for 10 minutes before whisking the milk and pudding mix.
Create clear layers : Use the back of a spoon to gently spread the pudding mixture.
Texture transformation : Refrigerate for at least 6 hours for optimal wafer softness.
Nutrition
| Serving Size | 1 cup |
|---|---|
| Calories | 250 calories |
| Sugar Content | 15g |
| Sodium Content | 150mg |
| Fat Content | 8g |
| Saturated Fat Content | 4g |
| Unsaturated Fat Content | 3g |
| Trans Fat Content | 0g |
| Carbohydrate Content | 38g |
| Fiber Content | 1g |
| Protein Content | 3g |
| Cholesterol Content | 15mg |