- 0 Facebook
- 16 Pinterest
- 54 Email
- Copy Link
- 70 shares
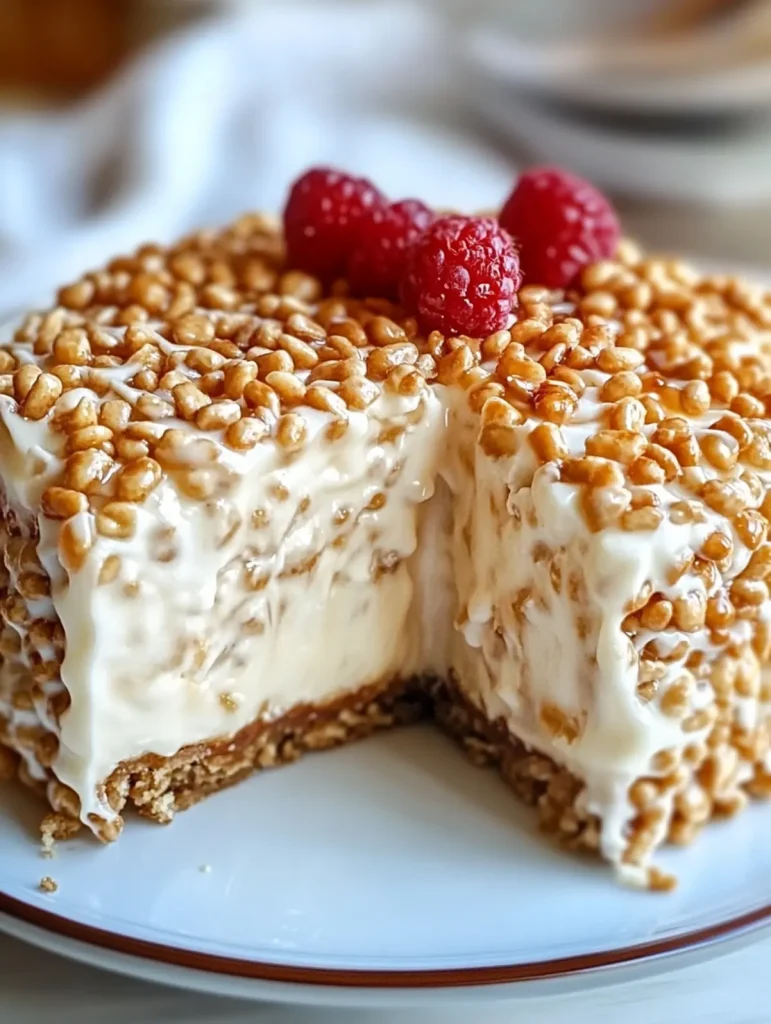
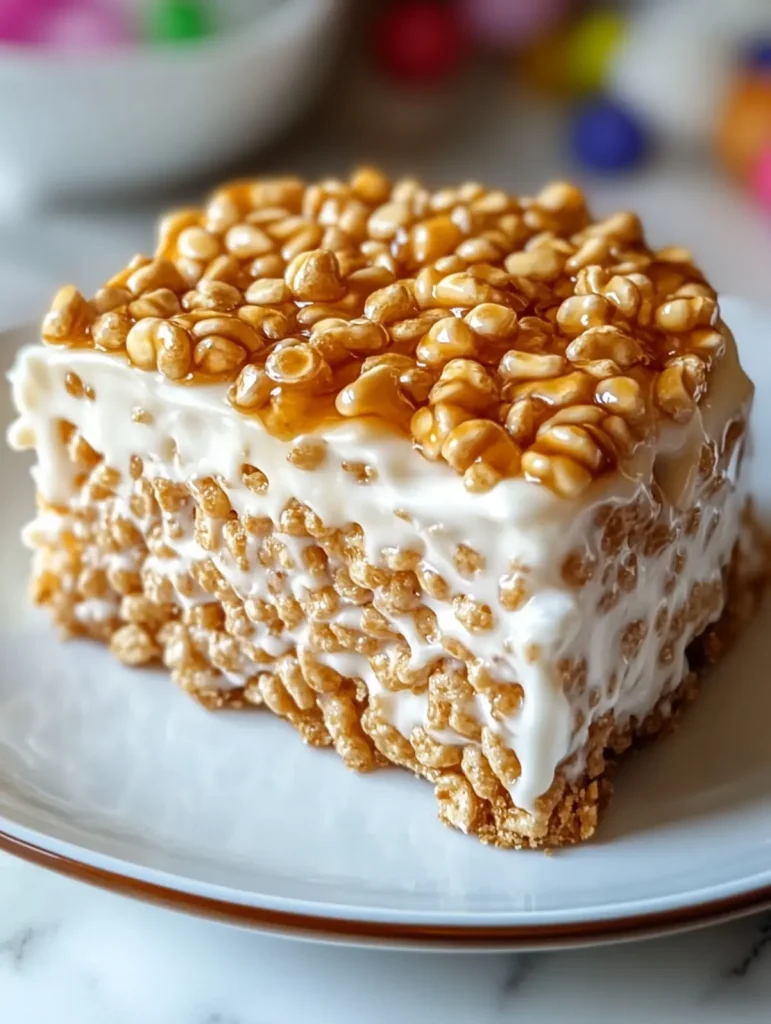
This Rice Krispie Treat Cheesecake brilliantly transforms childhood nostalgia into sophisticated indulgence. The creamy, velvety cheesecake filling merges perfectly with the crispy, marshmallow-infused cereal base—creating an irresistible textural contrast in every bite. Golden butter and fluffy marshmallows give the cereal layer that classic sticky-sweet character, while the rich cream cheese layer gets lightened with whipped cream and a hint of vanilla. Serve this show-stopping dessert chilled with a swirl of Marshmallow Fluff on top and watch as guests reconnect with their favorite childhood treat in an entirely grown-up way.
Why You’ll Love This Recipe
This fusion dessert combines the best of both worlds into one unforgettable treat that’s surprisingly simple to create.
- Texture Perfection : The crispy, chewy Rice Krispie base creates a delightful contrast with the silky-smooth cheesecake layer that simply can’t be achieved with traditional graham crusts.
- No-Bake Simplicity : This showstopper requires zero oven time, making it perfect for summer entertaining or when you need an impressive dessert without heating up the kitchen.
- Make-Ahead Marvel : The flavors actually develop and improve after 4-6 hours in the refrigerator , making this the ideal stress-free dessert for planned gatherings.
- Customization Canvas : The basic recipe welcomes creative touches like chocolate drizzles, sprinkles, or seasonal fruit toppings that transform it for any occasion or flavor preference.
- Conversation Starter : Every time this dessert is served, it sparks joyful discussions about childhood treats while satisfying sophisticated adult palates—the perfect dessert compromise.
Ingredient Notes
The perfect Rice Krispie Treat Cheesecake depends on selecting the right ingredients and understanding how they work together. Each component plays a crucial role in creating that nostalgic crunch paired with creamy indulgence.
- Unsalted butter (1 stick) : Forms the rich foundation of the Rice Krispie base. Using unsalted butter allows you to control the sweetness level and produces a cleaner flavor than salted varieties.
- Mini marshmallows (10 oz bag) : These melt more quickly and evenly than regular marshmallows, creating that perfect gooey binding texture. For extra flavor dimension, try toasting a few marshmallows before melting.
- Rice Krispies cereal (8 cups) : The star of the crust that provides the signature snap, crackle, and pop texture. Always use fresh cereal for maximum crispiness—stale Rice Krispies will create a softer, less satisfying base.
- Heavy cream (1 cup, chilled) : Whipping chilled heavy cream creates air bubbles that lighten the cheesecake filling. For best results, chill your mixing bowl and beaters beforehand to achieve maximum volume.
- Cream cheese (16 oz, softened) : The foundation of any great cheesecake. Full-fat cream cheese delivers superior creaminess and stability—avoid low-fat versions which contain more water and can make your filling runny.
- Confectioners’ sugar (1/2 cup) : Dissolves seamlessly into the filling for sweetness without graininess. Sift it first to prevent lumps and ensure a silky-smooth texture.
- Marshmallow Fluff (3/4 cup) : This ready-made marshmallow cream adds authentic marshmallow flavor while helping stabilize the filling. Can’t find it? Substitute with melted, cooled marshmallows, though the texture will be slightly different.
- Pure vanilla extract (1 teaspoon) : Enhances all the other flavors while adding subtle warmth and depth. Always choose pure extract over imitation for noticeably better flavor in no-bake desserts where every subtle note matters.
Let’s Cook It
- Melt the unsalted butter in a large pot over medium-low heat until completely liquid. Add the mini marshmallows and stir constantly until they’re fully melted and the mixture is smooth and glossy—about 4-5 minutes.
- Remove from heat and immediately add the Rice Krispies cereal, folding gently but thoroughly with a silicone spatula until every piece is coated. I find using a buttered spatula helps prevent sticking during this step.
- Press about two-thirds of the Rice Krispie mixture firmly into a 9-inch springform pan to create the crust, extending it about 1 inch up the sides. Reserve the remaining mixture for the topping. Allow the crust to cool completely while preparing the filling.
- Whip the chilled heavy cream in a cold bowl until stiff peaks form, then set aside. In a separate large bowl, beat the softened cream cheese until completely smooth and free of lumps—this usually takes about 2 minutes.
- Add the confectioners’ sugar, Marshmallow Fluff, and vanilla extract to the cream cheese. Beat on medium speed until the mixture is well combined and silky smooth, scraping down the sides of the bowl as needed.
- Gently fold the whipped cream into the cream cheese mixture using a spatula, being careful not to deflate the air bubbles that will give your cheesecake its light texture. Continue folding until no white streaks remain.
- Pour the cheesecake filling over the cooled Rice Krispie crust, spreading it evenly. Break the reserved Rice Krispie mixture into small clusters and arrange them decoratively around the edges of the cheesecake.
- Refrigerate for at least 4 hours or overnight until the cheesecake is completely set. When ready to serve, carefully remove the sides of the springform pan for that perfect presentation.
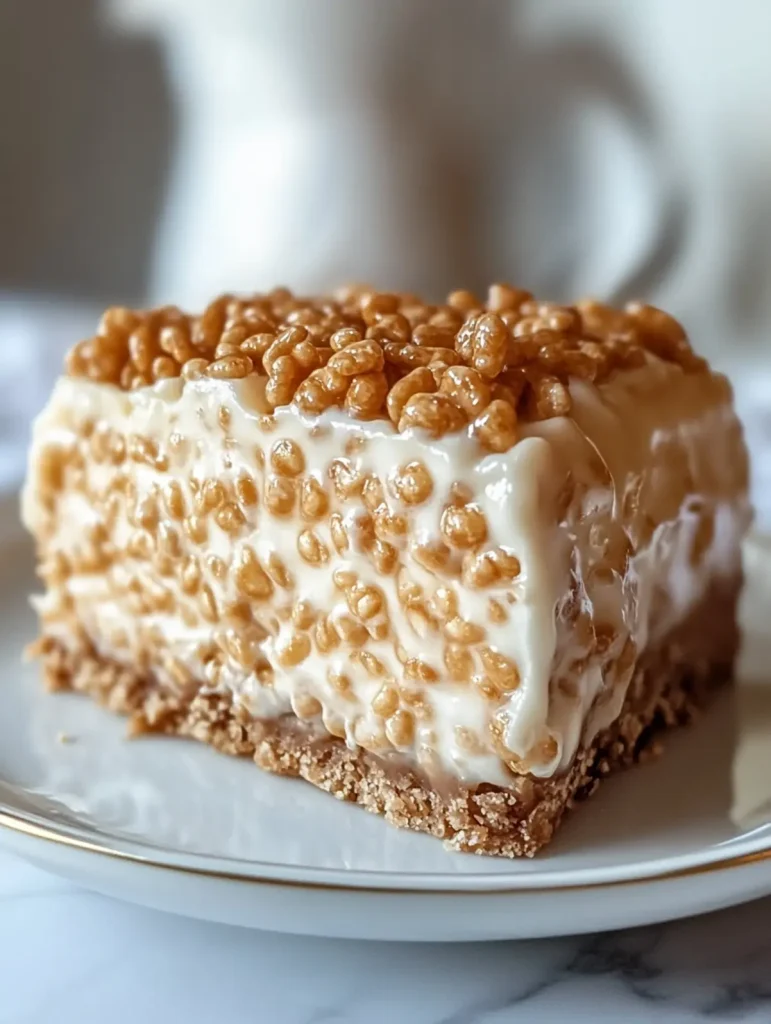
For the cleanest slices, dip your knife in hot water and wipe dry between cuts. The contrast between the crunchy Rice Krispie layers and the creamy cheesecake filling is absolutely worth the effort!
Storage & Freezing
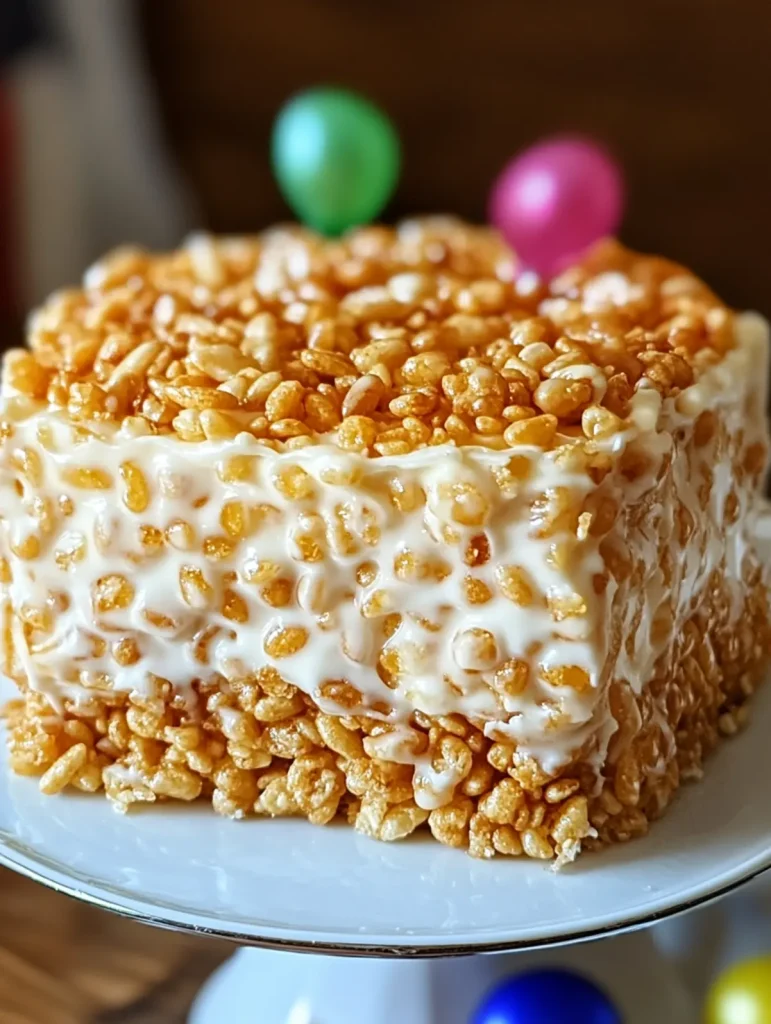
This Ultimate Rice Krispie Treat Cheesecake can be stored in the refrigerator for up to 5 days, though the Rice Krispie layers will gradually soften over time. For best results, keep it in an airtight container or cover tightly with plastic wrap to prevent it from absorbing refrigerator odors or drying out. I’ve found that placing it in the back of the refrigerator , where temperatures are most consistent, helps maintain that perfect creamy texture.
Freezing this cheesecake is absolutely possible and makes for wonderful make-ahead entertaining. To freeze, allow the cheesecake to set completely in the refrigerator first, then wrap the entire cheesecake (or individual slices) tightly in plastic wrap followed by aluminum foil. Freeze for up to 2 months. The marshmallow and cereal elements hold up surprisingly well, though the Rice Krispies will lose some of their characteristic crunch upon thawing.
To serve after freezing, transfer the wrapped cheesecake to the refrigerator and thaw overnight. For individual slices, thaw at room temperature for about 30 minutes. The Rice Krispie layer may become slightly chewier after freezing, but the flavor remains delicious. For a texture refresh, consider adding a sprinkle of fresh Rice Krispies or a drizzle of warm marshmallow cream just before serving to bring back some of that signature crunch.
Make-Ahead Tips for Rice Krispie Treat Cheesecake
This Rice Krispie Treat Cheesecake is a meal prep champion that actually tastes better after resting overnight! You can prepare the entire dessert up to 3 days in advance—simply cover tightly with plastic wrap and refrigerate. The Rice Krispie crust maintains its delightful crunch while the cheesecake filling becomes even more luxuriously smooth and well-set. For ultimate convenience, make the crust components separately: prepare the Rice Krispie mixture up to 2 days ahead (store covered at room temperature), then whip the cream cheese filling the day before serving. When ready to impress guests, simply assemble and let it set for at least 4 hours, delivering bakery-quality results with zero last-minute stress.
Expert Tips
These insider tricks will help you master your Rice Krispie Treat Cheesecake with professional-level results:
- Butter your tools : Coat your hands or spatula with a thin layer of butter when pressing the Rice Krispies mixture into the pan to prevent the sticky marshmallow mixture from clinging to everything.
- Cream cheese temperature matters : Allow your cream cheese blocks to soften at room temperature for at least 30 minutes—cold cream cheese creates lumps that are nearly impossible to smooth out later.
- Super-chill your cream : I’ve found placing the heavy cream, mixing bowl, and beaters in the freezer for 10 minutes before whipping creates dramatically better volume for a lighter, fluffier filling.
- Press with purpose : When forming the Rice Krispie crust, use firm, even pressure with the flat bottom of a measuring cup—this creates a more solid base that won’t crumble when you slice the finished cheesecake.
- Patience pays off : While it’s tempting to dive in after the minimum 4-hour chill time, allowing your Rice Krispie Treat Cheesecake to set overnight develops deeper flavor complexity and perfect texture contrast.
Variations & Substitutions
The beauty of this Rice Krispie Treat Cheesecake lies in its adaptability—feel free to make it your own with these creative twists while keeping the nostalgic magic intact!
Cereal swap: Not a Rice Krispies fan? Substitute Cocoa Krispies, Fruity Pebbles, or even Cinnamon Toast Crunch for completely different flavor profiles while maintaining that essential crispy texture.
Dairy-free option: Replace the butter with coconut oil, and swap cream cheese for dairy-free alternatives like Tofutti or Kite Hill. I’ve found that coconut cream (the solid part from a refrigerated can of coconut milk) makes an excellent substitute for the heavy cream.
Flavor boosters: Add 1-2 tablespoons of cocoa powder to the marshmallow mixture for a chocolate Rice Krispie base, or mix in 1/2 cup of peanut butter for a nostalgic PB&J feel.
Gluten concerns: While Rice Krispies contain malt (which contains gluten), substitute with certified gluten-free crispy rice cereal for those with celiac disease or gluten sensitivity.
Marshmallow alternatives: No Marshmallow Fluff? Create your own by melting 2 cups of mini marshmallows with 2 tablespoons of corn syrup, then cooling slightly before adding to the cream cheese mixture.
Seasonal twists: For holiday versions, fold crushed candy canes into the cheesecake layer for Christmas, mix orange food coloring into the filling for Halloween, or add red and blue sprinkles to the Rice Krispie mixture for patriotic celebrations.
Serving Suggestions
This Rice Krispie Treat Cheesecake blends childhood nostalgia with elegant dessert, making it perfect for both casual gatherings and special occasions.
For an extra-special presentation, serve chilled slices on dessert plates drizzled with a thin ribbon of chocolate sauce—the slight bitterness complements the sweet marshmallow notes beautifully. I love to add a small scoop of vanilla bean ice cream alongside each slice when serving as the finale to a dinner party—the contrast between warm and cold temperatures elevates the experience.
For a colorful summer variation, arrange fresh berries around each slice. Strawberries, raspberries, and blueberries not only add vibrant color but provide a refreshing tartness that balances the rich creaminess of the cheesecake filling. For fall gatherings, try serving with a light dusting of cinnamon and a small dollop of salted caramel sauce that enhances the buttery notes in the Rice Krispie crust.
This dessert pairs wonderfully with coffee drinks—a cappuccino or latte makes the perfect companion, as the coffee’s slight bitterness creates balance with the sweet, creamy filling. For a more indulgent presentation, serve alongside small glasses of chocolate milk to fully embrace the childhood-meets-sophistication theme!
Recipe FAQs
Can I make this without a springform pan? A deep 9-inch pie dish works well too.
How far in advance can I make this? Up to 2 days ahead for optimal texture.
Can I use generic rice cereal instead? Yes, any crisp rice cereal works perfectly.
Why is my cheesecake filling runny? Cream cheese wasn’t properly softened before mixing.
Can I add chocolate to this recipe? Absolutely! Fold in mini chocolate chips or drizzle top.
How do I get clean slices? Dip knife in hot water between each cut.
- 0 Facebook
- 16 Pinterest
- 54 Email
- Copy Link
- 70 shares
Ultimate Rice Krispie Treat Cheesecake: Nostalgic Dessert Fusion
Ingredients
Instructions
Melt the unsalted butter in a large pot over medium-low heat until completely liquid. Add the mini marshmallows and stir constantly until they’re fully melted and the mixture is smooth and glossy—about 4-5 minutes.
Remove from heat and immediately add the Rice Krispies cereal, folding gently but thoroughly with a silicone spatula until every piece is coated.
Press about two-thirds of the Rice Krispie mixture firmly into a 9-inch springform pan to create the crust, extending it about 1 inch up the sides. Reserve the remaining mixture for the topping. Allow the crust to cool completely while preparing the filling.
Whip the chilled heavy cream in a cold bowl until stiff peaks form, then set aside. In a separate large bowl, beat the softened cream cheese until completely smooth and free of lumps—this usually takes about 2 minutes.
Add the confectioners’ sugar, Marshmallow Fluff, and vanilla extract to the cream cheese. Beat on medium speed until the mixture is well combined and silky smooth, scraping down the sides of the bowl as needed.
Gently fold the whipped cream into the cream cheese mixture using a spatula, being careful not to deflate the air bubbles that will give your cheesecake its light texture. Continue folding until no white streaks remain.
Pour the cheesecake filling over the cooled Rice Krispie crust, spreading it evenly. Break the reserved Rice Krispie mixture into small clusters and arrange them decoratively around the edges of the cheesecake.
Refrigerate for at least 4 hours or overnight until the cheesecake is completely set. Carefully remove the sides of the springform pan for that perfect presentation.
Notes
Butter your tools to prevent sticking.
Softened cream cheese is crucial for a smooth filling.
Chill your cream for better volume when whipping.
Use firm pressure when forming the Rice Krispie crust.
Let the cheesecake set overnight for improved flavor.
Nutrition
| Serving Size | 1 slice |
|---|---|
| Calories | 350 calories |
| Sugar Content | 20g |
| Sodium Content | 250mg |
| Fat Content | 20g |
| Saturated Fat Content | 12g |
| Unsaturated Fat Content | 8g |
| Trans Fat Content | 0g |
| Carbohydrate Content | 35g |
| Fiber Content | 1g |
| Protein Content | 4g |
| Cholesterol Content | 50mg |