- 0 Facebook
- 231 Pinterest
- 4 Email
- Copy Link
- 235 shares
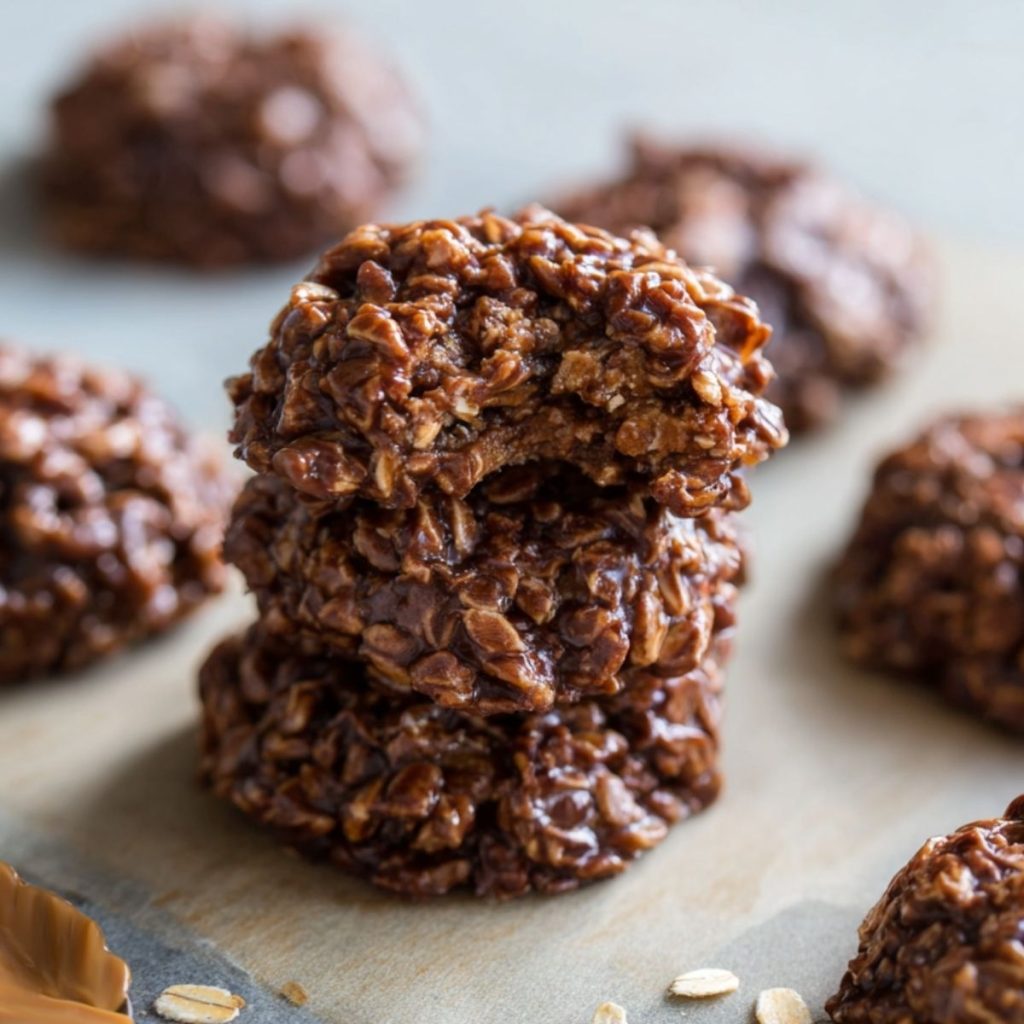
I’ve always loved recipes that are as effortless as they are delicious, and No Bake Preacher Cookies certainly fit the bill. With just a handful of pantry staples, these treats burst with delightful chocolate and peanut butter flavors!
One rainy afternoon while rifling through old family recipe cards, I stumbled upon a note from my grandmother about No Bake Preacher Cookies. A memory instantly struck me of childhood days, standing on a chair in her cozy kitchen, helping to stir the magic mixture. The simplicity of ingredients like oats, chocolate, and peanut butter, combined with the absence of baking, made it a staple for spontaneous midnight cravings. These little gems hold a special place in my heart, offering not just nostalgia but a quick, budget-friendly delight for all chocolate lovers.
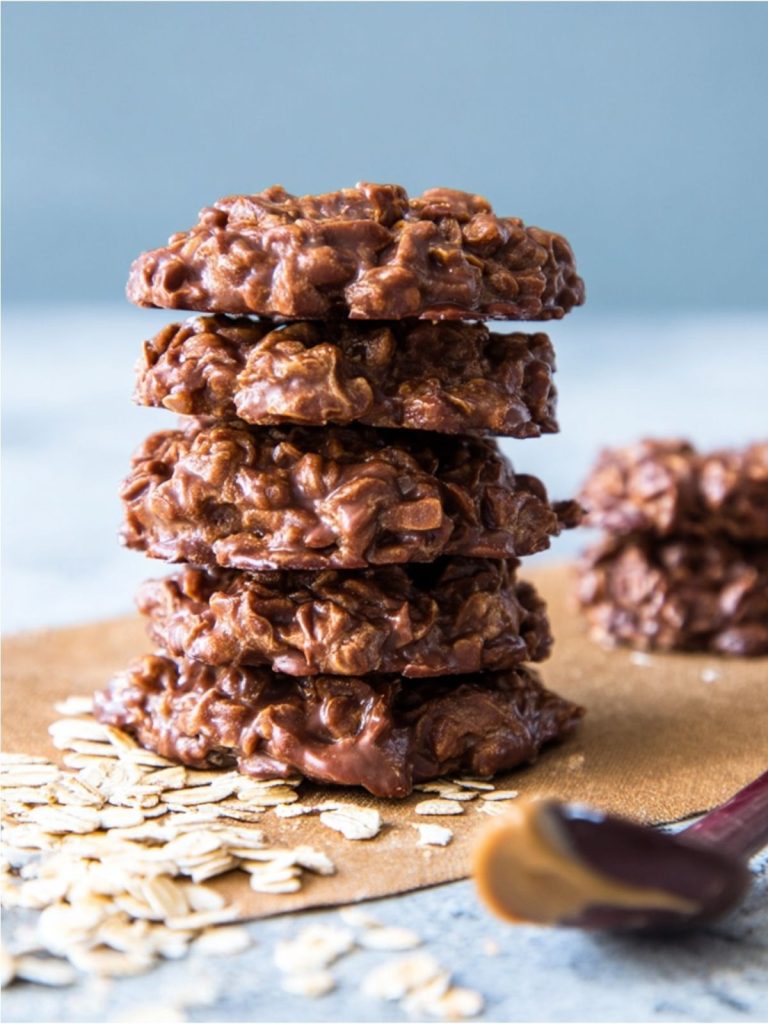
Among friends and family, this recipe quickly garnered a reputation not just for being a lifesaver during unexpected drop-ins but also for its distinct, rich flavor profile that’s both comforting and gratifying. It’s these qualities, along with the recipe’s quick fix nature, that promise to offer you convenience without sacrificing taste. Whether you’re a seasoned cook or a beginner, these cookies provide an easy, no-fail way to satisfy sweet cravings at a moment’s notice.
Why You’ll Love No Bake Preacher Cookies?
From my kitchen to yours, here’s why No Bake Preacher Cookies are bound to become your new favorite:
- Simplicity: With minimal steps, and most importantly, no baking, these cookies are perfect for any skill level. Even a beginner can whip them up in mere minutes!
- Rich Flavor: The combination of chocolate and peanut butter offers a mouth-watering, decadent flavor, complemented by a luscious chewy texture from oats.
- Consistency: Tried and tested, these cookies consistently deliver delightful results, making them a reliable addition to your treat repertoire.
- Versatile: Whether for a casual snack or part of a special dessert spread, they fit perfectly anywhere.
- Economical: Utilizing everyday pantry ingredients makes this recipe kind on your wallet while still delightful to your taste buds.
“The best recipes are the ones that allow us to create joy from simplicity.” – Anonymous
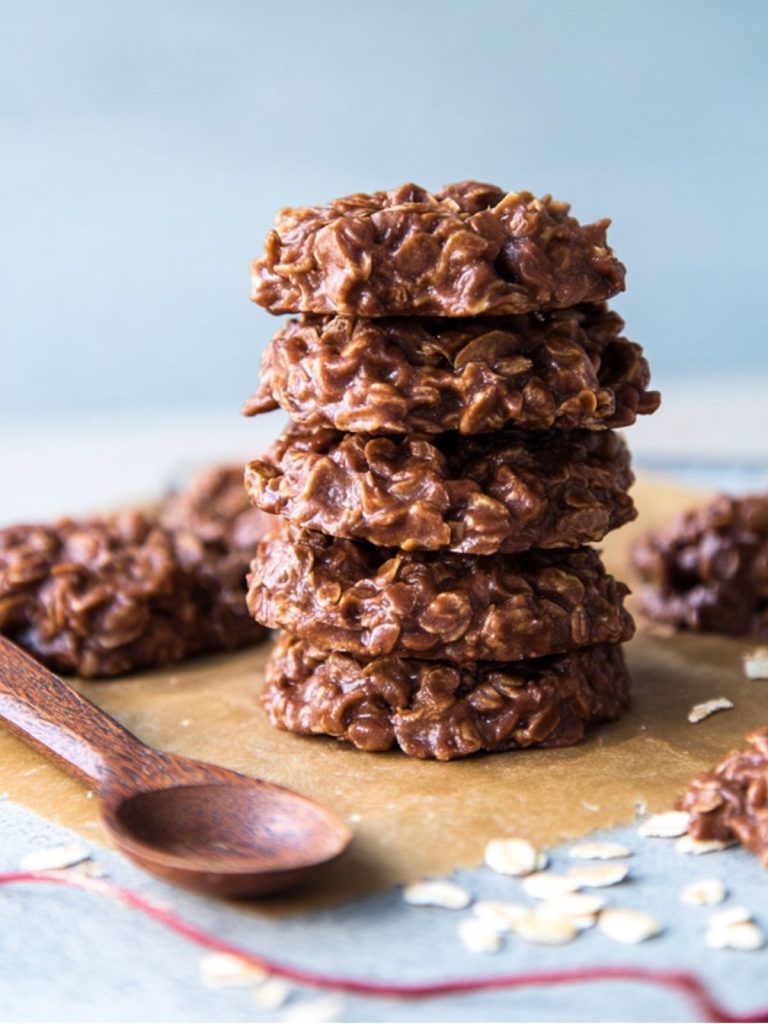
Ingredients Notes
- Unsalted Butter: This creates a creamy base that enhances mouthfeel. I choose high-quality butter for a richer flavor.
- Granulated Sugar: It sweetens and provides structure. I balance sweetness by selecting organic cane sugar for a natural taste.
- Unsweetened Cocoa Powder: This enriches the flavor, offering a chocolatey depth. I recommend Dutch-processed cocoa for a smoother blend.
- Salt: A pinch of salt sharpens all flavors, elevating sweetness. Use sea salt for a subtle yet distinct edge.
- Milk: It binds ingredients and adds moisture. For extra creaminess, I prefer whole milk.
- Creamy Peanut Butter: Adds a nutty richness and cohesive texture. I opt for natural peanut butter without additives.
- Vanilla Extract: This enhances the overall flavor profile by adding aromatic notes. I always choose pure extract.
- Quick-Cooking Oats: These provide substance and a hearty texture. Use certified gluten-free oats for dietary needs.
How to Make No Bake Preacher Cookies?
- Prepare Your Workspace: Begin by lining a baking sheet with parchment or wax paper—this will prevent your cookies from sticking and make cleanup easier.
- Combine the Base Ingredients: In a medium saucepan over medium heat, melt 8 tablespoons of unsalted butter. Add 1 ¾ cups of granulated sugar, ⅓ cup unsweetened cocoa powder, and ¼ teaspoon salt. Stir to mix thoroughly, ensuring that the texture is smooth and the aroma of cocoa fills the kitchen.
- Incorporate the Liquid Elements: Slowly pour in ½ cup of milk while stirring until everything is seamlessly combined. Continuously whisk to avoid clumps, and allow the mixture to reach a gentle boil. Once bubbling, let it boil for one minute, ensuring that it thickens properly.
- Add Flavor and Texture: Remove the saucepan from heat. Stir in ½ cup of creamy peanut butter and 1 teaspoon of vanilla extract until you achieve a smooth, glossy blend. Notice the enticing aroma as the peanut butter melts into the chocolate base.
- Integrate the Oats: Gently fold in 3 cups of quick-cooking oats, ensuring they are evenly coated with the chocolate mixture. This step gives the cookies their distinct, chewy texture.
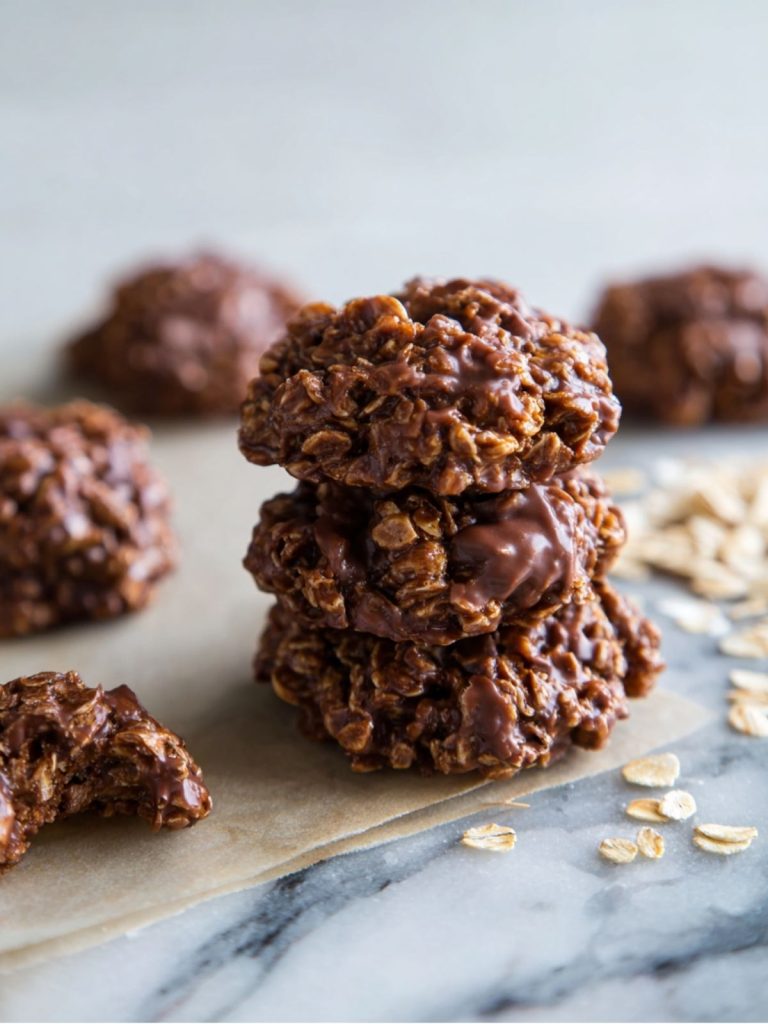
- Form the Cookies: Use a tablespoon to drop spoonfuls of the mixture onto your prepared baking sheet. Work quickly, as the dough will begin to set.
- Let Them Set: Allow the cookies to cool and harden at room temperature for 30 to 45 minutes. Observe as their appearance transitions from glossy to a more defined matte finish.
Enjoy your No Bake Preacher Cookies once they’re firm to the touch, offering a delightful balance of creamy, rich chocolate with a satisfying texture!
Expert Cooking Tips
- Use quick oats for better texture; they blend seamlessly with other ingredients.
- I always melt butter on low heat to prevent burning and maintain flavor.
- Stir continuously when mixing cocoa and sugar to avoid lumps and ensure smoothness.
- Cook the mixture at a gentle boil; this helps the cookies set properly.
- Avoid over-boiling; this can make cookies dry and crumbly.
- Add peanut butter once off the heat for better integration and flavor.
- I find chilling the mixture for a few minutes eases scooping and shaping.
- Use a cookie scoop for uniform shapes and sizes, ensuring even setting.
- If cookies don’t set, refrigerate them; it helps them firm up faster.
- Always taste ingredients before adding to ensure the freshest flavors, especially the nuts.
Storage Tips
- Store cookies in an airtight container at room temperature for up to one week.
- For longer storage, freeze cookies layered with parchment paper in an airtight container.
- Reheat in the microwave for 10-15 seconds to soften; avoid overheating to prevent drying.
- Ensure cookies are completely cool before storing to prevent condensation and sogn them.
- For best flavor, consume within two months if frozen.
- Label containers with the date before freezing to ensure they are consumed fresh.
- To prevent freezer burn, double-wrap with plastic wrap, then place in a freezer-safe bag.
- Keep away from strong-smelling foods to maintain their chocolatey aroma.
- Do not refreeze thawed cookies to preserve texture and taste.
- Check periodically for signs of spoilage, like off-smells or staleness.
Variations and Substitutions
- For a dairy-free version, use coconut milk and vegan butter.
- Substitute almond butter for peanut butter for a nutty twist and to accommodate peanut allergies.
- Incorporate dried cherries or cranberries for a fruity burst and added chewiness.
- Add a dash of cinnamon or vanilla extract for enhanced flavor depth.
- Try flaked coconut instead of oats for a tropical variation.
- Use gluten-free oats if you’re catering to a gluten-sensitive audience, ensuring no cross-contamination.
- For a richer treat, mix in semi-sweet chocolate chips before setting.
- Include chopped nuts like walnuts or pecans for added crunch and protein.
- Prefer white chocolate? Swap cocoa for melted white chocolate for a different flavor profile.
- Experiment with adding different spices, such as nutmeg or cardamom, for a warm, aromatic touch.
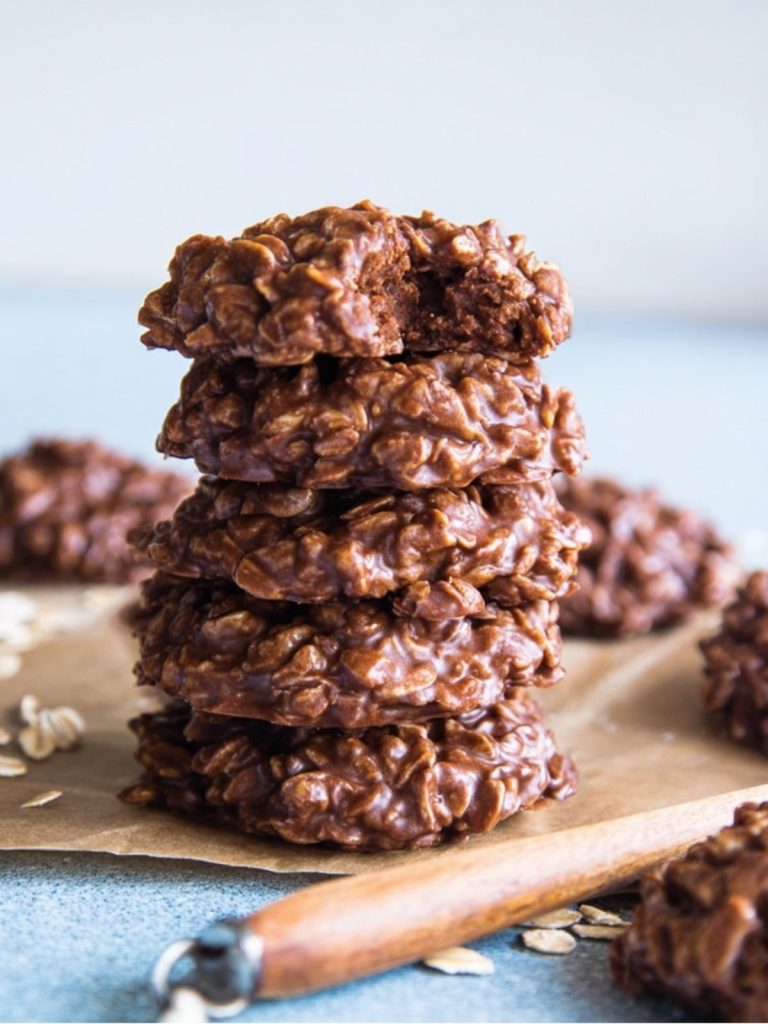
What to Serve with No Bake Preacher Cookies?
- Fresh Fruit Salad: Pairs perfectly with the cookies’ sweetness, adding a refreshing, juicy contrast that cleanses the palate.
- Herbal Tea: A soothing drink that complements the cookies’ richness while balancing sweetness and enhancing chocolate flavors.
- Vanilla Ice Cream: Provides a creamy base that contrasts with the cookie texture, enhancing their cocoa notes with each bite.
- Roasted Nuts: Offer a crunchy contrast that highlights the creamy texture of the cookies, while adding a nutty depth.
- Yogurt Parfait: Layers of yogurt and granola provide a tangy, textural contrast, uplifting the cookie’s sweetness and providing protein.
- Cheese Platter: Savory cheese balances the sweetness of the cookies, offering a sophisticated mix of flavors and texture.
FAQ
Ensure mixture boils for a full minute to set cookies perfectly.
Yes, reduce sugar slightly, but balance with other ingredients for consistency.
Use quick-cooking oats for texture that binds well in no bake cookies.
Mix the ingredients thoroughly before dropping the mixture onto wax paper.
Yes, perfect for 2-3 days in an airtight container; enhances flavor!
- 0 Facebook
- 231 Pinterest
- 4 Email
- Copy Link
- 235 shares
No Bake Preacher Cookies
Ingredients
Instructions
Before you dive into making these delightful treats, it’s essential to set up your workspace. Begin by lining a baking sheet with parchment or wax paper. This simple step not only prevents the cookies from sticking but also makes cleanup a breeze.
- Combine your base ingredients
by melting 8 tablespoons of unsalted butter in a medium saucepan over medium heat. Once the butter has melted, add 1 ¾ cups of granulated sugar, ⅓ cup of unsweetened cocoa powder, and ¼ teaspoon of salt. Stir thoroughly until you achieve a smooth mixture, letting the warm, chocolatey aroma fill your kitchen.
Next, you’ll want to incorporate the liquid elements. Pour in ½ cup of milk slowly while constantly stirring. This ensures everything blends seamlessly. Keep whisking to avoid any clumps and bring the mixture to a gentle boil. Once it bubbles, let it continue to boil for a minute, allowing it to thicken.
Now, it’s time to add flavor and texture. Remove the saucepan from the heat and stir in ½ cup of creamy peanut butter along with 1 teaspoon of vanilla extract. Mix until you have a smooth, glossy texture; enjoy the inviting smell as the peanut butter melds with the chocolate.
For the final touch, integrate the oats by gently folding in 3 cups of quick-cooking oats. Ensure they are all well coated with the rich chocolate mixture, contributing to the chewy texture that Preacher Cookies are known for.
Start to form the cookies by using a tablespoon to drop spoonfuls of the mixture onto the prepared baking sheet. Work swiftly as the dough tends to set quickly.
Finally, let them set by allowing the cookies to cool and firm up at room temperature for 30 to 45 minutes. You’ll notice as they transition from a glossy finish to a beautiful matte appearance. Once firm to the touch, they’re ready to enjoy, offering a delightful balance of creamy, rich chocolate and a satisfying texture!