- 0 Facebook
- 0 Pinterest
- 0 Email
- Copy Link
- 0 shares
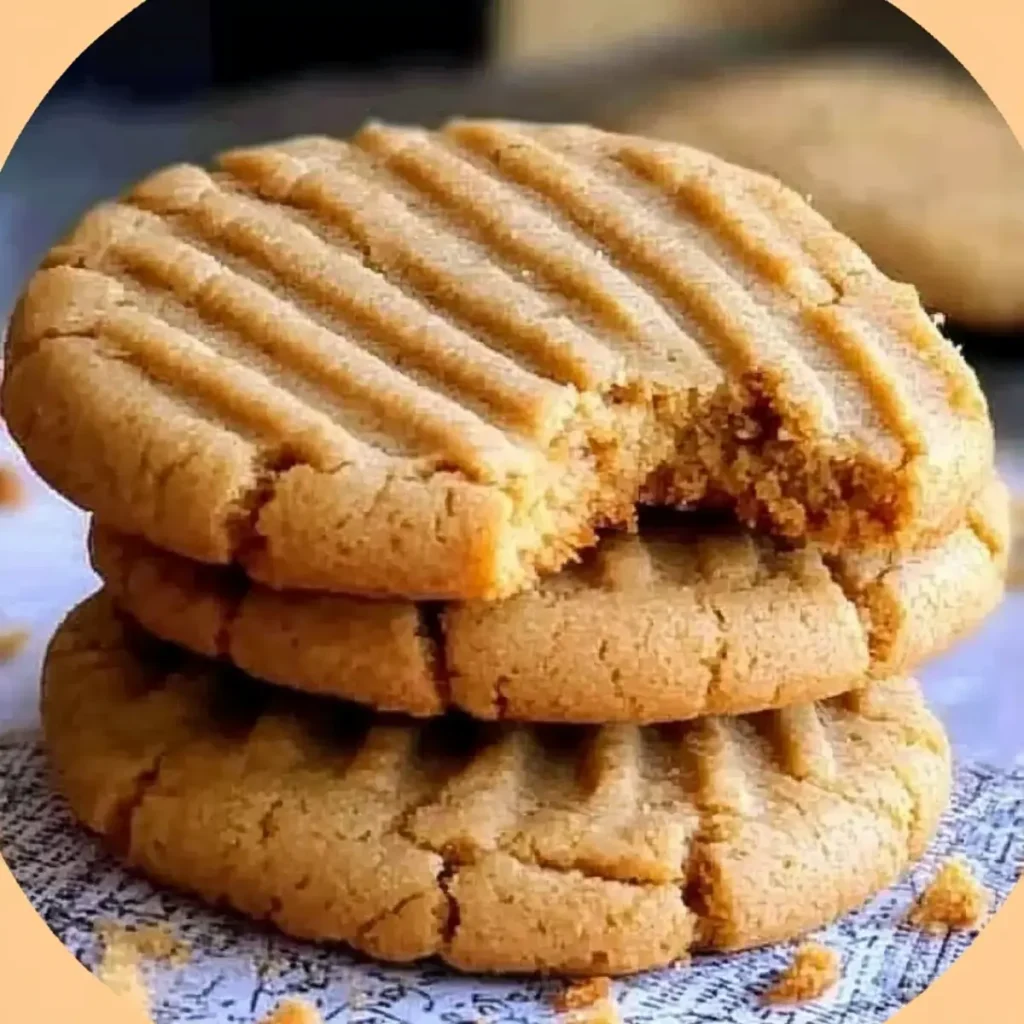
These peanut butter cookies capture the essence of grandma’s kitchen in every tender, chewy bite. Golden-edged with perfectly crackled tops, they deliver that nostalgic combination of rich peanut butter flavor balanced with just the right touch of sweetness. The simple mixing method—creaming butter with two types of sugar before incorporating the remaining ingredients—creates that irresistible soft texture that melts in your mouth. Serve these comforting classics still warm from the oven with a tall glass of cold milk for the ultimate homemade treat.
Why You’ll Love This Recipe
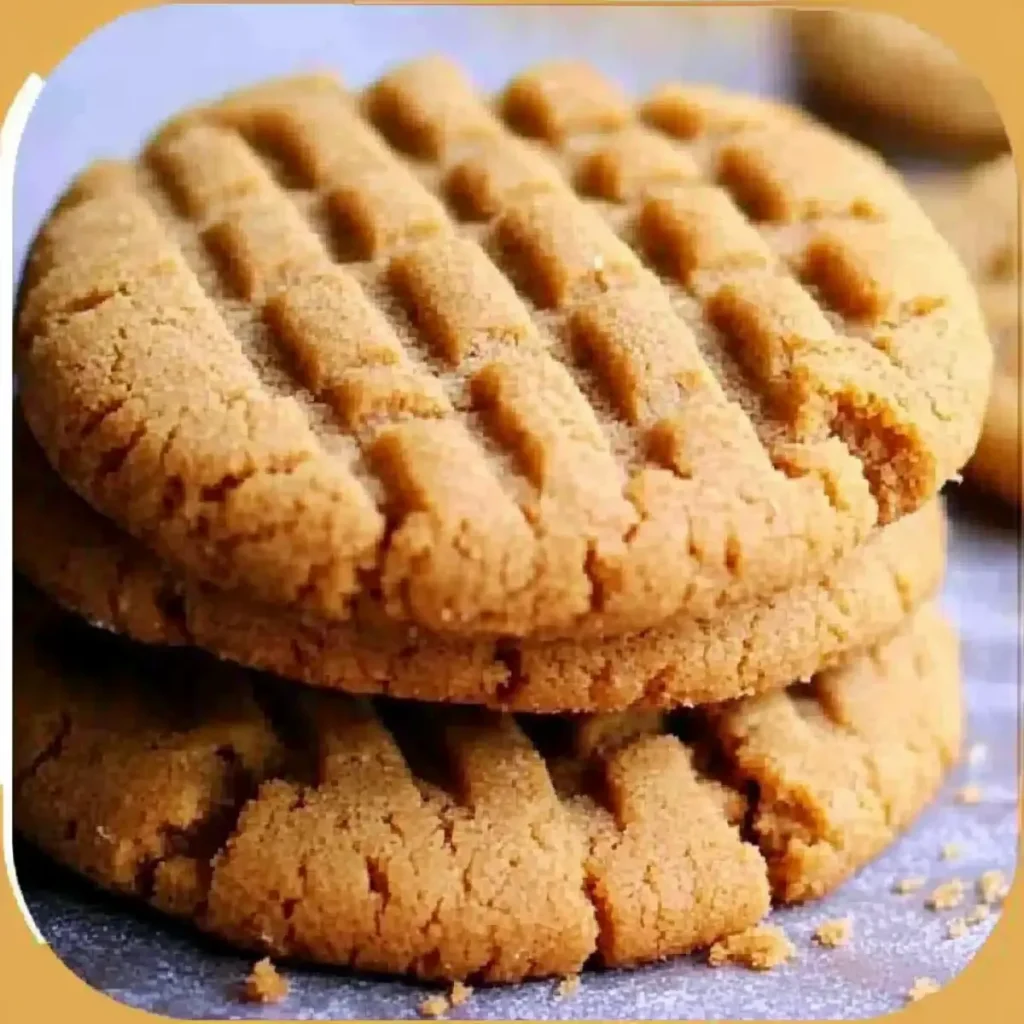
These classic cookies bring together years of baking wisdom with simple, accessible ingredients anyone can master. Each bite delivers that perfect balance of nostalgia and pure satisfaction.
- Perfectly Soft Texture : The combination of creamy peanut butter and brown sugar creates that melt-in-your-mouth tenderness that defines a truly exceptional cookie.
- Quick Kitchen Project : With just 15 minutes of prep and 12 minutes of baking time, these cookies deliver homemade goodness even on your busiest weeknights.
- Foolproof Family Favorite : This time-tested recipe has been refined through generations, eliminating guesswork and guaranteeing consistent, crowd-pleasing results every time.
- Storage Superstar : The cookies maintain their amazing texture for a full week when stored properly, making them perfect for advance preparation or gradual enjoyment.
- Customization Canvas : The classic dough works beautifully with mix-ins like chocolate chips or as the base for sandwich cookies filled with jam or chocolate spread.
Ingredient Breakdown with Tips
Each ingredient in these Grandma’s Peanut Butter Cookies plays a crucial role in achieving that perfect soft, chewy texture and rich flavor that makes them so irresistible. Understanding how these simple components work together will help you create cookie perfection every time.
- Creamy peanut butter : The star ingredient provides that distinctive nutty flavor and contributes to the cookies’ moist, tender texture. Choose a commercial brand like Jif or Skippy for consistent results—natural peanut butter can separate and alter the texture.
- Salted butter : Adds richness while enhancing the peanut butter’s flavor with its slight saltiness. Make sure it’s properly softened at room temperature (but not melted) for the ideal creaming process with sugar.
- Light brown sugar : Creates moisture and chewiness thanks to its molasses content, while adding caramel undertones that complement the peanut flavor. Pack it firmly when measuring for accurate results.
- Granulated sugar : Works with the brown sugar to create the perfect sweetness balance and helps the cookies spread properly during baking. It also creates those classic slightly crisp edges that contrast beautifully with the soft centers.
- Eggs : Provide structure, stability, and moisture to bind everything together. Using room temperature eggs helps them incorporate more evenly into the butter-sugar mixture.
- Vanilla extract : Though subtle, this aromatic ingredient enhances the overall flavor profile by adding warmth and depth. Pure vanilla extract offers superior flavor compared to imitation varieties.
- All-purpose flour : Forms the structure of the cookies and determines their final texture. Measure by spooning flour into measuring cups and leveling off with a knife to avoid dense cookies from too much flour.
- Baking soda : The leavening agent that helps the cookies rise slightly while baking, creating that perfect tender crumb. Make sure yours is fresh (less than 6 months old) for optimal performance.
How to Make Grandma’s Peanut Butter Cookies: Irresistibly Soft & Chewy Classic
- Preheat your oven to 350°F (175°C) and line two baking sheets with parchment paper or silicone mats to prevent sticking and ensure even baking.
- Cream together the softened butter, creamy peanut butter, brown sugar, and granulated sugar in a large mixing bowl. Beat for 3-4 minutes until the mixture becomes noticeably lighter in color and fluffy in texture.
- Add the eggs one at a time, beating well after each addition until fully incorporated. Mix in the vanilla extract until the wet ingredients are smooth and well combined.
- In a separate bowl, whisk together the all-purpose flour and baking soda. I always sift these dry ingredients together to prevent any lumps that might affect the cookie texture.
- Gradually add the dry ingredients to the wet mixture, mixing on low speed just until combined. Be careful not to overmix – this is key to maintaining that soft, tender crumb we’re looking for!
- Use a cookie scoop or tablespoon to portion the dough into balls (about 1½ tablespoons each) and place them 2 inches apart on the prepared baking sheets. For that classic peanut butter cookie look, gently press a fork in a crisscross pattern on top of each dough ball to slightly flatten.
- Bake in the preheated oven for 10-12 minutes or until the edges are just starting to turn golden brown. The centers may look slightly underdone, but they’ll continue cooking as they cool.
- Allow the cookies to cool on the baking sheet for 5 minutes before transferring to a wire rack to cool completely. Though honestly, these cookies are absolutely divine when eaten warm, with the peanut butter flavor at its most intense!
Tips for the Best Grandma’s Peanut Butter Cookies
- Perfect your butter temperature: Butter should be soft enough to leave a slight indent when pressed, but not melting. Too soft butter makes cookies spread too much, while too cold won’t cream properly with sugars.
- Cream thoroughly: Beat the peanut butter, butter and sugars for the full 3-4 minutes until genuinely light and fluffy. This incorporates air that creates that perfect tender texture in your finished cookies.
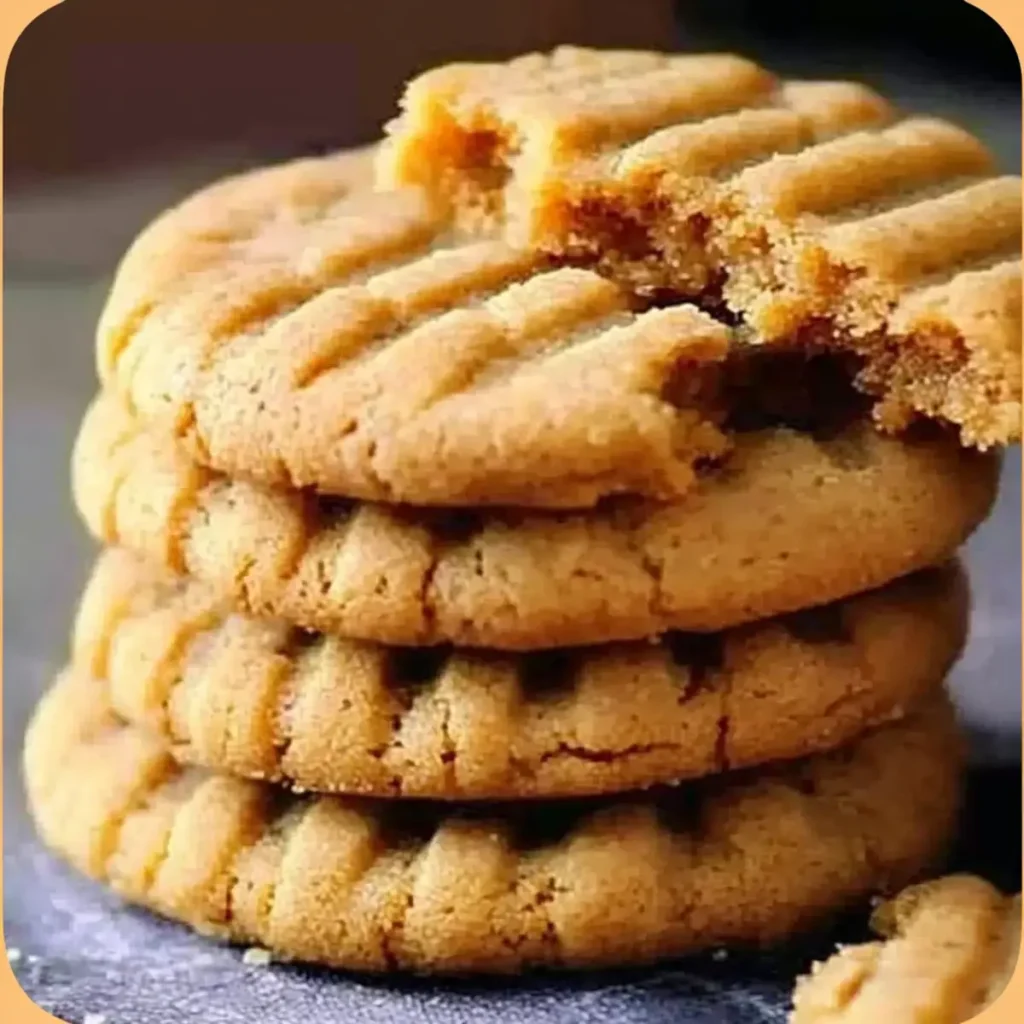
- Know when they’re done: These cookies should look slightly underbaked when you remove them from the oven . I’ve found the edges should be just turning golden while centers remain soft—they’ll continue baking on the hot sheet.
- Pre-chill for thickness: If you prefer thicker, chewier Grandma’s Peanut Butter Cookies, refrigerate the dough for 30 minutes before scooping and baking to minimize spreading.
- Fork-pressing technique: When making the classic crosshatch pattern, dip your fork in granulated sugar between presses to prevent sticking and add a subtle sparkle to the finished cookies.
Variations & Substitutions
These classic peanut butter cookies are perfect as is, but don’t be afraid to make them your own based on what you have on hand or your personal preferences!
- Nut butter swaps: While creamy peanut butter creates that classic flavor, try almond butter, cashew butter, or even sunflower seed butter (for a nut-free version) to create entirely new cookie experiences with the same beloved texture.
- Gluten-free option: I’ve successfully made these with a 1:1 gluten-free flour blend in place of all-purpose flour with nearly identical results. Just ensure your blend contains xanthan gum for proper binding.
- Crunchy texture twist: Replace the creamy peanut butter with chunky peanut butter for added texture, or fold in ½ cup chopped peanuts into the dough for even more nutty goodness and crunch.
- Chocolate additions: Transform these into peanut butter chocolate chip cookies by adding ¾ cup semi-sweet chocolate chips or chunks to the dough. The chocolate-peanut butter combination is absolutely irresistible!
- Flavor enhancers: A sprinkle of flaky sea salt on top before baking adds a gourmet touch that balances the sweetness perfectly. For a holiday twist, mix ½ teaspoon cinnamon into the dough for warm, cozy notes.
- Lower sugar version: You can reduce the white sugar by ¼ cup without drastically affecting texture. The cookies will be slightly less sweet but still maintain that wonderful peanut butter flavor profile that makes them special.
Make Ahead Options
Grandma’s Peanut Butter Cookies are perfect for meal prep enthusiasts who want fresh-baked cookies without the weeknight rush! You can prepare the cookie dough up to 3 days in advance by completing steps 1-5, then covering the bowl tightly with plastic wrap and refrigerating. The chilled dough actually develops even richer flavors during this time. For ultimate convenience, portion the dough into balls, place them on a parchment-lined baking sheet, and freeze for 2 hours before transferring to freezer bags (they’ll keep for up to 3 months). When ready to bake, simply add 1-2 minutes to the original baking time for chilled dough, and you’ll have warm, homemade cookies with minimal effort!
Serving Suggestions
These classic peanut butter cookies are delicious on their own, but there are so many wonderful ways to elevate your cookie experience and make them even more special!
For the traditional approach, nothing beats serving these cookies slightly warm with a tall, cold glass of milk. The rich creaminess of the peanut butter pairs magnificently with milk, creating that nostalgic combination we all remember from childhood. I always make sure to have extra milk on hand when these cookies come out of the oven !
For a more indulgent treat, try making ice cream sandwiches with your peanut butter cookies. Allow them to cool completely, then sandwich a scoop of vanilla ice cream between two cookies and gently press together. The combination of warm peanut butter flavor with cool, creamy ice cream is absolutely divine.
These cookies also make wonderful gifts or potluck contributions. Arrange them in a decorative tin lined with parchment paper, alternating layers of cookies with more parchment to keep that soft, chewy texture intact. The beautiful fork-pressed pattern on top gives them that homemade charm that everyone appreciates.
For a delightful dessert platter, pair these classic peanut butter cookies with other complementary treats like chocolate brownies or snickerdoodles. The variety of flavors and textures creates an impressive spread, with the rich peanut butter flavor of Grandma’s cookies standing out as the star.
Storage & Freezing
These Grandma’s Peanut Butter Cookies retain their soft, chewy texture wonderfully when stored properly. Store completely cooled cookies in an airtight container at room temperature for up to 1 week. For best results, place a piece of bread in the container—the cookies will absorb moisture from the bread, keeping them softer longer.
For longer storage, these peanut butter cookies freeze beautifully. Place cooled cookies in freezer-safe containers with parchment paper between layers to prevent sticking. They’ll maintain their quality for up to 3 months frozen. I often make a double batch specifically to freeze half for those unexpected cookie cravings or last-minute visitors!
The cookie dough can also be frozen for make-ahead convenience. Form the dough into balls, press with a fork if desired, then freeze on a baking sheet until solid. Transfer to a freezer bag and store for up to 2 months. When ready to bake, place the frozen dough balls directly on baking sheets and add 1-2 minutes to the original baking time—no need to thaw first!
Recipe FAQs
Can I use crunchy peanut butter instead of creamy? Yes, for added texture and nutty bits.
Why do you press fork marks on top? Creates the classic pattern and helps even baking.
Can I skip the fork-pressing step? No – it’s essential for proper thickness and baking.
How do I know when they’re done baking? Edges golden, centers slightly underdone.
Can I freeze the cookie dough? Yes! Form into balls first, freezes beautifully.
Are these cookies gluten-free? No, they contain all-purpose wheat flour.
- 0 Facebook
- 0 Pinterest
- 0 Email
- Copy Link
- 0 shares
Grandma's Peanut Butter Cookies: Irresistibly Soft & Chewy Classic
Ingredients
Instructions
Preheat your oven to 350°F (175°C) and line two baking sheets with parchment paper or silicone mats to prevent sticking and ensure even baking.
Cream together the softened butter, creamy peanut butter, brown sugar, and granulated sugar in a large mixing bowl. Beat for 3-4 minutes until the mixture becomes noticeably lighter in color and fluffy in texture.
Add the eggs one at a time, beating well after each addition until fully incorporated. Mix in the vanilla extract until the wet ingredients are smooth and well combined.
In a separate bowl, whisk together the all-purpose flour and baking soda. I always sift these dry ingredients together to prevent any lumps that might affect the cookie texture.
Gradually add the dry ingredients to the wet mixture, mixing on low speed just until combined. Be careful not to overmix – this is key to maintaining that soft, tender crumb we’re looking for!
Use a cookie scoop or tablespoon to portion the dough into balls (about 1½ tablespoons each) and place them 2 inches apart on the prepared baking sheets. For that classic peanut butter cookie look, gently press a fork in a crisscross pattern on top of each dough ball to slightly flatten.
Bake in the preheated oven for 10-12 minutes or until the edges are just starting to turn golden brown. The centers may look slightly underdone, but they’ll continue cooking as they cool.
Allow the cookies to cool on the baking sheet for 5 minutes before transferring to a wire rack to cool completely. Though honestly, these cookies are absolutely divine when eaten warm, with the peanut butter flavor at its most intense!
Notes
Perfect your butter temperature: Butter should be soft enough to leave a slight indent when pressed, but not melting. Too soft butter makes cookies spread too much, while too cold won’t cream properly with sugars.
Cream thoroughly: Beat the peanut butter, butter and sugars for the full 3-4 minutes until genuinely light and fluffy. This incorporates air that creates that perfect tender texture in your finished cookies.
Know when they’re done: These cookies should look slightly underbaked when you remove them from the oven. I’ve found the edges should be just turning golden while centers remain soft—they’ll continue baking on the hot sheet.
Pre-chill for thickness: If you prefer thicker, chewier Grandma’s Peanut Butter Cookies, refrigerate the dough for 30 minutes before scooping and baking to minimize spreading.
Fork-pressing technique: When making the classic crosshatch pattern, dip your fork in granulated sugar between presses to prevent sticking and add a subtle sparkle to the finished cookies.
Nutrition
| Serving Size | 1 cookie |
|---|---|
| Calories | 150 calories |
| Sugar Content | 10g |
| Sodium Content | 90mg |
| Fat Content | 7g |
| Saturated Fat Content | 4g |
| Unsaturated Fat Content | 2g |
| Trans Fat Content | 0g |
| Carbohydrate Content | 20g |
| Fiber Content | 1g |
| Protein Content | 3g |
| Cholesterol Content | 25mg |