- 0 Facebook
- 98 Pinterest
- 0 Email
- Copy Link
- 98 shares
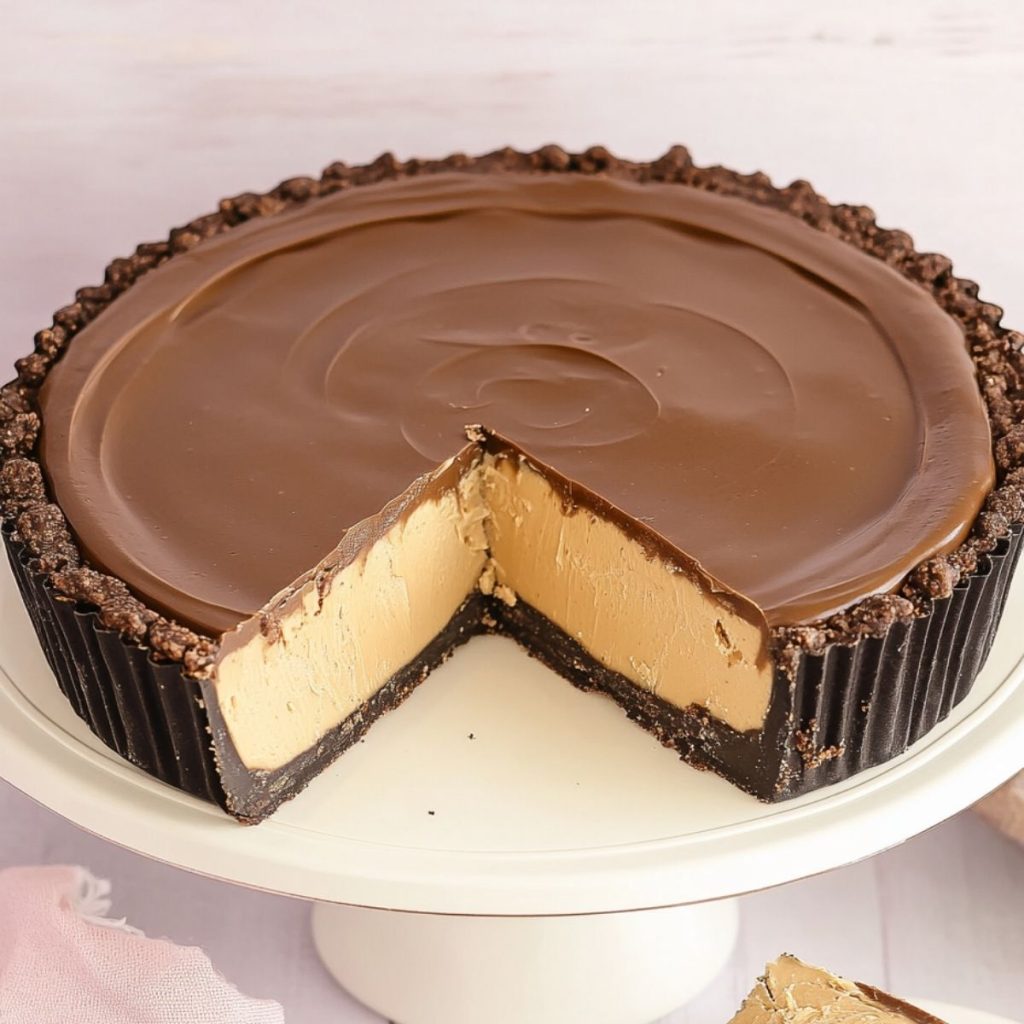
Using only a few essential ingredients, like as rich chocolate and creamy peanut butter, I’ve found that making my Giant Reese’s Peanut Butter Pie is surprisingly simple. I originally made this Giant Reese’s Peanut Butter Pie for a family holiday get-together because I wanted to bring something new but easy. The technique brought back memories of layering tastes from pastries I ate as a kid, where chocolate and peanut butter always had a special place. This pie ended up being the ideal fusion of those comforting, nostalgic flavors with contemporary ease.
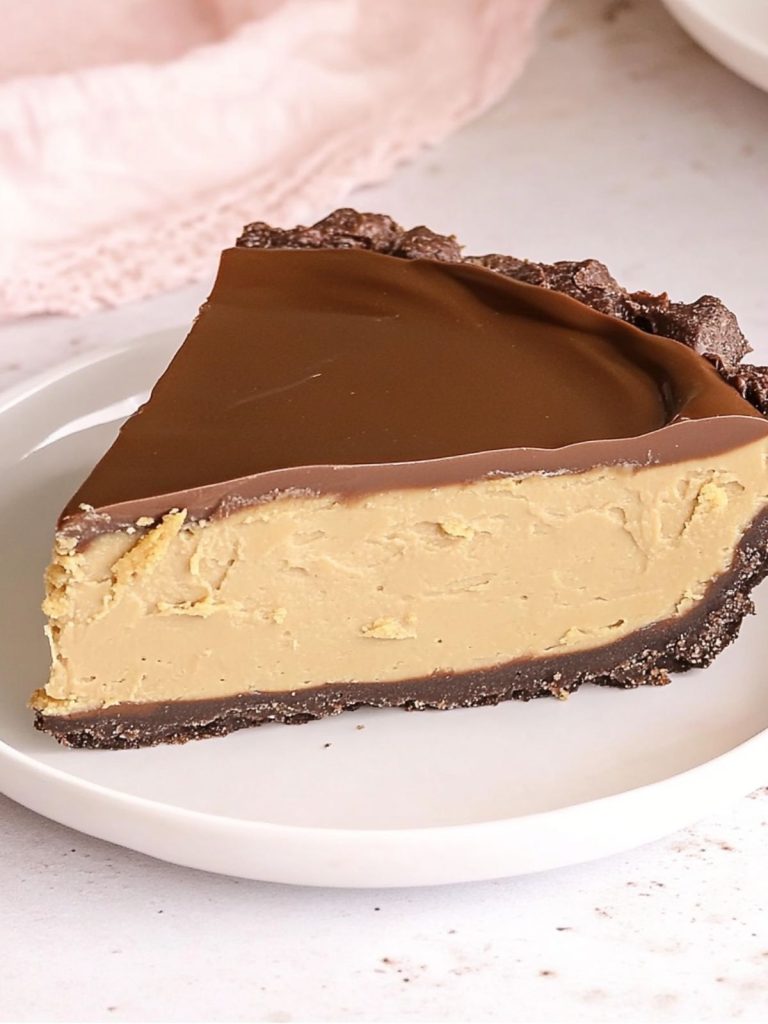
What makes this recipe special is its ability to bring a gourmet experience right to your kitchen, all without breaking the bank. This pie is not only a delight for those looking for a quick fix of sweetness but also for anyone wanting to impress guests without committing hours to the kitchen. Prepare to amaze your friends and save precious time with this crowd-pleaser that offers an unforgettable taste adventure.
Why You’ll Love Giant Reese’s Peanut Butter Pie?
The Giant Reese’s Peanut Butter Pie is a game-changer, and here’s why I think it’s a must-try:
- Simplicity at its Best: This recipe utilizes straightforward steps honed by baking experts, making it accessible for everyone from beginners to seasoned bakers.
- Rich, Indulgent Flavor: The combination of smooth, creamy peanut butter with the slight bitterness of chocolate creates a balance that satisfies both sweet and savory cravings.
- Standout Features: Its giant size makes a statement on any dessert table and guarantees enough to share with friends and family.
- Consistency Guaranteed: With tested methods, each slice delivers a perfect harmony of textures and flavors every single time.
“If you love Reese’s, this pie captures that same indulgence but in a sliceable format that’s perfect for any gathering.”
The Giant Reese’s Peanut Butter Pie is crafted to provide a delicious result with minimal effort, making it an enjoyable activity that rewards you with delightful outcomes suitable for any skill level.
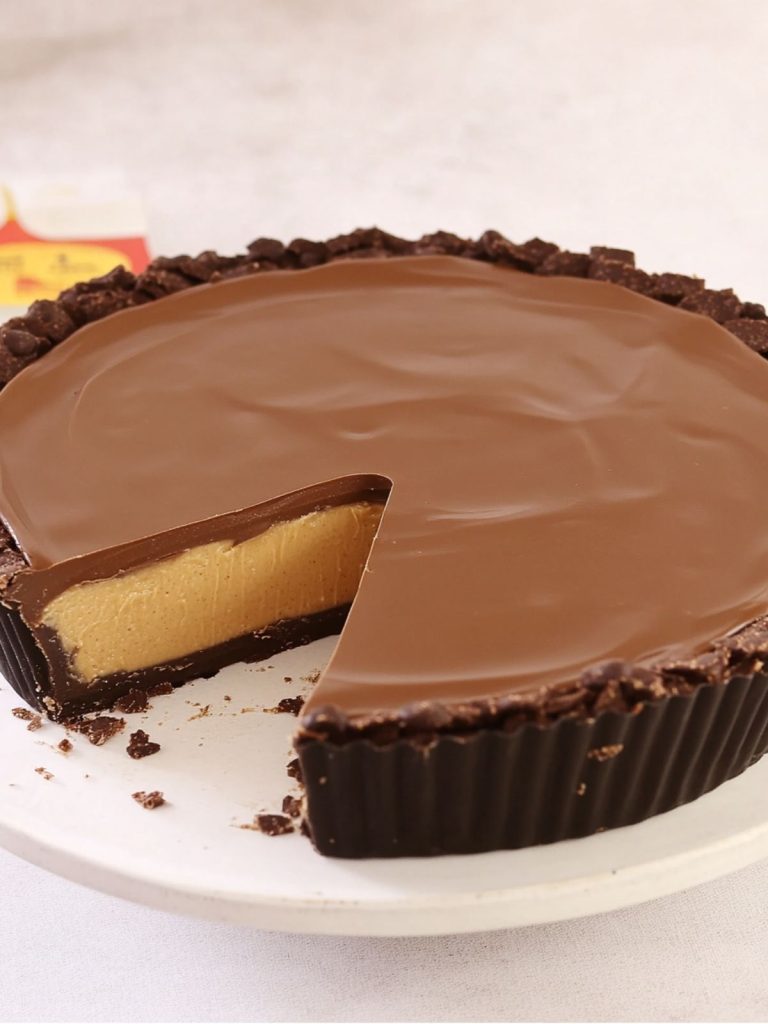
Ingredients Notes
- Reese’s Peanut Butter: I find its creamy texture perfect for that iconic taste. I choose fresh, unopened jars for peak flavor.
- Powdered Sugar: This adds sweetness and a smooth texture. Sift before using to avoid clumps.
- Salted Butter: It enhances flavor and offers a rich, tender crumb. Melt gently to avoid burning.
- Milk Chocolate: Go for high-quality pure chocolate or candy melts, ensuring smooth melting and a glossy finish.
How to Make Giant Reese’s Peanut Butter Pie?
- Prepare the Crust: I always start with a pre-made chocolate crumb pie crust. It’s already seasoned to perfection, saving me the hassle of making one from scratch. I gently press it into the pie tin to ensure it’s firm and even – this creates the perfect foundation for all that decadence to come!
- Mix the Peanut Butter Base: In my largest mixing bowl, I combine 1 cup of Reese’s peanut butter with 3 cups of sifted powdered sugar. The first time I made this, I was shocked at how much powdered sugar went in, but trust me, this ratio creates that perfect texture and sweetness that makes everyone ask for seconds. I stir until everything is well combined and smooth.
- Incorporate the Butter: Next, I pour in ½ cup of melted salted butter to the peanut butter mixture. I’ve found this transforms it into a creamy, divine filling that’s both rich and perfectly blended. The comforting aroma at this stage is like a warm hug that promises delicious rewards ahead!
- Melt the Chocolate: I carefully melt 16 ounces of milk chocolate using a double boiler (or microwave in 30-second bursts when I’m in a hurry). The key is stirring frequently – I’ve learned through trial and error that patience here prevents scorching and ensures that silky smooth chocolate we’re after.
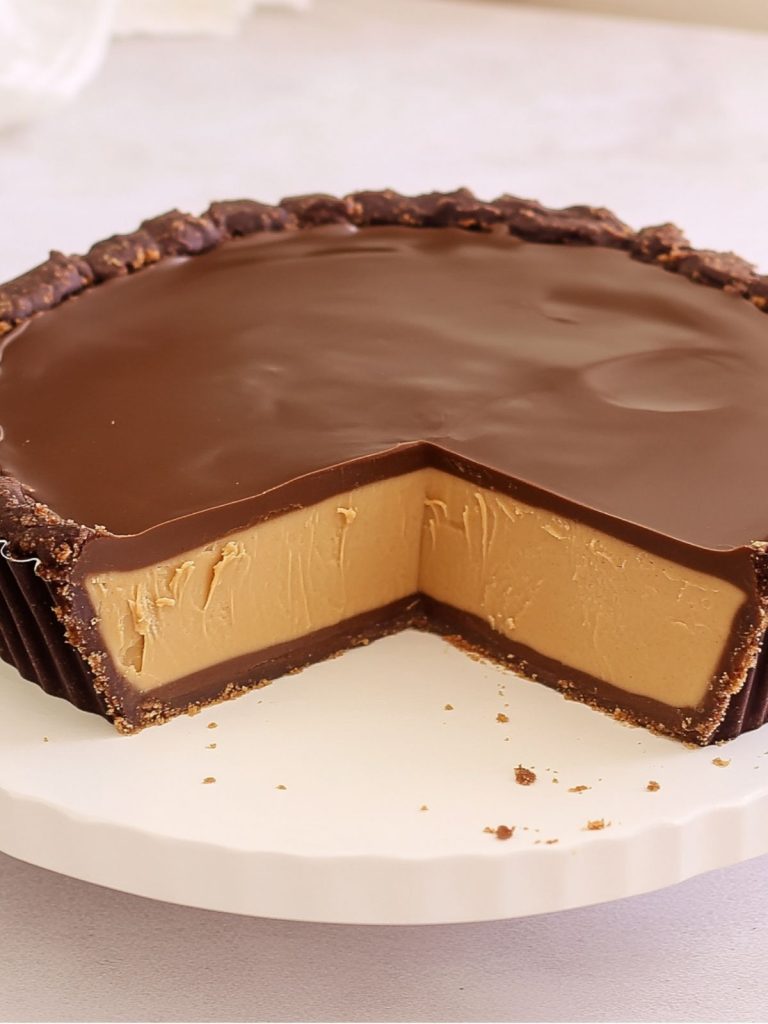
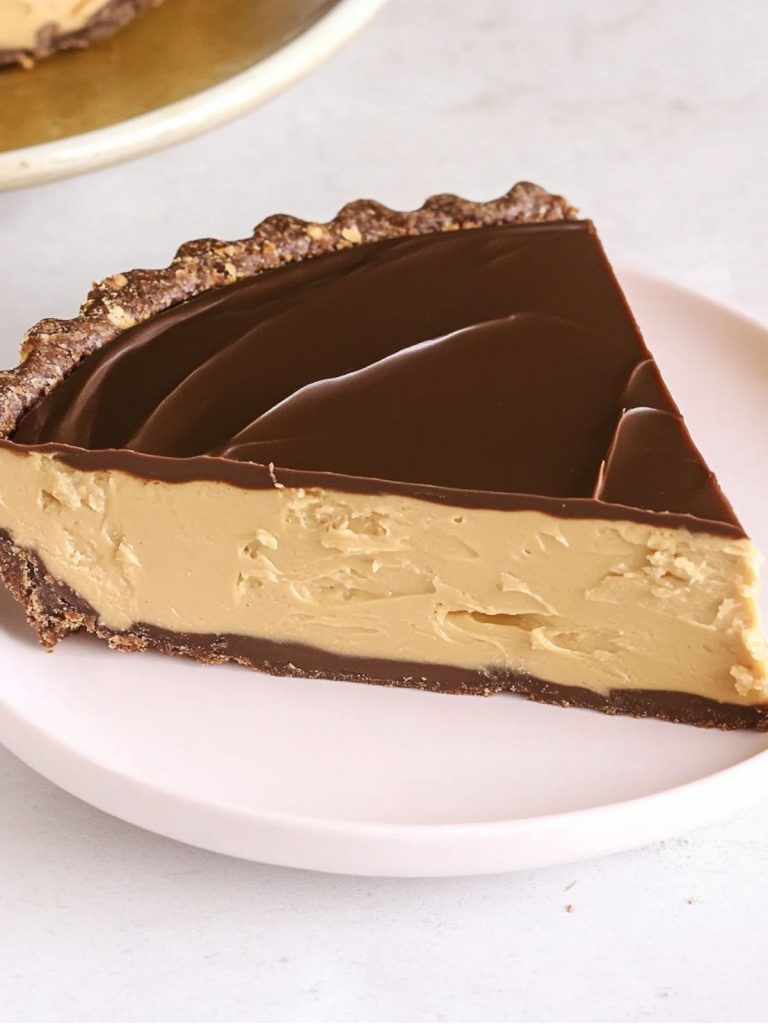
- Layer the Pie: This is where the magic happens! I spread half of my peanut butter mixture evenly over the crust, then pour half of that beautiful melted chocolate on top, creating a striking layer. I then add the remaining peanut butter mixture, gently smoothing it with a spatula to create even layers that will look impressive when sliced.
- Final Chocolate Layer: For the crowning touch, I pour the remaining melted chocolate over the top, spreading it to fully cover the pie. This creates that satisfying crack when you cut into it later – one of my favorite moments!
- Chill to Set: Patience is crucial here. I refrigerate for at least 4 hours, though I’ve discovered that chilling overnight allows the flavors to meld into something even more incredible. It’s worth the wait, I promise!
- Finishing Touch: Before serving, I often drizzle extra melted chocolate on top or add decorative whipped cream swirls. These simple touches transform this delicious pie into a showstopper that looks as amazing as it tastes. With hungry guests waiting, this impressive dessert always becomes the talk of the gathering!
Expert Cooking Tips
- Soften cream cheese adequately to avoid a lumpy filling.
- I recommend sifting powdered sugar for a smoother texture.
- I always chill my tools to maintain the coolness of the whipped cream.
- Fold whipped cream slowly to preserve a light and fluffy consistency.
- Place Reese’s cups uniformly for consistent flavor in every bite.
- Pre-slicing the pie promotes easy serving and cleaner slices.
- I suggest chilling overnight for a firmer set if time permits.
- Use a sharp knife for clean cuts through the thick peanut layers.
Storage Tips
- Store in an airtight container in the fridge for up to 5 days.
- For freezing, wrap the pie tightly in plastic before placing in the freezer.
- To avoid freezer burn, ensure no air can reach the exposed pie.
- Refrigerate thawed pie for a refreshing consistency and restored texture.
- When reheating, avoid using a microwave to maintain texture integrity.
- I recommend labeling storage containers with the date for optimal freshness.
- Defrost in the refrigerator overnight for best results.
- Ensure pie is not stored near pungent items to preserve its signature aroma.
Variations and Substitutions
- Gluten-Free: Use a gluten-free graham cracker crust to accommodate dietary needs while keeping the familiar crunch.
- Dairy-Free: Swap regular cream cheese with coconut or almond-based cream cheese for a creamy consistency without dairy.
- Nut-Free: Substitute peanut butter with sunflower seed butter to maintain the nutty essence for those with allergies.
- Vegan Option: Use vegan chocolate chips and dairy-free cream cheese for a completely plant-based version.
- Flavor Boost – Fruity: Add a raspberry or strawberry puree layer for a burst of freshness and contrast.
- Flavor Boost – Nutty: Sprinkle crushed almonds or pecans atop for added texture and a rich, nutty profile.
- Extra Chocolatey: Mix in chocolate chips into the pie filling for a deeper chocolate experience without altering texture.
What to Serve with Giant Reese’s Peanut Butter Pie?
- Fresh Berries: Raspberries and strawberries cut through richness and add a refreshing tang.
- Whipped Cream: Light, airy topping complements without overpowering the pie’s flavors.
- Vanilla Ice Cream: Creamy texture and mild sweetness balance the pie’s chocolatey notes.
- Espresso: Strong bitter notes enhance and counterbalance the pie’s inherent sweetness.
- Caramel-Drizzled Nuts: Complements the pie’s nutty flavors while adding sweet-crunchy texture.
- Mint-Infused Water: Cleanses palate with herbal freshness between bites.
- Salted Caramel Sauce: Adds a sweet-salty contrast to the rich pie.
- Lite Fruit Salad: Provides a refreshing contrast with a medley of flavors.
FAQ
Refrigerate the crust before adding fillings.
Use unsweetened chocolate or reduce sugar in filling.
Let the pie sit before slicing to prevent cracks.
Use a warm knife for cleaner cuts.
Incorporate more cream or milk for a lighter taste.
- 0 Facebook
- 98 Pinterest
- 0 Email
- Copy Link
- 98 shares
Giant Reese's Peanut Butter Pie Extravaganza
Ingredients
Instructions
- Prepare the Crust
I always start with a pre-made chocolate crumb pie crust. It’s already seasoned to perfection, saving me the hassle of making one from scratch. I gently press it into the pie tin to ensure it’s firm and even – this creates the perfect foundation for all that decadence to come!
- Mix the Peanut Butter Base
In my largest mixing bowl, I combine 1 cup of Reese’s peanut butter with 3 cups of sifted powdered sugar. The first time I made this, I was shocked at how much powdered sugar went in, but trust me, this ratio creates that perfect texture and sweetness that makes everyone ask for seconds. I stir until everything is well combined and smooth.
- Incorporate the Butter
Next, I pour in ½ cup of melted salted butter to the peanut butter mixture. I’ve found this transforms it into a creamy, divine filling that’s both rich and perfectly blended. The comforting aroma at this stage is like a warm hug that promises delicious rewards ahead!
- Melt the Chocolate
I carefully melt 16 ounces of milk chocolate using a double boiler (or microwave in 30-second bursts when I’m in a hurry). The key is stirring frequently – I’ve learned through trial and error that patience here prevents scorching and ensures that silky smooth chocolate we’re after.
- Layer the Pie
This is where the magic happens! I spread half of my peanut butter mixture evenly over the crust, then pour half of that beautiful melted chocolate on top, creating a striking layer. I then add the remaining peanut butter mixture, gently smoothing it with a spatula to create even layers that will look impressive when sliced.
- Final Chocolate Layer
For the crowning touch, I pour the remaining melted chocolate over the top, spreading it to fully cover the pie. This creates that satisfying crack when you cut into it later – one of my favorite moments!
- Chill to Set
Patience is crucial here. I refrigerate for at least 4 hours, though I’ve discovered that chilling overnight allows the flavors to meld into something even more incredible. It’s worth the wait, I promise!
- Finishing Touch
Before serving, I often drizzle extra melted chocolate on top or add decorative whipped cream swirls. These simple touches transform this delicious pie into a showstopper that looks as amazing as it tastes. With hungry guests waiting, this impressive dessert always becomes the talk of the gathering!