- 0 Facebook
- 9 Pinterest
- 0 Email
- Copy Link
- 9 shares
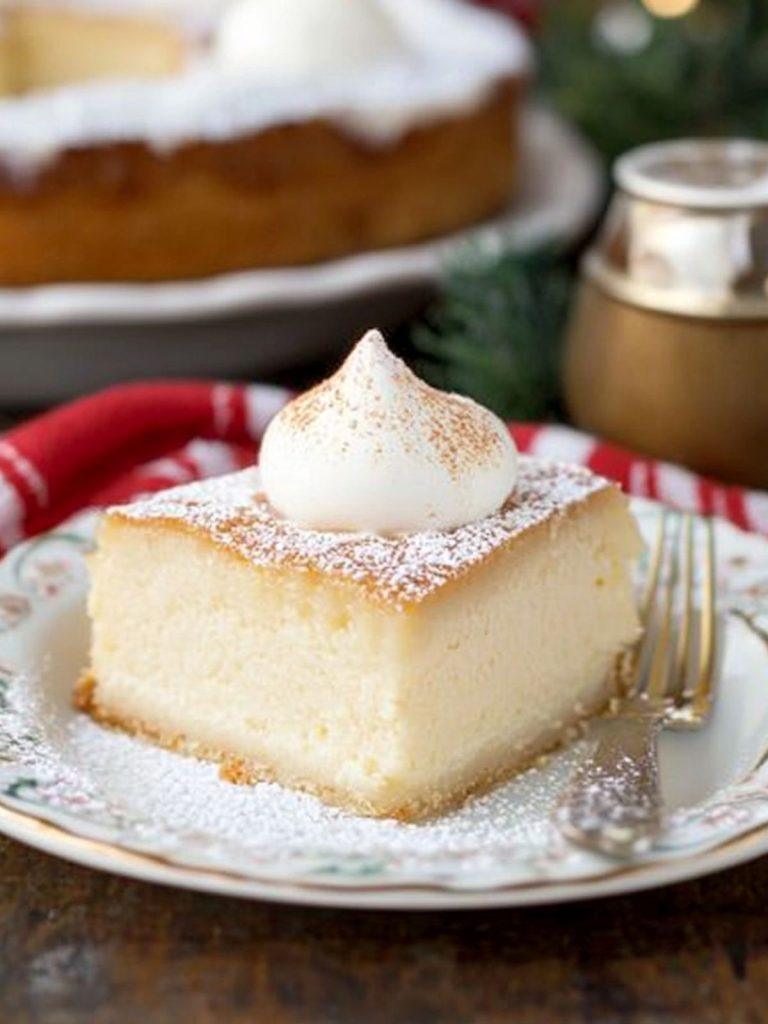
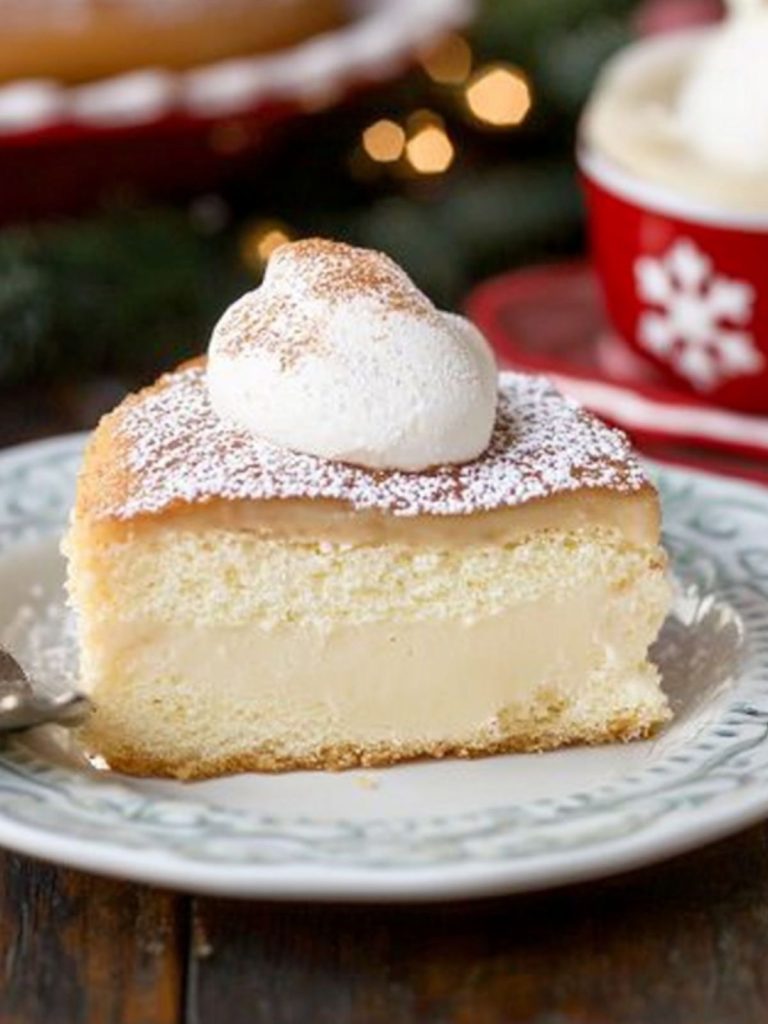
I’ve found that whipping up the Eggnog Magic Cake is a breeze with simple ingredients like eggs, flour, and nutmeg, resulting in a moist cake with a festive flavor twist that’s everyone’s holiday favorite!
I vividly remember the first time I stumbled upon the Eggnog Magic Cake recipe. It was during a cozy family gathering, where I was tasked with bringing a dessert that would both amaze and delight. Curious, I embarked on a flavorful experiment that took a beloved holiday drink and transformed it into an unforgettable cake. This recipe holds a special place in my heart not only because of its delectable taste but also due to its simplicity and how affordably it satisfied everyone’s sweet cravings.
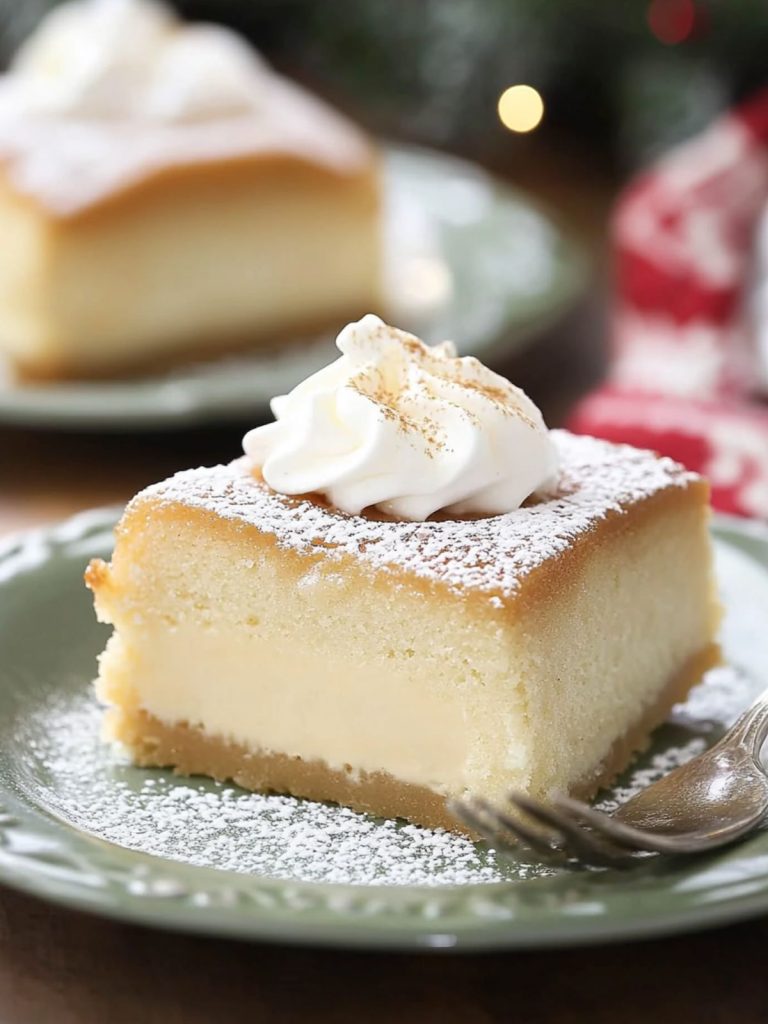
What makes this recipe truly stand out is its ability to save time while providing a unique and indulgent experience. It’s an uncomplicated yet impressive dessert perfect for any festive occasion or a comforting night in. Whether you’re an experienced baker or a novice, you’ll find this recipe both a delightful challenge and a rewarding addition to your holiday baking repertoire.
Why You’ll Love Eggnog Magic Cake?
- Simplicity at its finest: The Eggnog Magic Cake requires minimal ingredients and just a few straightforward steps, making it accessible for bakers of all skill levels.
- Rich, festive flavor: With every bite, you’ll experience a harmonious blend of creamy eggnog, warming spices, and a sweet, custardy texture that appeals to nutmeg enthusiasts and dessert lovers alike.
- Consistent results: Thanks to trusted baking techniques and our carefully measured recipe, you can expect perfectly layered cakes every time, ensuring that every serving is as good as the last.
- Versatility and appeal: This cake shines as a festive centerpiece at holiday gatherings but is equally capable of elevating an everyday dessert experience with its gourmet-like charm.
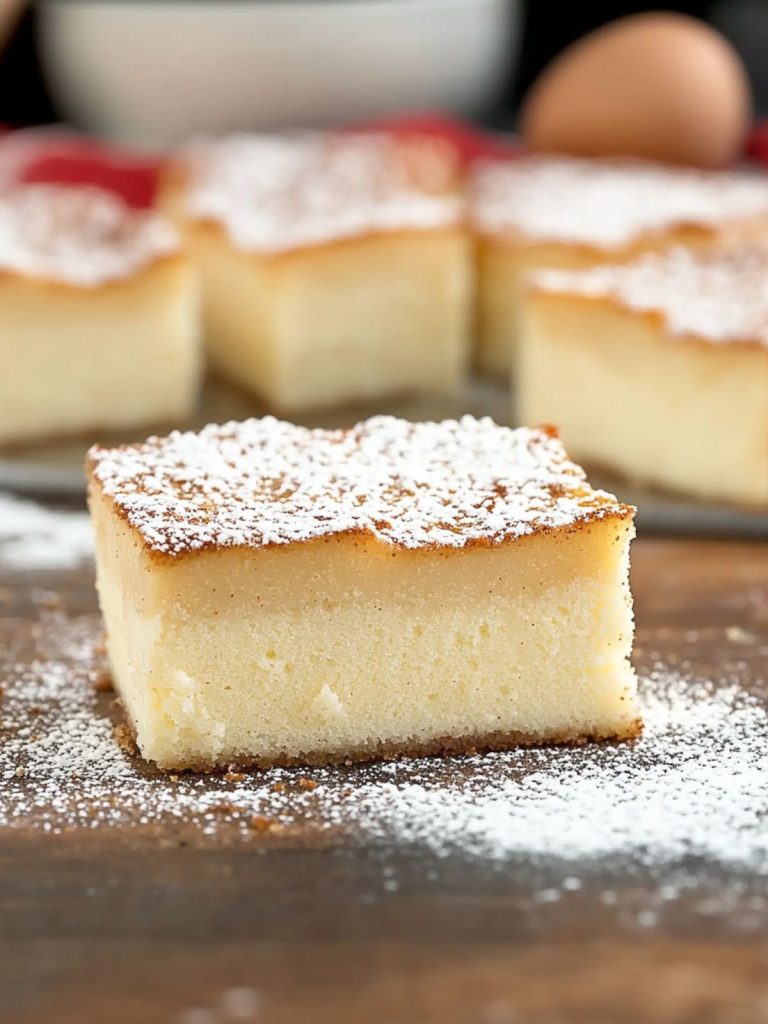
Ingredients Notes
- Prepared Eggnog: I always go for freshly made or high-quality store-bought eggnog. Its creamy, spiced richness defines the cake’s flavor profile.
- Eggs: Room temperature and separated, they ensure the perfect rise and creamy texture. Quality eggs promise better color and structure.
- White Distilled Vinegar: Just a hint elevates the egg whites for a superior meringue. Use fresh for the best results.
- Unsalted Butter: Using top-quality, unsalted butter enhances the cake’s rich taste and texture without overwhelming saltiness.
- Confectioners’ Sugar: Its fine texture integrates seamlessly, offering both sweetness and moisture. Choose well-sifted varieties to avoid clumping.
- All-Purpose Flour: For versatility, I prefer a gluten-free blend like King Arthur’s, which guarantees structure without compromising taste or texture.
- Dark Rum: Adds warmth and depth; if alcohol isn’t preferred, additional eggnog works beautifully. Try a robust brand for fuller flavor.
- Vanilla Extract: Pure extract is a must for authentic undertones, complementing the eggnog’s natural spices.
- Nutmeg: Freshly grated nutmeg offers an aromatic top note, enhancing the cake’s festive essence with its distinct, spicy scent.
How to Make Eggnog Magic Cake?
- Prepare Your Ingredients: Premeasure your flour, sugar, eggs, milk, and of course, your eggnog. Having everything ready ensures a smooth baking process.
- Separate the Eggs: Carefully separate the egg yolks from the whites. Cold eggs separate more easily but allow them to reach room temperature for the best volume when whisked.
- Create a Smooth Batte r: In a large bowl, whisk egg yolks with sugar until creamy. Fold in melted butter and blend until smooth for a velvety finish.
- Mix Flour and Eggnog: Gradually stir flour into the yolk mixture. Alternate with eggnog, ensuring no lumps for a silky texture. The aroma will already start to fill your kitchen.
- Incorporate the Egg Whites: Beat egg whites until stiff peaks form. Carefully fold them into the batter without losing volume, for that signature cake fluffiness.
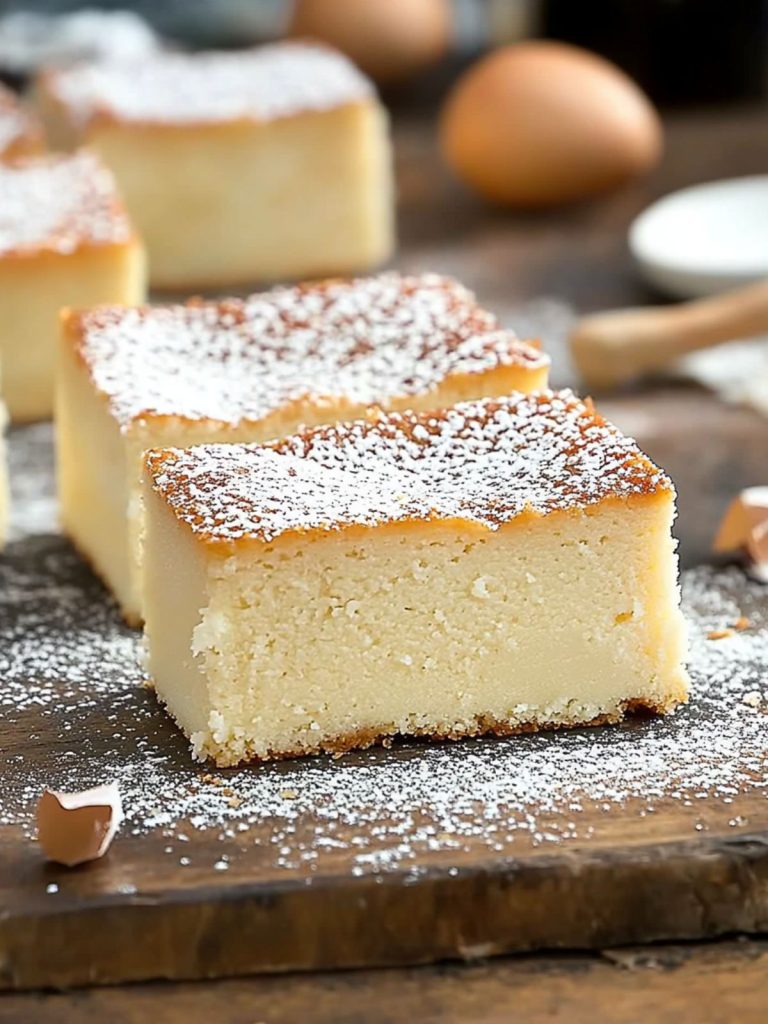
- Bake to Perfection: Pour the batter into a prepared pan, and bake until golden. Enjoy the delightful transformation as layers form, creating an enticing cake.
Expert Cooking Tips
- Whisk egg yolks and sugar thoroughly for at least three minutes for a creamy base.
- I always sift flour twice to achieve a light and airy cake texture.
- Ensure butter is melted and slightly cooled to integrate smoothly without scrambling eggs.
- Fold egg whites gently; I use a spatula to maintain a light batter.
- Bake in a preheated oven —temperature accuracy ensures even cake layers.
- Use a toothpick to check the cake’s doneness in the center, aiming for slight moisture.
- To avoid overmixing, blend ingredients only until incorporated for tender cake results.
Storage Tips
- Store cooled cake in an airtight container in the refrigerator for up to 3 days.
- Wrap individual pieces tightly in plastic wrap to prevent moisture loss when freezing.
- To reheat, warm slices in a preheated oven at 300°F for 5-7 minutes.
- Ensure thorough cooling before refrigeration to avoid condensation inside the container.
- Label and date your freezer bags to keep track of freshness.
- Avoid reheating in a microwave, which can make the texture rubbery.
- To prevent freezer burn, double-wrap the cake with foil over plastic wrap.
Variations and Substitutions
- Dairy-Free: Use almond or coconut milk instead of regular milk. Substitute coconut cream for heavy cream to retain creaminess.
- Gluten-Free: Replace all-purpose flour with a gluten-free baking mix. It won’t affect the cake layers’ texture.
- Nutty Flavor: Add a tablespoon of almond extract to incorporate a warm, nutty taste without compromising texture.
- Fruity Twist: Layer thinly sliced apples or pears on top before baking for a fresh, fruity zest.
- Chocolatey Delight: Mix in chocolate chips for a rich flavor. The cake remains soft and flavorful.
- Vegan Option: Swap eggs with a flaxseed mixture (1 tbsp flaxseed with 3 tbsp water = 1 egg). Use plant-based milk.
- Low-Sugar: Use coconut sugar for a healthier sweetness without altering the cake’s lushness.
- Spiced Variation: Add a teaspoon of cinnamon or nutmeg for a spicy, festive kick.
What to Serve with Eggnog Magic Cake?
- Fresh mixed greens salad with citrus dressing complement the cake’s sweetness, offering a refreshing balance.
- A light fruit compote of berries emphasizes the cake’s rich flavors while providing a tart contrast.
- Plain roasted almonds or walnuts provide a crunchy texture, enhancing the soft cake.
- Vanilla bean ice cream adds a creamy element, perfectly matching the cake’s velvety layers.
- Espresso coffee or hot tea offers a bold, robust flavor, cutting through the cake’s richness.
FAQ
Use room temperature ingredients for even layers.
Lower sugar slightly; the cake will remain flavorful.
Ensure batter consistency isn’t overmixed or too runny.
Yes, bake up to 2 days in advance. Store in the fridge.
Rotate pan midway to ensure even cooking.
- 0 Facebook
- 9 Pinterest
- 0 Email
- Copy Link
- 9 shares
Eggnog Magic Cake
Ingredients
Instructions
- Prepare your ingredients
Premeasure your flour, sugar, eggs, milk, and eggnog. Having everything ready ensures a smooth process.
- Separate the eggs
Carefully separate yolks from whites. Cold eggs separate easily; let them reach room temperature for best results.
- Create a smooth batter
Whisk egg yolks with sugar until creamy. Fold in melted butter for a velvety finish.
- Mix flour and eggnog
Gradually stir flour into the yolk mixture, alternately with eggnog, to achieve a silky texture.
- Incorporate the egg whites
Beat until stiff peaks form; fold into the batter carefully to maintain fluffiness.
- Bake to perfection
Pour batter into a prepared pan, bake until golden. Watch as layers magically form into an enticing cake.