- 0 Facebook
- 0 Pinterest
- 0 Email
- Copy Link
- 0 shares
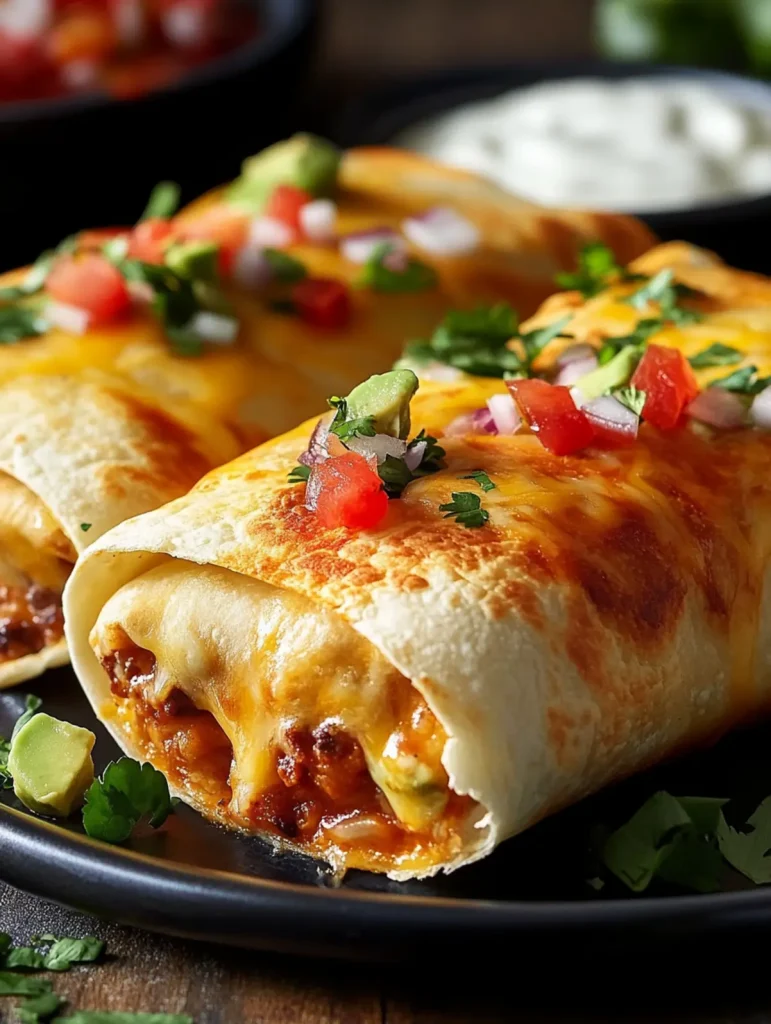
These golden-brown chimichangas deliver all the crunch and satisfaction of the deep-fried restaurant version, with a fraction of the oil. Baking transforms ordinary tortillas into crispy vessels holding a treasure of tender shredded chicken, melted cheese, and spice-infused filling. The combination of sharp cheddar and creamy Monterey Jack creates that irresistible cheese-pull moment with each bite, while green chilies and warm spices add just the right kick. Pair these crispy beauties with cool guacamole and sour cream for a restaurant-quality meal made right in your own kitchen.
Why You’ll Love This Recipe
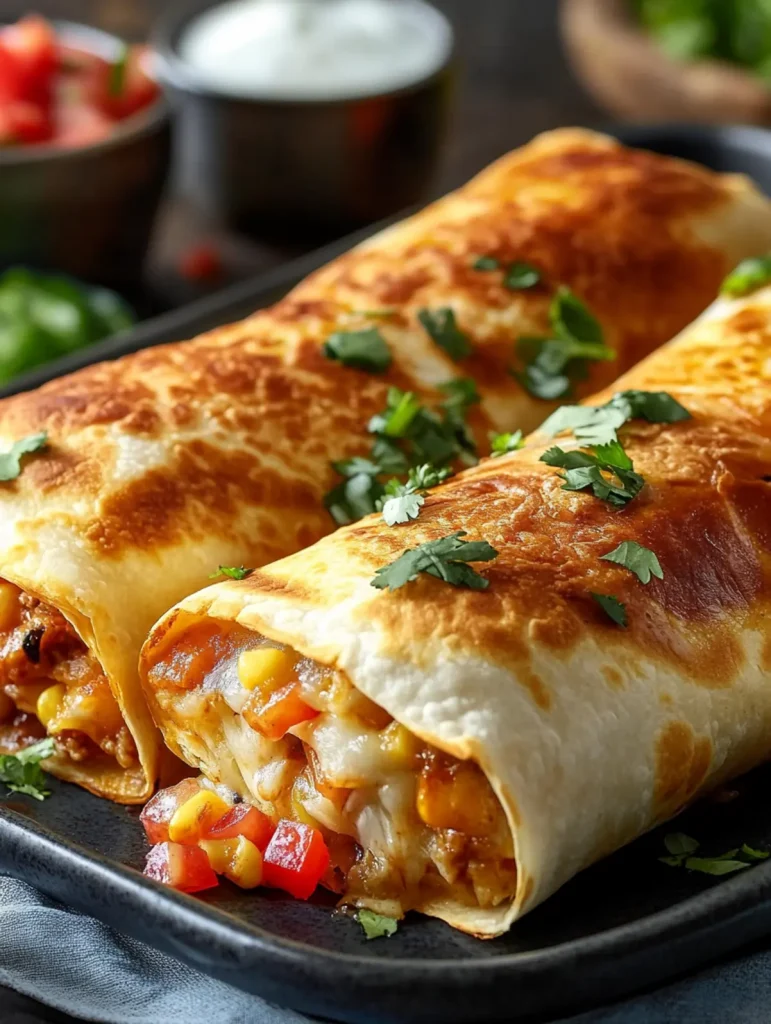
These Ultimate Crispy Baked Chimichangas deliver restaurant-quality results with home kitchen simplicity. Each bite offers the perfect combination of textures and flavors that make this dish so craveable.
- Crispy Without Frying : The butter-brushed tortillas transform in the oven into golden, crispy shells that crackle when you bite into them—no deep-fryer or excess oil needed.
- Flavor-Packed Filling : Each chimichanga contains the perfect balance of tender shredded chicken, melty cheese, and warming spices that complement rather than overwhelm each other.
- Weeknight Hero : Ready in just 45 minutes from start to finish, these chimichangas deliver impressive results even when time is limited on busy evenings.
- Customization Champion : The basic recipe serves as a perfect template—swap chicken for beef, pork, or beans, adjust the spice level, or experiment with different cheese combinations based on what’s available.
- Meal Prep Marvel : These chimichangas reheat beautifully, making them ideal for preparing ahead and enjoying throughout the week when the craving for Mexican-inspired comfort food strikes.
Ingredient Notes
Every component in these Crispy Baked Chimichangas plays a crucial role in creating that restaurant-quality magic without deep frying. Understanding each ingredient helps you achieve the perfect balance of flavor, texture, and visual appeal.
- Cooked, shredded chicken : Provides the protein-rich foundation for the filling. Rotisserie chicken works perfectly here, saving time while adding depth of flavor, or use leftover roasted chicken for even more economical meal planning.
- Cheddar cheese : Adds sharp, tangy flavor and that classic orange color. For best melting quality, grate your own from a block rather than using pre-shredded varieties which contain anti-caking agents.
- Monterey Jack cheese : Creates the perfect stretchy, gooey cheese pull when the chimichangas are hot. Its mild flavor complements the sharper cheddar for a balanced cheesy experience.
- Salsa : Introduces moisture, acidity, and complex flavor to the filling. Choose your preferred heat level—mild, medium, or hot—to customize the spiciness of your chimichangas.
- Diced green chilies : These mild peppers add authentic Southwestern flavor and subtle heat. The canned variety offers convenience without sacrificing taste, no draining required.
- Ground cumin : Provides earthy, warm aromatic notes essential to Mexican cuisine. Always use fresh ground cumin for maximum flavor impact, as this spice loses potency quickly once ground.
- Chili powder : Delivers classic color and depth to the filling. American chili powder is actually a blend of spices, so it adds complexity beyond simple heat.
- Large flour tortillas : Form the crispy exterior shell. Look for 10-inch burrito-size tortillas that are pliable and fresh for best rolling and folding results.
- Melted butter : Creates the golden-brown, crunchy exterior that mimics frying. Brushing it on before baking is the secret to achieving that satisfying crispiness without deep frying.
- Cooking spray : Prevents sticking while promoting even browning. A light coating on both the baking sheet and the tops of the chimichangas ensures perfect all-around crispiness.
Let’s Cook It
- Preheat your oven to 400°F (200°C) and spray a large baking sheet with cooking spray to prevent sticking.
- Combine the shredded chicken, cheddar cheese, Monterey Jack cheese, salsa, green chilies, cumin, and chili powder in a large mixing bowl. Stir until everything is evenly incorporated and the spices are distributed throughout.
- Warm the tortillas slightly in the microwave for 20-30 seconds to make them more pliable – I’ve found this makes rolling much easier and prevents cracking.
- Place about ⅓ cup of the chicken mixture slightly off-center on each tortilla. Fold in the sides, then roll up tightly from bottom to top, making sure the filling stays tucked inside.
- Place the rolled chimichangas seam-side down on the prepared baking sheet, making sure they don’t touch each other. Brush the tops and sides generously with melted butter – this is the secret to getting that crispy, golden exterior.
- Spray the tops lightly with cooking spray for extra crispiness, then bake for 22-25 minutes, or until the tortillas turn a beautiful golden brown and develop that characteristic crunch.
- Let the chimichangas rest for 2-3 minutes before serving. This allows the inside to set slightly so the filling doesn’t spill out when you cut into them.
Remember, the cheese inside will be extremely hot when first out of the oven , so give these beauties a moment to cool slightly before diving in!
Storage & Freezing
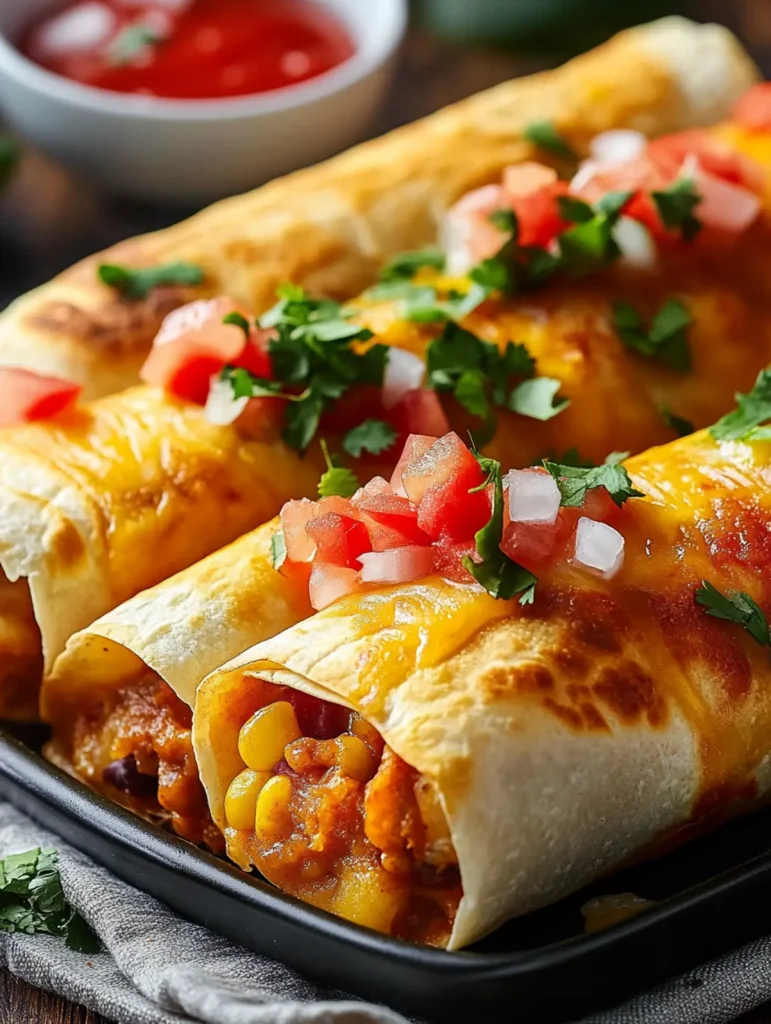
These Ultimate Crispy Baked Chimichangas store beautifully, making them perfect for meal prep or enjoying as leftovers. With proper storage techniques, you can maintain their delicious texture and flavor for days or even months.
Refrigerating Leftovers: Store cooled chimichangas in an airtight container in the refrigerator for up to 3-4 days. To prevent soggy tortillas, place a paper towel under and over them to absorb excess moisture. I’ve found that keeping them separated rather than stacked helps maintain that crispy exterior better.
Freezing for Later: These chimichangas freeze exceptionally well for up to 2 months. Allow them to cool completely, then wrap each one individually in aluminum foil before placing in a freezer-safe bag or container. Label with the date to keep track of freshness. The individual wrapping prevents freezer burn and makes it easy to grab just one or two when needed.
Reheating for Maximum Crispiness: For refrigerated chimichangas, reheat in a 350°F oven for 10-12 minutes until heated through and crispy again. From frozen, bake at 375°F for about 20-25 minutes. While microwave reheating works in a pinch (1-2 minutes per chimichanga), you’ll sacrifice some of the wonderful crispy texture. A quick stint in a toaster oven gives nearly the same results as fresh-baked!
Make Ahead Options
These Crispy Baked Chimichangas are perfect for busy weeknights and meal prep enthusiasts! You can prepare the filling mixture up to 3 days in advance and store it covered in the refrigerator , allowing the flavors to meld beautifully. The chimichangas can also be assembled completely (filling added and rolled) up to 24 hours ahead of time—just place them seam-side down on a baking sheet, cover tightly with plastic wrap, and refrigerate. When ready to bake, simply brush with melted butter, spray with cooking spray, and add an extra 2-3 minutes to the baking time since they’ll be cold from the fridge. This make-ahead approach saves precious time on hectic evenings while delivering the same golden, crispy results you crave.
Expert Tips for Ultimate Crispy Baked Chimichangas
Here are some pro tricks to elevate your homemade chimichangas from good to spectacular:
- Prevent soggy bottoms: Place chimichangas on a wire rack on your baking sheet instead of directly on the pan—this allows air to circulate underneath for all-around crispiness.
- Double butter technique: I’ve found brushing tortillas with a thin layer of butter before adding filling, then again after rolling, creates an extra-crispy exterior that rivals deep-fried versions.
- Control moisture levels: If your salsa is particularly watery, strain it briefly before mixing with other filling ingredients to prevent soggy chimichangas.
- Perfect portion control: Use a measuring cup (⅓ cup) for consistent filling amounts—overstuffed chimichangas often burst during baking, while underfilled ones lack that satisfying texture contrast.
- Cheese distribution matters: Mix half the cheese into your filling and sprinkle the remaining directly onto tortillas before adding the chicken mixture—this creates pockets of melty goodness throughout your crispy baked chimichangas.
- Secure those seams: If your chimichangas unwrap during baking, try securing them with toothpicks (just remember to remove before serving!) or placing them closer together on the baking sheet.
Serving Suggestions
These Crispy Baked Chimichangas deserve a presentation that highlights their golden-brown perfection and makes the meal feel complete. I love turning these into a restaurant-style experience right at my kitchen table!
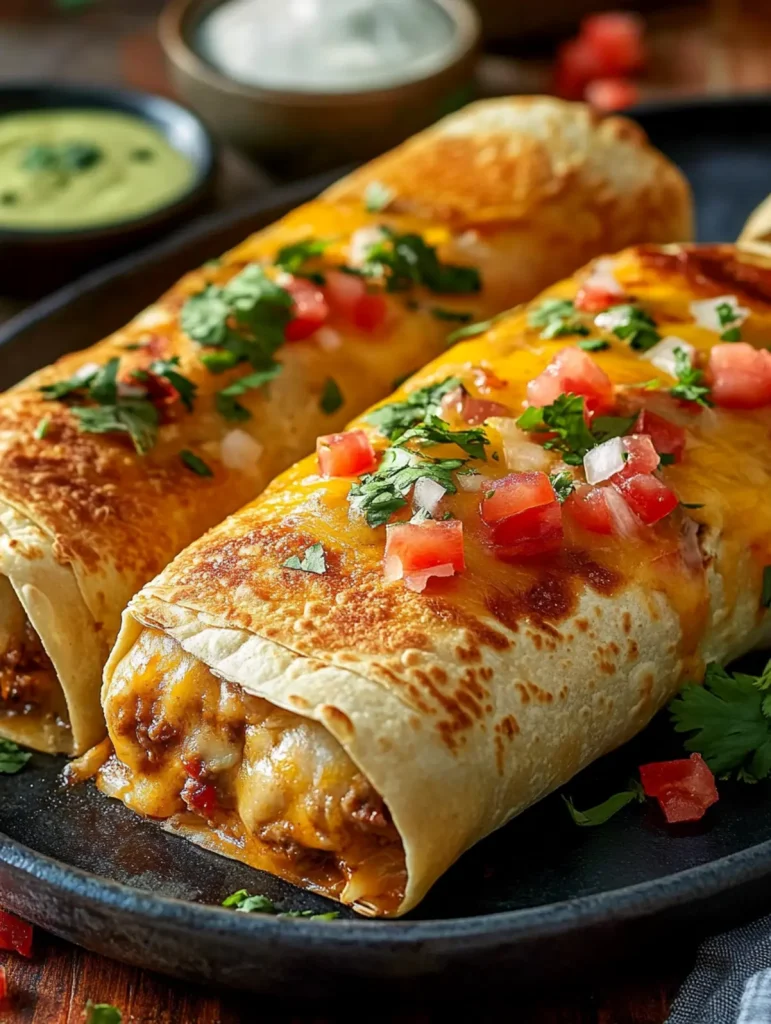
For the perfect plate, place one or two chimichangas on a warm plate and surround them with colorful accompaniments. Create a trio of dipping options with small bowls of fresh guacamole, tangy sour cream, and additional salsa – the cool creaminess of these condiments beautifully balances the warm, spiced filling and crispy exterior. A sprinkle of chopped cilantro and a lime wedge adds both color and a fresh flavor boost.
Complete your Mexican-inspired feast with sides that complement these crispy beauties. A simple Mexican rice with tomatoes and corn makes an excellent base, while a light cabbage slaw with lime vinaigrette adds welcome crunch and acidity. For beverage pairings, nothing beats an ice-cold Mexican beer with lime, a classic margarita, or even a non-alcoholic horchata for family dinners.
These chimichangas work beautifully for various occasions – from casual weeknight dinners to weekend gatherings. When hosting friends, I set up a “chimichanga bar” with the baked chimichangas as the centerpiece and various toppings in colorful bowls, allowing guests to customize their plates. The chicken-cheese combination featuring both cheddar and Monterey Jack creates a crowd-pleasing flavor profile that appeals to both adventurous eaters and those who prefer milder options.
Variations & Substitutions
Don’t be afraid to make these chimichangas your own! The basic recipe is incredibly versatile and can be customized to fit your preferences or whatever ingredients you have on hand.
- Protein swaps: Replace chicken with 2 cups of seasoned ground beef, shredded pork, or even plant-based alternatives like black beans and corn for a vegetarian version. I’ve made these with leftover barbacoa beef, and they were absolutely incredible!
- Cheese variations: While the cheddar and Monterey Jack combo is classic, try pepper jack for extra heat, cotija for authentic Mexican flavor, or a dairy-free cheese if you’re accommodating allergies or preferences.
- Tortilla options: Standard flour tortillas work beautifully, but try whole wheat for added nutrition, or corn tortillas (slightly warmed) for a gluten-free alternative. Just be aware that corn tortillas are smaller, so adjust your filling amounts accordingly.
- Heat level adjustments: Customize the spice level by using mild, medium, or hot salsa as your base. Add a diced jalapeño or chipotle pepper in adobo to the filling for serious heat lovers, or scale back the chili powder for more sensitive palates.
- Filling enhancements: Fold in sautéed onions, bell peppers, or corn kernels to add texture and nutrition to the filling. A handful of chopped cilantro or a squeeze of lime juice brightens all the flavors beautifully.
- Make-ahead option: Assemble the chimichangas completely, cover tightly with plastic wrap, and refrigerate for up to 24 hours before baking. Simply add 2-3 extra minutes to the baking time when cooking from refrigerated.
Recipe FAQs
Can I use corn tortillas instead of flour? No, flour tortillas crisp better when baked.
How do I prevent my chimichangas from getting soggy? Place on wire rack while baking.
What can I substitute for green chilies? Jalapeños or poblanos work perfectly.
Can I make these vegetarian? Replace chicken with black beans and corn.
How do I reheat for maximum crispiness? Bake at 350°F for 10 minutes.
Do I need to drain the canned green chilies? No, their liquid adds flavor to filling.
- 0 Facebook
- 0 Pinterest
- 0 Email
- Copy Link
- 0 shares
Ultimate Crispy Baked Chimichangas: Healthier Restaurant-Style Magic
Ingredients
Instructions
Preheat your oven to 400°F (200°C) and spray a large baking sheet with cooking spray to prevent sticking.
Combine the shredded chicken, cheddar cheese, Monterey Jack cheese, salsa, green chilies, cumin, and chili powder in a large mixing bowl. Stir until everything is evenly incorporated and the spices are distributed throughout.
Warm the tortillas slightly in the microwave for 20-30 seconds to make them more pliable – I’ve found this makes rolling much easier and prevents cracking.
Place about ⅓ cup of the chicken mixture slightly off-center on each tortilla. Fold in the sides, then roll up tightly from bottom to top, making sure the filling stays tucked inside.
Place the rolled chimichangas seam-side down on the prepared baking sheet, making sure they don’t touch each other. Brush the tops and sides generously with melted butter – this is the secret to getting that crispy, golden exterior.
Spray the tops lightly with cooking spray for extra crispiness, then bake for 22-25 minutes, or until the tortillas turn a beautiful golden brown and develop that characteristic crunch.
Let the chimichangas rest for 2-3 minutes before serving. This allows the inside to set slightly so the filling doesn’t spill out when you cut into them.
Notes
Prevent soggy bottoms: Place chimichangas on a wire rack on your baking sheet instead of directly on the pan—this allows air to circulate underneath for all-around crispiness.
Double butter technique: I’ve found brushing tortillas with a thin layer of butter before adding filling, then again after rolling, creates an extra-crispy exterior that rivals deep-fried versions.
Control moisture levels: If your salsa is particularly watery, strain it briefly before mixing with other filling ingredients to prevent soggy chimichangas.
Perfect portion control: Use a measuring cup (⅓ cup) for consistent filling amounts—overstuffed chimichangas often burst during baking, while underfilled ones lack that satisfying texture contrast.
Cheese distribution matters: Mix half the cheese into your filling and sprinkle the remaining directly onto tortillas before adding the chicken mixture—this creates pockets of melty goodness throughout your crispy baked chimichangas.
Secure those seams: If your chimichangas unwrap during baking, try securing them with toothpicks (just remember to remove before serving!) or placing them closer together on the baking sheet.
Nutrition
| Serving Size | 2 chimichangas |
|---|---|
| Calories | 450 calories |
| Sugar Content | 2g |
| Sodium Content | 800mg |
| Fat Content | 22g |
| Saturated Fat Content | 10g |
| Unsaturated Fat Content | 10g |
| Trans Fat Content | 0g |
| Carbohydrate Content | 45g |
| Fiber Content | 4g |
| Protein Content | 30g |
| Cholesterol Content | 90mg |