- 0 Facebook
- 0 Pinterest
- 0 Email
- Copy Link
- 0 shares
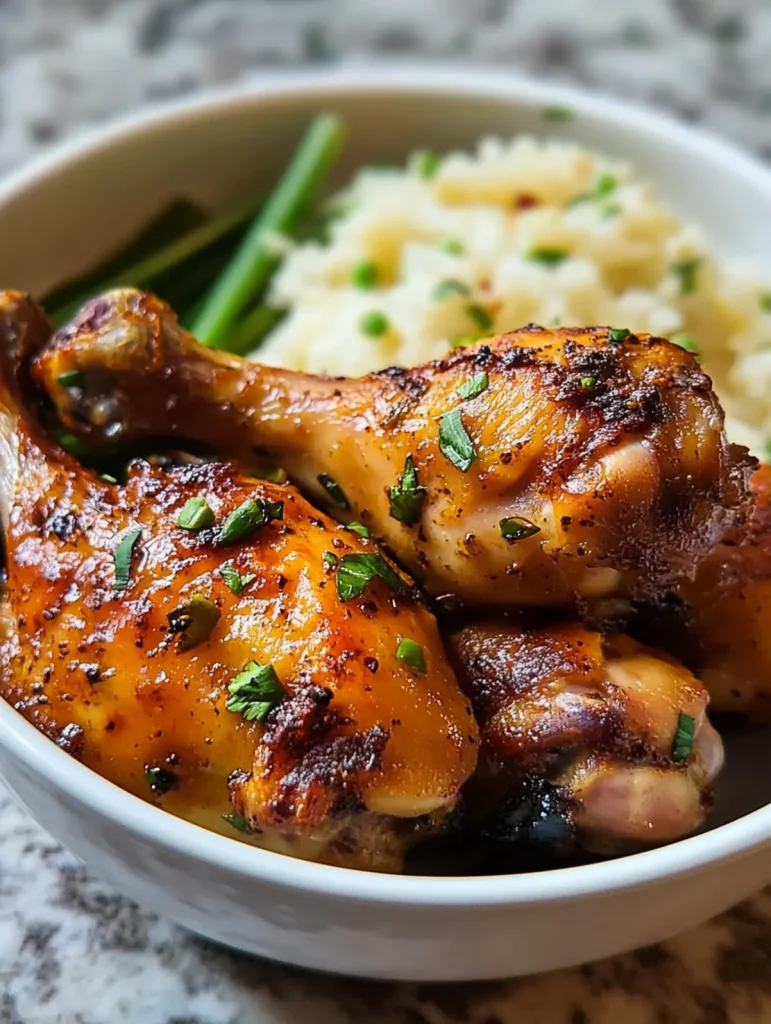
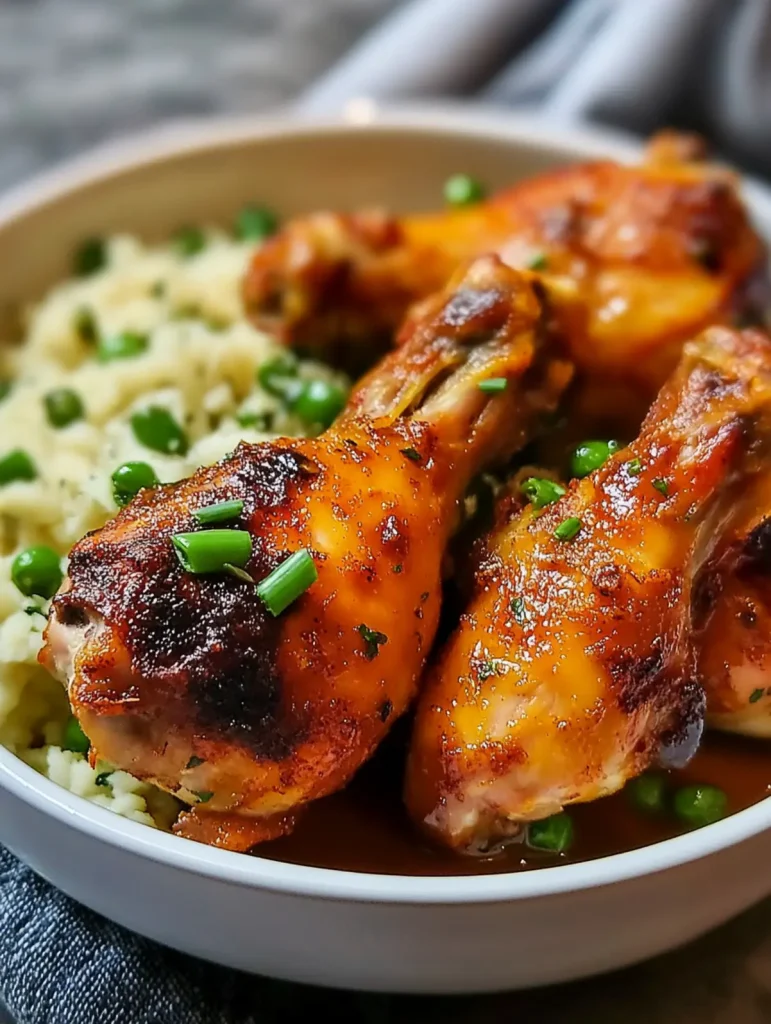
These golden, crispy-skinned chicken drumsticks transform an ordinary dinner into something extraordinary. Seasoned with a perfect blend of garlic, onion, and paprika, then baked until juicy inside with that satisfying crunch outside—this complete meal delivers comfort in every bite. The drumsticks nestle alongside vibrant sautéed green beans and velvety mashed potatoes, all brought together by a rich brown gravy that pools deliciously on the plate. A hearty, homestyle bowl that proves the best meals don’t require complicated techniques—just quality ingredients and a hot oven .
Why It’s a Trusted Favorite
This perfect comfort meal combines impressive flavor with practical simplicity that makes it ideal for weeknight cooking or weekend gatherings alike.
- Foolproof Crispiness : The dry-rub method with perfect spice blend ensures golden, crackly skin without deep-frying or complicated techniques.
- Complete Balanced Meal : Each component delivers complementary textures and flavors – crispy chicken, tender green beans, and creamy potatoes create perfect forkfuls every time.
- Budget-Friendly Satisfaction : Chicken drumsticks deliver maximum flavor at minimal cost, making this restaurant-quality meal surprisingly economical for feeding families.
- Versatile Centerpiece : The core recipe adapts beautifully to what’s in your pantry – swap green beans for roasted broccoli or sweet potatoes for traditional mash without compromising results.
- Make-Ahead Magic : Components can be prepped separately up to two days ahead, then assembled fresh with minimal effort for stress-free entertaining or meal planning.
Ingredient Notes & Guidance
Every element in this Crispy Baked Chicken Drumsticks Bowl contributes to creating that perfect balance of textures and flavors. Understanding each ingredient’s role will help you achieve restaurant-quality results right in your home kitchen.
- Chicken drumsticks : The star protein with dark meat that stays juicy during baking and develops incredible crispy skin. Look for medium-sized drums of similar size for even cooking, and pat them completely dry before seasoning for maximum crispiness.
- Olive oil : Creates the foundation for crispy skin while helping seasonings adhere. Extra virgin adds flavor, but regular olive oil works perfectly thanks to its higher smoke point ideal for oven -baking.
- Garlic powder : Provides concentrated savory flavor that won’t burn like fresh garlic. This dehydrated form distributes evenly through the spice blend, ensuring consistent flavor in every bite.
- Onion powder : Adds sweet depth and aromatic complexity without moisture that would compromise crispiness. The fine texture blends seamlessly into the spice mix for perfect seasoning coverage.
- Paprika : Contributes warm, earthy flavor and that gorgeous golden-red color. Use standard sweet paprika or swap half for smoked paprika to add subtle woodsy notes.
- Dried Italian seasoning : Delivers concentrated herbal notes from a blend of Mediterranean herbs. Pure oregano makes an excellent substitute if you don’t have the full blend on hand.
- Black pepper : Provides essential heat that builds in the background. Freshly ground offers superior aroma and flavor compared to pre-ground versions.
- Salt : The critical flavor enhancer that makes all other seasonings shine. Kosher salt is preferred by chefs for its clean taste and easy distribution.
- Red pepper flakes : Optional heat element that adds dimension without overwhelming. Start with a small pinch and adjust to your family’s spice preference.
- Green beans : Provide fresh, vibrant contrast to the richer elements. Fresh beans offer superior texture, but frozen work wonderfully when thawed and patted dry before cooking.
- Olive oil/butter : For sautéing beans – butter adds richness while olive oil provides a cleaner flavor profile. Combining both gives the best of both worlds.
- Fresh garlic : Adds aromatic punch to the green beans. Mince finely for even distribution and sauté just until fragrant (30-45 seconds) to prevent burning.
- Mashed potatoes : Creates the creamy foundation that balances the crispy chicken. Whether homemade or store-bought, warming them thoroughly ensures the perfect serving temperature.
- Butter : Enriches mashed potatoes with velvety mouthfeel. Unsalted allows better seasoning control, but salted works if you adjust additional salt accordingly.
- Brown gravy : Ties all components together with rich, savory moisture. Store-bought saves time, while homemade offers flavor customization—both deliver equally delicious results in this Crispy Baked Chicken Drumsticks Bowl.
Let’s Cook It
- Preheat the oven to 400°F (200°C) and line a baking sheet with parchment paper. Pat the chicken drumsticks completely dry with paper towels—I’ve found this is the secret to getting truly crispy skin.
- In a large bowl, combine the olive oil, garlic powder, onion powder, paprika, Italian seasoning, black pepper, salt, and red pepper flakes (if using). Add chicken drumsticks and toss until evenly coated on all sides.
- Arrange the seasoned drumsticks on the prepared baking sheet, leaving space between each piece. Bake for 35-40 minutes, turning halfway through, until the skin is golden brown and crispy and internal temperature reaches 165°F (74°C).
- While the chicken bakes, prepare the mashed potatoes according to your recipe or package directions. Stir in butter for extra creaminess and keep warm until serving.
- Heat olive oil or butter in a skillet over medium-high heat. Add minced garlic and sauté for 30 seconds until fragrant but not browned. Add green beans and cook for 5-7 minutes, tossing occasionally until bright green and tender-crisp.
- Prepare brown gravy according to package directions or use homemade. The gravy should be warm and have a pourable consistency that will coat the back of a spoon.
- Assemble each bowl by placing a generous scoop of mashed potatoes in the center, arranging the crispy chicken drumsticks on top, and adding the sautéed green beans alongside. Drizzle everything with the warm gravy and finish with a crack of fresh black pepper.
- Serve immediately while the chicken is at peak crispiness and the potatoes are still warm and creamy.
Expert Tips
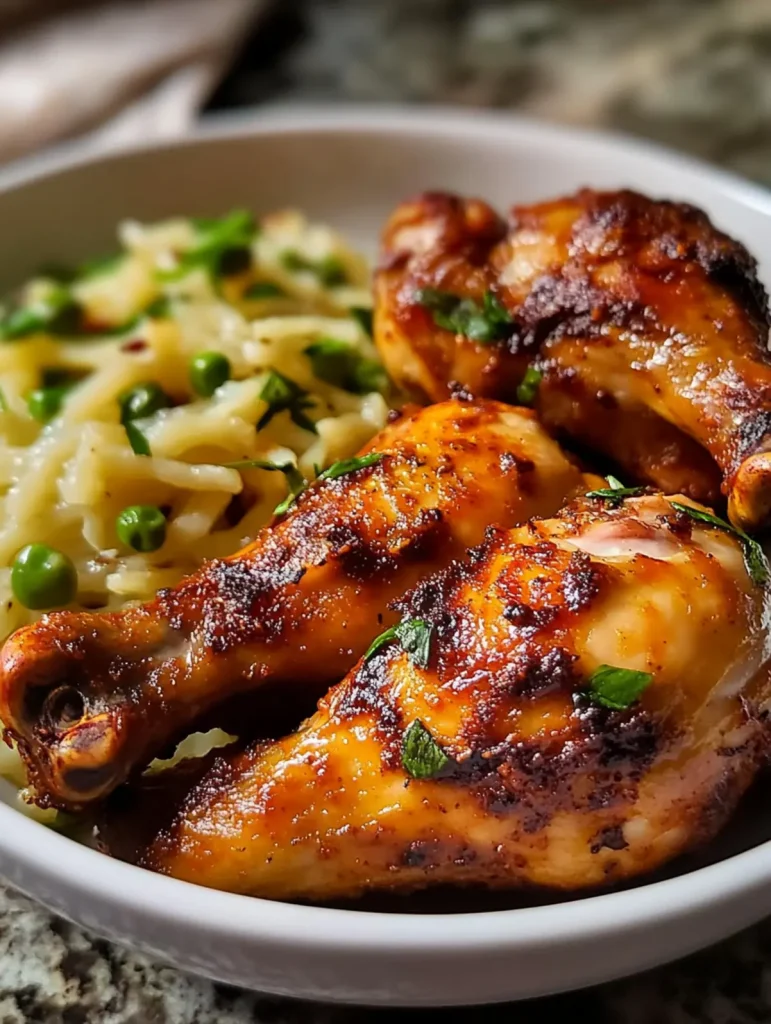
Check out these tried-and-true techniques to make your Ultimate Crispy Baked Chicken Drumsticks Bowl absolutely perfect every time:
- Dry is essential : I thoroughly pat my drumsticks with paper towels for at least 30 seconds per piece—this removes surface moisture that would otherwise steam the skin instead of crisping it.
- Elevate with wire rack : Place chicken on a wire rack over your baking sheet to allow hot air circulation underneath the drumsticks, creating even crispier skin all around.
- Perfect potato timing : Start your mashed potatoes when chicken has 15 minutes left to ensure everything finishes at the same time—keeping your Crispy Baked Chicken Drumsticks Bowl piping hot.
- Rest before serving : Let drumsticks rest 3-5 minutes after baking to allow juices to redistribute throughout the meat while you finish assembling the other components.
- Gravy consistency matters : The ideal gravy should coat the back of a spoon but still flow easily—too thick and it won’t distribute properly, too thin and it won’t cling to your chicken and potatoes.
- Season in layers : Add a final light sprinkle of salt to the green beans right before serving for a flavor boost that makes the vegetables pop against the rich chicken and potatoes.
Storage & Freezing
This Ultimate Crispy Baked Chicken Drumsticks Bowl stores beautifully, though each component requires specific handling to maintain quality. With proper storage, you can enjoy these flavors for days beyond your initial meal.
For refrigeration, separate components into airtight containers and refrigerate for up to 3-4 days. The chicken will lose some of its crispiness but remains delicious. I recommend storing the gravy separately to prevent the drumsticks and vegetables from becoming soggy.
Freezing works well for the chicken and mashed potatoes, but skip freezing the green beans as they’ll become mushy. Place chicken in freezer-safe bags with air removed and freeze for up to 2 months. Mashed potatoes can be frozen in airtight containers for up to 1 month – add a tablespoon of extra butter before freezing to help maintain creaminess.
To reheat, thaw components overnight in the refrigerator . For the crispiest results, reheat chicken drumsticks in a 350°F oven for 15-20 minutes until heated through. Microwave mashed potatoes with a splash of milk, stirring halfway through. The gravy might separate slightly when reheated – whisk vigorously over low heat to reconstitute its silky texture.
Variations & Substitutions
Don’t be afraid to make this recipe your own! These tried-and-tested variations work beautifully with the core flavors while adapting to what you have on hand or your dietary preferences.
- Protein swap : While drumsticks offer perfect juiciness and value, this seasoning blend works equally well on chicken thighs, wings, or even bone-in chicken breasts (just adjust cooking time for larger pieces—about 45-50 minutes for breasts).
- Spice it up : I sometimes double the paprika and add ½ teaspoon cayenne pepper to the spice blend for a Nashville hot chicken-inspired kick that pairs wonderfully with the cooling mashed potatoes.
- Root vegetable mash : Sweet potatoes or cauliflower mash make excellent alternatives to traditional mashed potatoes—the sweet potatoes add nutritional value while complementing the savory chicken beautifully.
- Green veggie alternatives : Swap green beans for roasted broccoli, asparagus, or sautéed zucchini depending on season and availability. Each brings its own texture while maintaining the fresh element this bowl needs.
- Make it dairy-free : Use olive oil instead of butter for the mashed potatoes and green beans. Plant-based milk works well in the potatoes, and mushroom gravy makes a delicious dairy-free alternative to traditional brown gravy.
- Time-saving shortcuts : On busy weeknights, rotisserie chicken pieces reheated in a hot oven with a sprinkle of the spice blend creates a similar flavor profile with significantly less prep and cooking time.
Serving Suggestions
These Crispy Baked Chicken Drumsticks Bowls are the ultimate comfort food that can be elevated in numerous ways to suit any occasion, from casual weeknight dinners to weekend gatherings.
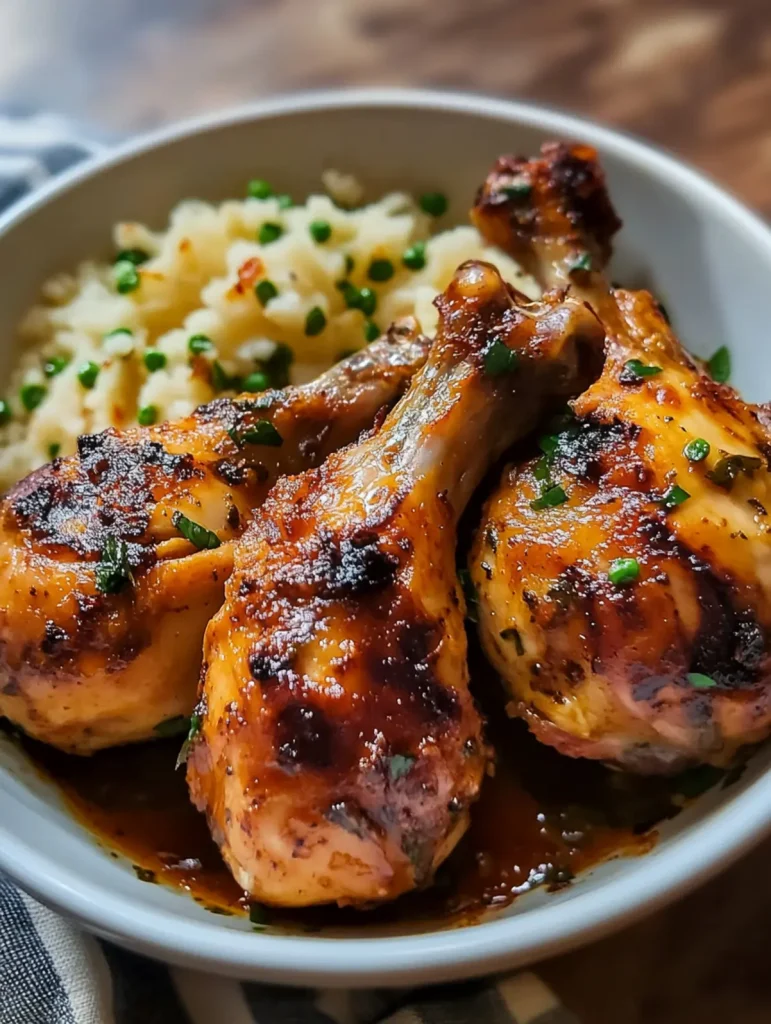
For a restaurant-style presentation, serve each bowl individually with the mashed potatoes as a base, the crispy drumsticks propped up against them, and the bright green beans arranged to the side. Drizzle the gravy in an artistic pattern and finish with a sprinkle of fresh herbs – I love adding chopped parsley or chives for a pop of color that brightens the entire dish.
This hearty bowl pairs beautifully with simple, contrasting sides. A crisp garden salad with vinaigrette dressing provides a refreshing counterpoint to the rich, savory flavors, while warm, crusty bread is perfect for soaking up extra gravy. For a special touch, serve with cranberry sauce on the side – the sweet-tart flavor complements the seasoned drumsticks surprisingly well.
For beverages, I find that a cold craft beer or crisp hard cider complements the comfort food elements perfectly. If you prefer wine, a light-bodied red like Pinot Noir works wonderfully with the savory chicken and gravy in this Crispy Baked Chicken Drumsticks Bowl. For a family-friendly option, sparkling apple cider provides a festive touch that appeals to all ages.
Make Ahead Options for Crispy Baked Chicken Drumsticks Bowl
This Crispy Baked Chicken Drumsticks Bowl is perfect for busy weeknight meal prep! You can season the drumsticks up to 24 hours in advance —simply coat them in the spice blend, cover tightly, and refrigerate (this actually helps the seasonings penetrate deeper for even better flavor). The mashed potatoes can be prepared up to 3 days ahead and stored in the refrigerator , then gently rewarmed with a splash of milk or butter before serving. Green beans can be trimmed and prepped 2 days in advance , keeping them crisp in the fridge until ready to sauté. When you’re ready to serve, simply bake the pre-seasoned chicken as directed, quickly sauté the prepped beans, warm your prepared gravy, and assemble—you’ll have this complete comfort meal on the table in just 45 minutes with minimal hands-on effort.
Recipe FAQs
Why is patting the chicken dry so important? Essential for truly crispy skin.
Can I use chicken thighs instead of drumsticks? Yes! Adjust cooking time to reach 165°F.
What’s the best way to reheat leftovers? Oven at 350°F for crispiest results.
Can I make the components ahead of time? Yes, store separately for up to 2 days.
Is there a substitute for Italian seasoning? Oregano works perfectly by itself.
How do I know when the chicken is done? Internal temperature must reach 165°F.
- 0 Facebook
- 0 Pinterest
- 0 Email
- Copy Link
- 0 shares
Ultimate Crispy Baked Chicken Drumsticks Bowl with Savory Sides
Ingredients
Instructions
Preheat the oven to 400°F (200°C) and line a baking sheet with parchment paper. Pat the chicken drumsticks completely dry with paper towels—I’ve found this is the secret to getting truly crispy skin.
In a large bowl, combine the olive oil, garlic powder, onion powder, paprika, Italian seasoning, black pepper, salt, and red pepper flakes (if using). Add chicken drumsticks and toss until evenly coated on all sides.
Arrange the seasoned drumsticks on the prepared baking sheet, leaving space between each piece. Bake for 35-40 minutes, turning halfway through, until the skin is golden brown and crispy and internal temperature reaches 165°F (74°C).
While the chicken bakes, prepare the mashed potatoes according to your recipe or package directions. Stir in butter for extra creaminess and keep warm until serving.
Heat olive oil or butter in a skillet over medium-high heat. Add minced garlic and sauté for 30 seconds until fragrant but not browned. Add green beans and cook for 5-7 minutes, tossing occasionally until bright green and tender-crisp.
Prepare brown gravy according to package directions or use homemade. The gravy should be warm and have a pourable consistency that will coat the back of a spoon.
Assemble each bowl by placing a generous scoop of mashed potatoes in the center, arranging the crispy chicken drumsticks on top, and adding the sautéed green beans alongside. Drizzle everything with the warm gravy and finish with a crack of fresh black pepper.
Serve immediately while the chicken is at peak crispiness and the potatoes are still warm and creamy.
Notes
Dry is essential : I thoroughly pat my drumsticks with paper towels for at least 30 seconds per piece—this removes surface moisture that would otherwise steam the skin instead of crisping it.
Elevate with wire rack : Place chicken on a wire rack over your baking sheet to allow hot air circulation underneath the drumsticks, creating even crispier skin all around.
Perfect potato timing : Start your mashed potatoes when chicken has 15 minutes left to ensure everything finishes at the same time—keeping your Crispy Baked Chicken Drumsticks Bowl piping hot.
Rest before serving : Let drumsticks rest 3-5 minutes after baking to allow juices to redistribute throughout the meat while you finish assembling the other components.
Gravy consistency matters : The ideal gravy should coat the back of a spoon but still flow easily—too thick and it won’t distribute properly, too thin and it won’t cling to your chicken and potatoes.
Season in layers : Add a final light sprinkle of salt to the green beans right before serving for a flavor boost that makes the vegetables pop against the rich chicken and potatoes.
Nutrition
| Serving Size | 1 bowl |
|---|---|
| Calories | 600 calories |
| Sugar Content | 2g |
| Sodium Content | 800mg |
| Fat Content | 30g |
| Saturated Fat Content | 10g |
| Unsaturated Fat Content | 15g |
| Trans Fat Content | 0g |
| Carbohydrate Content | 50g |
| Fiber Content | 5g |
| Protein Content | 35g |
| Cholesterol Content | 120mg |