- 0 Facebook
- 1 Pinterest
- 5 Email
- Copy Link
- 6 shares
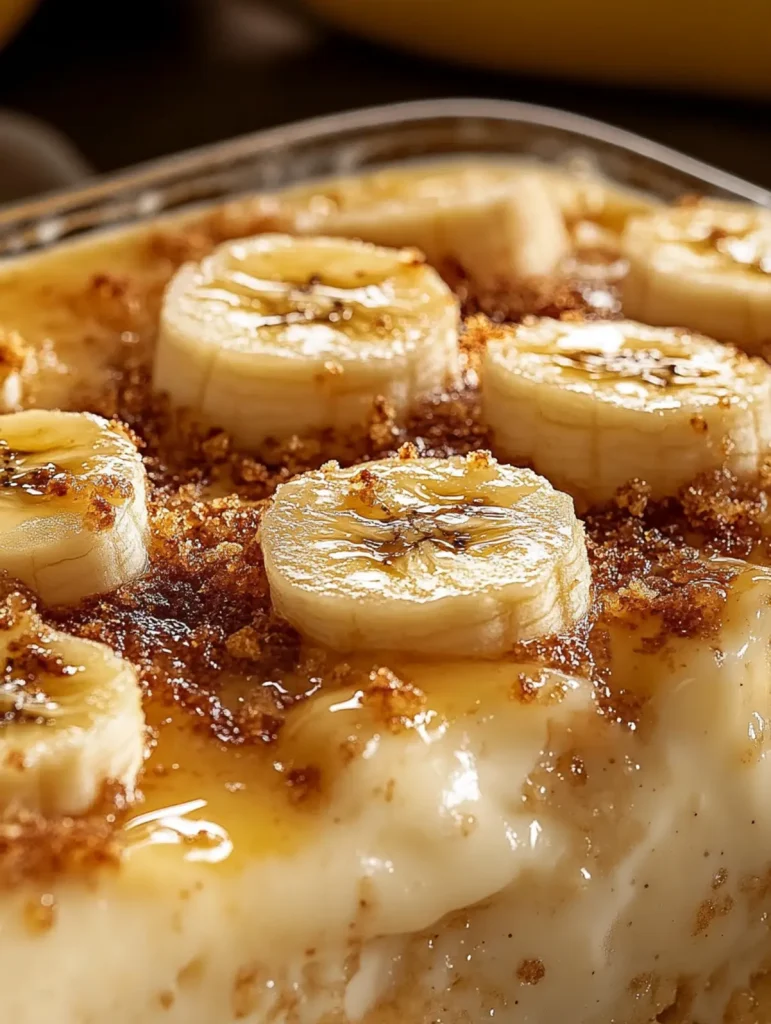
Silky vanilla pudding, swirled with tangy cream cheese and clouds of whipped topping, is the secret behind this banana dessert that disappears from the dish faster than anyone expects. Everything comes together with just a bowl and a whisk (no oven , no fuss), then gets layered with ripe banana slices and soft vanilla wafers that mellow into cake-like bliss in the fridge. Spoon it up chilled, finished with crunchy crumbs and maybe a hot cup of coffee on the side.
Why You’ll Love This Recipe
Why Make This Banana Pudding?
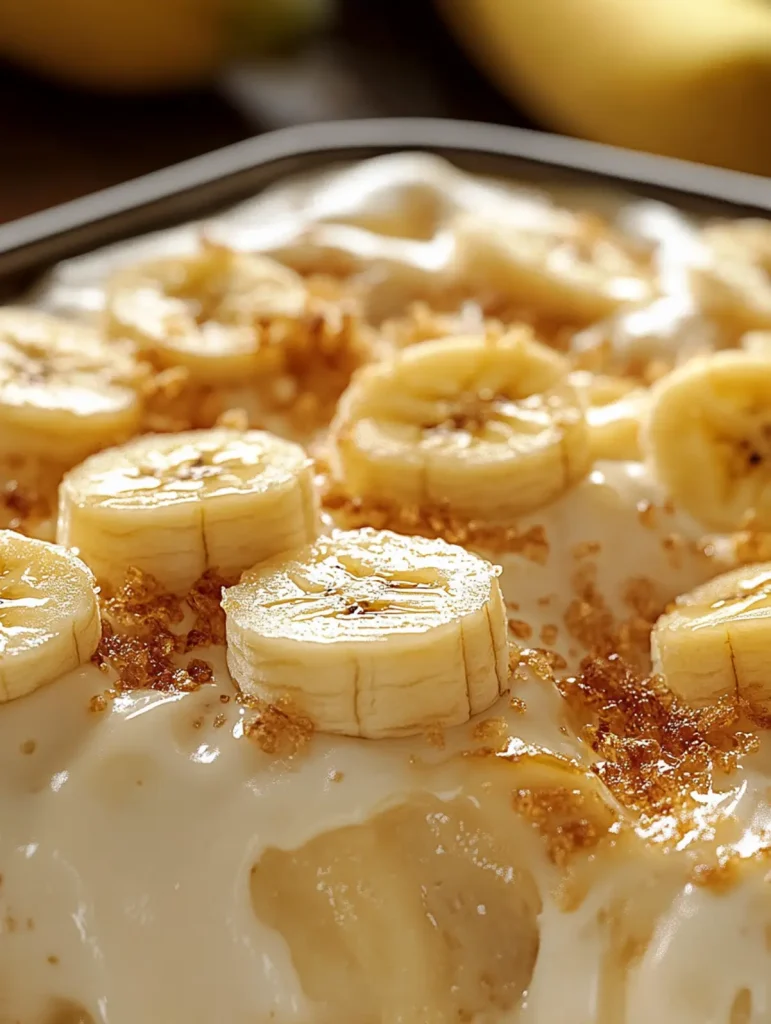
This Creamy Banana Pudding Dessert You Will Crave Again delivers old-fashioned comfort with none of the stovetop fuss. Here is what makes it a keeper for home cooks who want real flavor without the effort.
- Silky, Tangy Balance : Cream cheese cuts through the sweetened condensed milk, so every spoonful tastes rich and layered rather than one-note sweet.
- No- Oven Simplicity : One whisk and a couple of bowls handle everything, making this an easy 20-minute dessert for hot days or busy weeknights.
- Cake-Like Wafer Layers : Vanilla wafers soak up the pudding as it chills, softening into tender, cake-like layers while the crushed topping adds a final crunch.
- Smart Banana Tips : Yellow bananas with a few brown freckles give the best flavor, and covering the slices completely with pudding helps slow browning.
- Make-Ahead Friendly : A few hours in the fridge lets the flavors meld and the layers set for neat scoops, and leftovers keep covered for up to three days.
- Easy Flavor Tweaks : A pinch of cinnamon, a splash of extra vanilla, or a sprinkle of toasted nuts customizes the dessert without upsetting its creamy texture.
Ingredient Notes
A great Banana Pudding depends on a few simple ingredients, and each one has a job, from the silky base to the cake-like wafer layers. Here is what each one does and how to get the best results from it.
The Creamy Base
- Instant vanilla pudding mix (5.1 oz box) : This gives the dessert its vanilla flavor and sets the base into a soft, spoonable custard. Use instant mix, not cook-and-serve, since it thickens with cold milk and no stovetop .
- Cold milk (2 cups) : Cold milk is what activates instant pudding, so keep it fridge-cold for a smooth, properly set texture. Whole milk gives the richest result, and 2% works well too. Skip skim, which can make the pudding taste thin.
- Sweetened condensed milk (14 oz can) : It adds deep, caramel-like sweetness and a velvety body that milk alone can’t match. Don’t swap in evaporated milk, which is unsweetened and won’t give the same thick, creamy consistency.
- Cream cheese (8 oz, softened) : This adds a gentle tang that balances the sweetness and makes the filling taste rich and layered. Use full-fat block cream cheese and let it soften fully at room temperature. Cold cream cheese leaves stubborn lumps.
- Vanilla extract (1 teaspoon) : A small splash rounds out the flavor and boosts the aroma of the pudding. Pure vanilla extract has a warmer, more complex flavor than imitation, and vanilla bean paste is a good upgrade.
- Whipped topping (12 oz container, thawed) : Folding it in lightens the filling into a airy, cloud-like texture. Thaw it in the refrigerator , not the microwave, and fold gently to keep the volume. For a homemade option, use about 2½ cups of heavy cream whipped to stiff peaks with a spoonful of powdered sugar.
The Layers
- Ripe bananas (5–6, sliced) : Bananas bring natural sweetness and the signature fruity flavor. Choose yellow ones with a few brown freckles, since green bananas taste starchy and overly spotted ones turn mushy. Slice them just before assembling, and cover them fully with pudding to slow browning.
- Vanilla wafer cookies (11 oz box) : As they chill, the wafers absorb moisture from the pudding and soften into tender, cake-like layers. Classic vanilla wafers work best because they hold their shape while softening. In a pinch, shortbread cookies or graham crackers are a decent substitute, though the flavor will be a little different.
The Topping
- Crushed vanilla wafers (½ cup, for topping) : This is the finishing crunch that contrasts with the creamy layers underneath. Crush the wafers in a zip-top bag with a rolling pin, leaving some coarse pieces for texture. Sprinkle them on just before serving so they stay crisp instead of absorbing moisture.
How to Make Creamy Banana Pudding Dessert You Will Crave Again
- Whisk the instant vanilla pudding mix with 2 cups of cold milk in a large bowl for about 2 minutes, until smooth and starting to thicken. Let it rest for 2 minutes to set; it should look like soft, spoonable custard.
- Beat the softened cream cheese in a separate bowl until completely smooth, then blend in the sweetened condensed milk and 1 teaspoon of vanilla extract. I like to scrape down the sides once or twice so no small lumps of cream cheese hide at the bottom.
- Whisk the thickened pudding into the cream cheese mixture until silky, with no streaks. Gently fold in the thawed whipped topping with a spatula until the filling looks light and fluffy, taking care not to stir out the air.
- Crush about ½ cup of vanilla wafers and set them aside for the topping. Line the bottom of a 9×13-inch serving dish with a single layer of whole wafers, then spread one-third of the pudding over them.
- Arrange half of the sliced bananas over the pudding, then cover them completely with another third of the filling. Sealing the bananas under the pudding helps keep them from browning.
- Repeat with another layer of wafers, the remaining bananas, and the rest of the pudding, smoothing the top with a spatula. I like to press a few wafers around the edges for a tidy look.
- Cover the dish and refrigerate for at least 4 hours, or overnight, until the wafers soften into tender, cake-like layers and the pudding holds a clean scoop. It’s normal if the filling looks a little loose at first, because it firms up as it chills.
- Sprinkle the reserved crushed wafers over the top just before serving so they stay crunchy. Garnish with fresh banana slices or a dollop of whipped topping if you like.
Pro Tip: For the cleanest layers, slice the bananas just before assembling and use bananas that are yellow with a few brown freckles. They hold their shape better than overripe ones.
Reminder: Keep leftovers covered in the refrigerator for up to 3 days, and add the crushed wafer topping only to the portions you’re about to serve.
Make Ahead Options
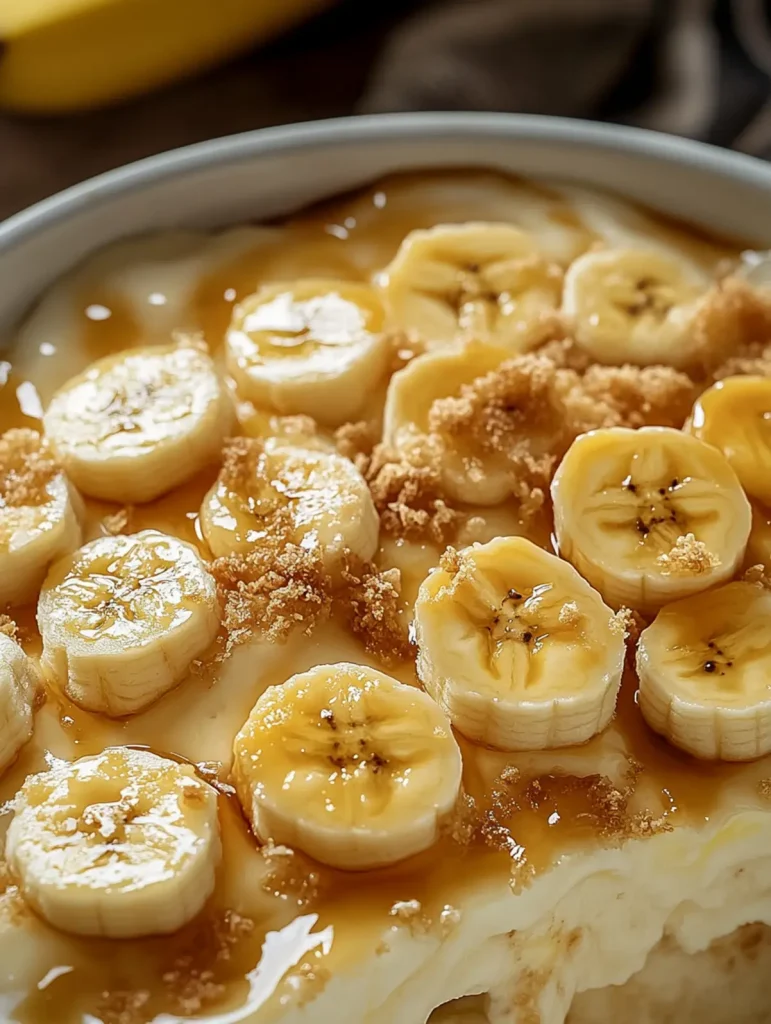
This Banana Pudding is a meal prep dream for busy weeknights and holiday gatherings alike! You can whisk the pudding filling, fold in the whipped topping, and refrigerate it in an airtight container up to 24 hours in advance, so the flavors meld while you handle everything else. For the best results, wait to slice the bananas until you’re ready to assemble (this prevents browning), then layer everything and chill at least 4 hours. Fully assembled, the dessert stays fresh up to 2 days when covered tightly, and it’s just as delicious. Before serving, sprinkle on the crushed wafers so they stay crunchy, and enjoy a stress-free, crowd-pleasing dessert.
Variations & Substitutions
This dessert is forgiving, so feel free to adjust it to your pantry, your guests, or your sweet tooth. These swaps keep the creamy texture and the cake-like wafer layers intact.
- Lighter dairy option : I sometimes use Neufchâtel, light whipped topping, and 2% milk to trim the richness. The filling stays creamy, just slightly softer.
- Dairy-free version : Use unsweetened soy milk, dairy-free cream cheese, coconut condensed milk, and dairy-free whipped topping. Soy tends to set instant pudding best, so check the mix label.
- Gluten-free swap : Use gluten-free vanilla wafers and confirm your pudding mix and whipped topping labels are gluten-free. The wafers still soften nicely in the fridge.
- Switch pudding flavors : Cheesecake or butterscotch instant pudding replaces vanilla in the same amount, adding extra tang or caramel notes without changing how the filling sets.
- Add a caramel layer : Drizzle about ¼ cup salted caramel sauce over each pudding layer for a toffee note that pairs naturally with bananas.
- Serve in individual jars : I layer the wafers, bananas, and filling in eight small jars for parties, chill them at least 4 hours, and add crumbs just before serving.
Expert Tips
A few small habits make the difference between an average Banana Pudding and one that scoops cleanly and tastes bakery-worthy.
- Soften cream cheese fully : Cold cream cheese leaves tiny lumps that survive whisking, so let the block sit at room temperature until it’s completely soft before beating.
- Use fridge-cold milk : Cold milk is what sets the instant pudding mix. Whisk for about 2 minutes, then rest it 2 minutes so it thickens before meeting the cream cheese.
- Fold, don’t stir : I use a spatula and slow, sweeping strokes when adding the thawed whipped topping, which keeps the filling airy instead of dense and soupy.
- Seal the bananas : Spread pudding right to the dish edges so every banana slice is covered, and slice the fruit just before layering.
- Trust the chill : I know the filling looks loose at first, but 4 hours or overnight lets the wafers soften and the pudding firm up for clean scoops.
Storage & Freezing
- Refrigerator : Cover the dish tightly with plastic wrap or an airtight lid and refrigerate leftover Banana Pudding for up to 3 days. The cream cheese and condensed milk filling keeps the layers stable, but the wafers keep softening and the bananas darken a little each day. Scoop only what you plan to serve and add the crushed wafer topping to those portions, so the rest stays neat.
- Freezing: This dessert isn’t a great freezer candidate. Thawed bananas turn mushy and brown, and the wafers go soggy. The pudding and whipped topping can also weep a little. If you must freeze it, portion it into airtight, freezer-safe containers and keep it for no more than 1 month. Thaw it overnight in the refrigerator , never on the counter. I’d rather freeze a batch of the filling alone and layer it with fresh bananas and wafers later.
- Reheating: This dessert is served cold, so skip the microwave, which melts the whipped topping and turns the filling runny. If it feels too firm straight from the fridge, let it sit at room temperature for 10 to 15 minutes, and no longer, since dairy shouldn’t sit out for long.
- Reviving leftovers: I top day-two portions with fresh crushed wafers and a few just-sliced bananas, which brings back the crunch and bright flavor. A small dollop of fresh whipped topping smooths over any slightly loose spots.
Serving Suggestions
- Family-style or individual cups: Bring the 9×13-inch dish straight to the table for a casual crowd. Use a large spoon and scoop down to the bottom so each portion gets every layer of wafers, bananas, and filling. For a dinner party, spoon it into small glasses or jars. This Banana Pudding is rich, so a modest ½-cup scoop is plenty, and the glasses show off the layers. Sprinkle the crushed wafers on just before serving so they stay crunchy.
- Garnishes that earn their place: Top each portion with a few fresh banana slices and a small dollop of whipped topping. I also like a light drizzle of salted caramel or a pinch of cinnamon, because the saltiness and warm spice keep the sweetened condensed milk from tasting flat. A few toasted pecans add crunch and a nutty note.
- Drinks to balance the richness: A hot cup of coffee or black tea is my favorite match. The slight bitterness cuts through the creamy filling. For something cold, a glass of ice-cold milk is a nostalgic choice. For a grown-up finish, a chilled Moscato d’Asti or a small pour of espresso over a scoop of vanilla ice cream on the side feels special.
- When to serve it: It’s a natural finish after barbecue, fried chicken, or a summer cookout, since it’s served cold and needs no oven . Set out a bowl of fresh strawberries or blueberries alongside for a tart contrast. If it feels too firm straight from the fridge, let it sit at room temperature for 10 to 15 minutes before scooping.
Recipe FAQs
- How do I keep the bananas from browning? Slice just before assembling, then seal under pudding.
- Can I make this Banana Pudding ahead of time? Yes, I chill it overnight for cleaner scoops.
- Why does my cream cheese filling have lumps? Cold cream cheese; soften it completely before beating.
- Can I use cook-and-serve pudding mix instead? No, instant mix sets with cold milk.
- 0 Facebook
- 1 Pinterest
- 5 Email
- Copy Link
- 6 shares
Creamy Banana Pudding Dessert You Will Crave Again
Ingredients
Instructions
Whisk the instant vanilla pudding mix with 2 cups of cold milk in a large bowl for about 2 minutes, until smooth and starting to thicken. Let it rest for 2 minutes to set; it should look like soft, spoonable custard.
Beat the softened cream cheese in a separate bowl until completely smooth, then blend in the sweetened condensed milk and 1 teaspoon of vanilla extract, scraping the sides once or twice so no lumps remain.
Whisk the thickened pudding into the cream cheese mixture until silky and streak-free, then gently fold in the thawed whipped topping with a spatula until the filling is light and fluffy.
Crush about 1/2 cup of vanilla wafers and set them aside for the topping. Line the bottom of a 9×13-inch serving dish with a single layer of whole wafers, then spread one-third of the pudding over them.
Arrange half of the sliced bananas over the pudding, then cover them completely with another third of the filling to help prevent browning.
Repeat with another layer of wafers, the remaining bananas, and the rest of the pudding, smoothing the top with a spatula and pressing a few wafers around the edges if desired.
Cover the dish and refrigerate for at least 4 hours, or overnight, until the wafers soften into tender, cake-like layers and the pudding holds a clean scoop.
Sprinkle the reserved crushed wafers over the top just before serving so they stay crunchy; garnish with fresh banana slices or a dollop of whipped topping if you like.
Pro Tip: For the cleanest layers, slice the bananas just before assembling and use bananas that are yellow with a few brown freckles to hold their shape.
Notes
Soften cream cheese fully at room temperature to avoid lumps.
Use fridge-cold milk and whisk the pudding for about 2 minutes, then rest 2 minutes before combining.
Fold the whipped topping gently with a spatula to keep the filling airy.
Seal banana slices under the pudding to slow browning and slice them just before layering.
Trust the chill: refrigerate at least 4 hours or overnight for best texture and clean scoops.
Storage: Cover tightly and refrigerate leftovers up to 3 days; add crushed wafer topping and fresh banana slices only to portions you plan to serve.
Freezing: Not recommended — thawed bananas and wafers suffer; if necessary, freeze only the filling for up to 1 month and assemble later with fresh bananas and wafers.
Nutrition
| Serving Size | 1 scoop (about 1/2 cup) |
|---|---|
| Calories | 420 kcal |
| Sugar Content | 35 g |
| Sodium Content | 250 mg |
| Fat Content | 22 g |
| Saturated Fat Content | 12 g |
| Unsaturated Fat Content | 8 g |
| Trans Fat Content | 0 g |
| Carbohydrate Content | 50 g |
| Fiber Content | 3 g |
| Protein Content | 6 g |
| Cholesterol Content | 60 mg |