- 0 Facebook
- 35 Pinterest
- 0 Email
- Copy Link
- 35 shares
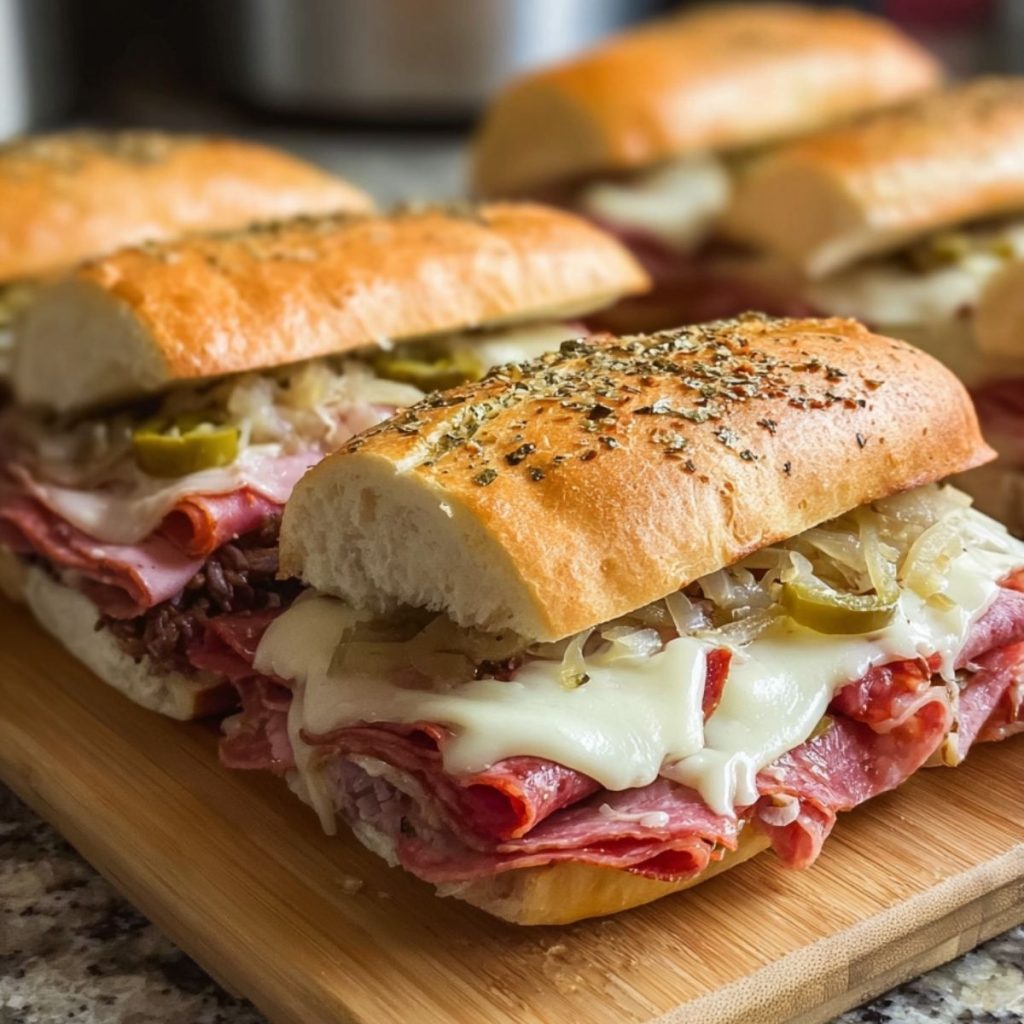
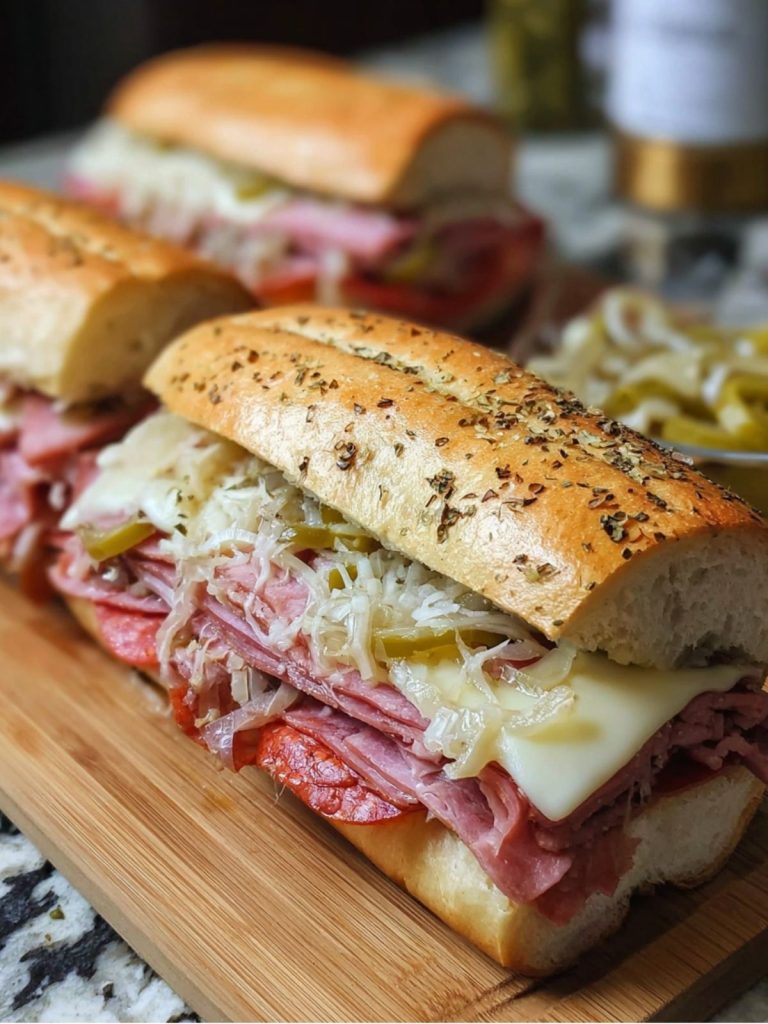
I love how these Baked Italian Sub Sandwiches are incredibly easy to prepare, packed with flavorful ingredients like Italian meats and melty cheese, making for a truly mouthwatering meal.
I still remember the first time I stumbled upon this recipe; it was during an impromptu kitchen experiment one lazy Sunday afternoon. With just a handful of deli meats, some fresh bread, and my trusty oven , I crafted what would become a beloved family meal. This recipe holds a special place in my heart because it’s not only delicious but also incredibly easy to make, saving time on busy weekdays without sacrificing taste.
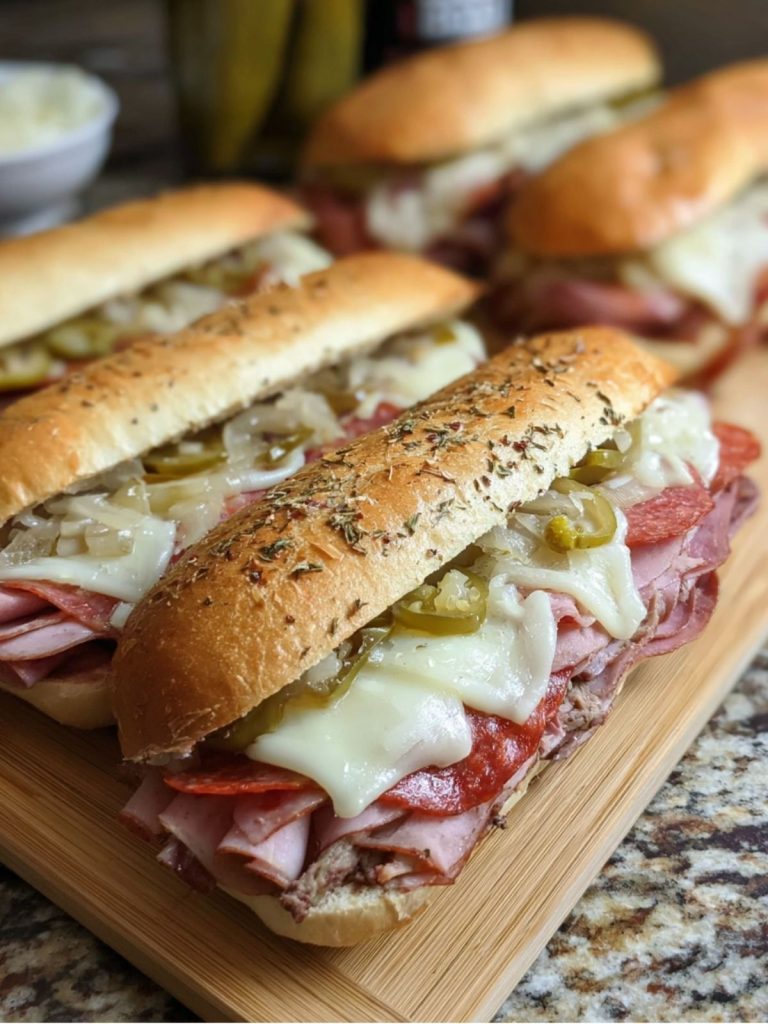
The magic of these sandwiches lies in their rich and robust flavors, complemented by an inviting aroma that fills the kitchen as they bake to perfection. Assembling these sandwiches is a breeze, and they promise a delightful blend of crunchy bread, savory meats, and creamy cheeses. It’s an inviting dish that guarantees to delight, offering a unique and fulfilling dining experience.
Why You’ll Love Baked Italian Sub Sandwiches?
- Effortless Preparation: Thanks to simple layering techniques and a short baking time, these sandwiches can be whipped up swiftly, making them ideal for all cooking skill levels.
- Rich Flavors: The combination of tangy Italian dressing, savory meats, and gooey cheese creates a symphony of flavors that sing in perfect harmony, making every bite a delight.
- Versatility: You can customize these sandwiches using your favorite meats, cheeses, and vegetables, enabling a personal touch tailored to your taste preferences.
- Consistent Results: By following trusted preparation methods like evenly spreading ingredients and covering with foil to lock in moisture, you achieve a perfect bake every single time.
“Baked Italian Sub Sandwiches offer a gourmet experience with minimal effort, making them a go-to favorite for quick lunches or impressive dinners.”
Ingredients Notes
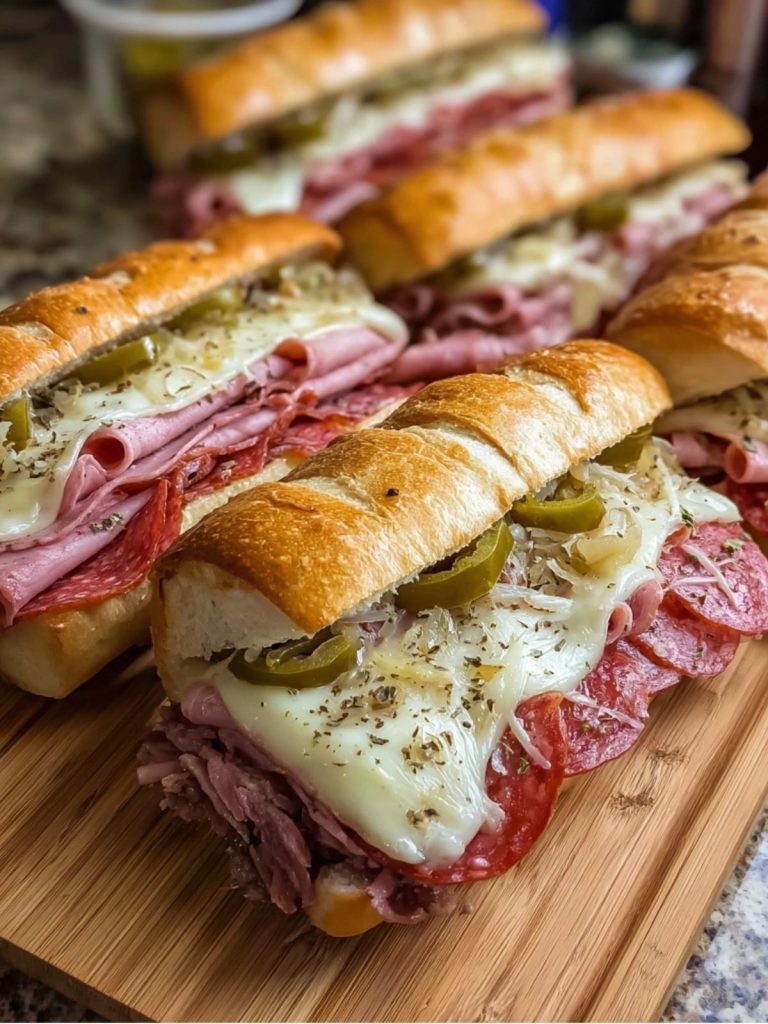
- Hoagie Rolls: I choose fresh, slightly crusty rolls—they transform during baking for that perfect toasty, yet soft bite every sub lover dreams of.
- Deli Ham: Opt for quality ham; its smoky flavor is both delicious and essential, offering a counterbalance to the spicier meats.
- Salami: Select a premium, thinly sliced salami to introduce a bold, spiced character that deepens the overall sandwich profile.
- Roast Beef or Cooked Ground Beef: A hearty meat adds depth; I recommend roast beef for its tenderness, but ground beef’s rich flavor is also noteworthy.
- Pepperoni (Optional): Adds heat and depth; not a necessity, but personally, I can’t resist a spicy kick to elevate the flavors.
- Provolone or Mozzarella Cheese: Melts beautifully, providing that luscious, gooey texture essential for any proper sub.
- Pickled Banana Peppers or Pepperoncini: Their tangy brightness cuts through the richness, delivering crunch and a zesty counterpoint.
- Sautéed Onions (Optional): Caramelized till golden, they add sweet notes and a soft texture that harmonizes with the meats.
- Italian Seasoning: A fragrant herb blend that infuses aromatic depth, enhancing all elements with a quintessential Italian touch.
- Melted Butter: Brush on the rolls for extra richness and to help achieve a beautifully golden crust during baking.
How to Make Baked Italian Sub Sandwiches?
- Preheat and Prepare: Begin by preheating your oven to 350°F. Line a baking sheet with parchment paper to prevent sticking and ensure even heating.
- Slicing the Rolls: Carefully slice each hoagie roll in half lengthwise. Place them on the prepared baking sheet, open side up, to allow for even toasting and filling coverage.
- Butter and Season: Brush the melted butter onto the open rolls for added richness. Sprinkle with Italian seasoning to infuse each bite with aromatic herbs.
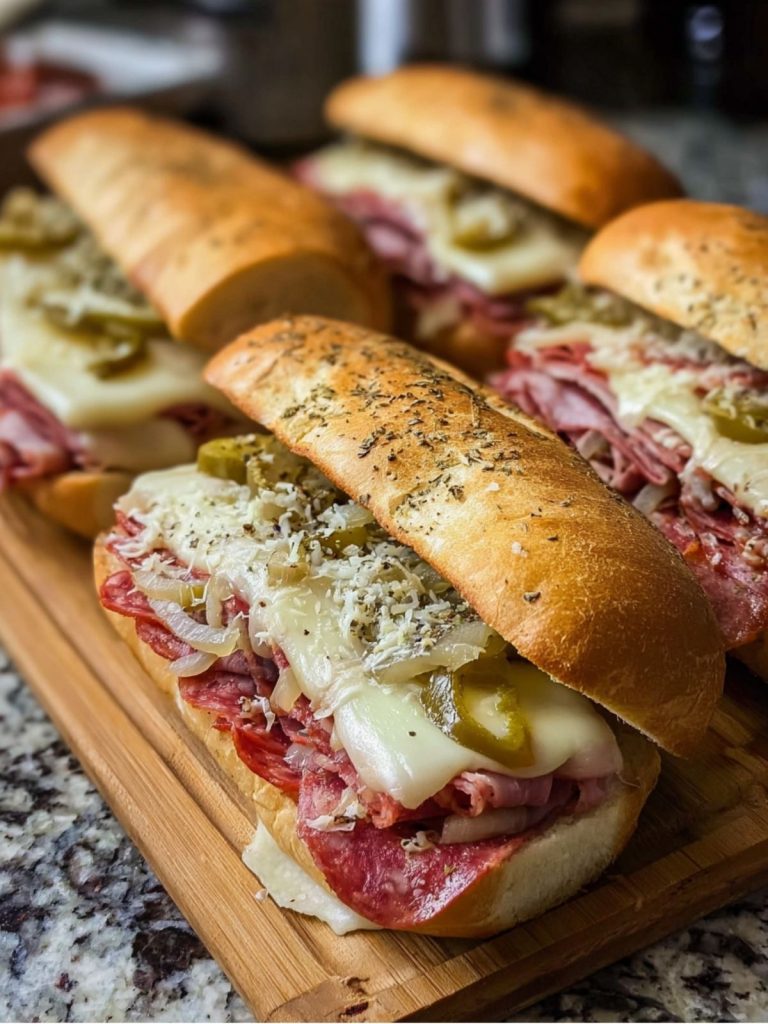
- Layering the Meats and Cheese: Start layering with deli ham, followed by salami and roast beef or ground beef. For those craving a spicy kick, add layers of pepperoni. Top with slices of provolone or mozzarella cheese, ensuring even distribution for a gooey finish.
- Add Peppers and Onions: Scatter the pickled banana peppers or pepperoncini over the layered meats to cut through the richness with their tang. If using, spread sautéed onions evenly to add a hint of sweetness.
- Bake Until Perfection: Place the subs in the preheated oven . Bake for 10-12 minutes, or until the cheese melts into a bubbly, golden cascade and the rolls achieve a perfect toasted texture.
- Final Touches: Once baked to perfection, remove from the oven . Allow to cool slightly, just enough to ensure a safe touch, while maintaining warmth. Examine the sumptuous layers and enjoy the savory aroma enveloping your kitchen.
- Serve and Savor: Slice each sub into halves or thirds for manageable portions. Serve promptly to savor the balance of textures—crisp yet tender rolls, melted cheese, and the blend of meats. Relish every flavorful bite!
Expert Cooking Tips
- Use day-old bread for a crispier texture after baking, absorbing flavors better without becoming soggy.
- I layer meats in a single direction for even slicing and to hold the sandwich together.
- Always preheat your oven to ensure the cheese melts evenly for a gooey, delightful finish.
- To avoid excessive grease, blot meats with paper towels before assembling your subs.
- Brush olive oil on bread for added flavor and a golden crust.
- If cheese melts too quickly, cover it with foil; uncover for the final browning stages.
- I sprinkle dried oregano or basil on top for an aromatic Mediterranean touch.
- For an extra crunch, add a thin layer of breadcrumbs on the cheese before baking.
Storage Tips
- Wrap sandwiches in aluminum foil to keep them moist and place them in the refrigerator for up to three days.
- To freeze, wrap individual portions tightly in plastic wrap and place in a freezer bag for up to one month.
- Reheat in a 350°F oven wrapped in foil for 15 minutes, or until heated through, to retain texture.
- Avoid the microwave for reheating to prevent the bread from becoming chewy and tough.
- Ensure sandwiches are cooled before refrigeration to prevent condensation that leads to sogginess.
- Flash freeze sandwiches on a baking sheet before placing them in a freezer bag to prevent sticking.
- Label and date each sandwich to maintain optimal freshness and avoid freezer burn.
- Check for any visible freezer burn on the bread before reheating; discard if necessary.
Variations and Substitutions
- For a dairy-free version, use vegan cheese options and skip creamy dressings.
- Substitute gluten-free bread to accommodate gluten intolerance while maintaining the sandwich structure.
- Use roasted vegetables like zucchini or red peppers for a vegetarian-friendly variant of the classic.
- Add a spicy kick by incorporating jalapeños or a drizzle of hot sauce before baking.
- Create a Mediterranean twist using feta cheese, olives, and a sprinkle of za’atar seasoning.
- For a nutty flavor, add toasted pine nuts or sliced almonds before baking the sandwiches.
- Experiment with different meats like turkey or prosciutto for unique flavor profiles.
- Swap mayonnaise with avocado spread for a healthier, creamy texture.
What to Serve with Baked Italian Sub Sandwiches?
- Classic Caesar Salad : Its crisp romaine and creamy dressing offer a refreshing contrast to the hearty sandwich.
- Roasted Garlic Parmesan Potatoes : The savory and rich flavors perfectly balance the tangy Italian meats.
- Marinated Antipasto Vegetables : Bright flavors of marinated artichokes and olives enhance the sandwich’s Italian essence.
- Caprese Salad : Fresh mozzarella and tomato drizzled with balsamic glaze adds a refreshing note to the meaty sub.
- Zesty Lemon Orzo : Light and slightly tangy, it complements the sub’s rich and spicy notes.
- Creamy Pesto Pasta : The herby, nutty goodness pairs beautifully with the cured meats’ complexity.
- Grilled Asparagus : Adds a smoky, charred flavor that contrasts nicely with the subs’ boldness.
- Sicilian Orange and Fennel Salad : Adds a sweet, aromatic dimension to each savory slice.
- Tuscan White Bean Soup : A hearty side that mirrors the sub’s Italian roots with creamy, nourishing flavors.
- Garlic Knot Rolls : Soft, buttery, and perfect for capturing any sandwich drips.
FAQs
Toast the bread first to create a barrier against moisture.
Yes, choose milder meats or reduce pepperoncini and spicy sauce.
Provolone melts well and complements the meats’ flavors ideally.
Wrap tightly in foil and refrigerate, reheating in a toaster oven.
Use gluten-free sub rolls for a complete alternative.
- 0 Facebook
- 35 Pinterest
- 0 Email
- Copy Link
- 35 shares
Baked Italian Sub Sandwiches
Ingredients
Instructions
- Preheat and Prepare
Begin by preheating your oven to 350°F. Line a baking sheet with parchment paper to prevent sticking and ensure even heating.
- Slicing the Rolls
Carefully slice each hoagie roll in half lengthwise. Place them on the prepared baking sheet, open side up, to allow for even toasting and filling coverage.
- Butter and Season
Brush the melted butter onto the open rolls for added richness. Sprinkle with Italian seasoning to infuse each bite with aromatic herbs.
- Layering the Meats and Cheese
Start layering with deli ham, followed by salami and roast beef or ground beef. For those craving a spicy kick, add layers of pepperoni. Top with slices of provolone or mozzarella cheese, ensuring even distribution for a gooey finish.
- Add Peppers and Onions
Scatter the pickled banana peppers or pepperoncini over the layered meats to cut through the richness with their tang. If using, spread sautéed onions evenly to add a hint of sweetness.
- Bake Until Perfection
Place the subs in the preheated oven. Bake for 10-12 minutes, or until the cheese melts into a bubbly, golden cascade and the rolls achieve a perfect toasted texture.
- Final Touches
Once baked to perfection, remove from the oven. Allow to cool slightly, just enough to ensure a safe touch, while maintaining warmth. Examine the sumptuous layers and enjoy the savory aroma enveloping your kitchen.
- Serve and Savor
Slice each sub into halves or thirds for manageable portions. Serve promptly to savor the balance of textures—crisp yet tender rolls, melted cheese, and the blend of meats. Relish every flavorful bite!