- 0 Facebook
- 46 Pinterest
- 3 Email
- Copy Link
- 49 shares
Last fall, I found myself staring at a mountain of apples from our neighbor’s generous harvest, wondering how on earth I’d use them all before they turned. That’s when my grandmother’s voice echoed in my memory: “When life gives you too many apples, make a slab pie, dear.” I’d never made one before, but her handwritten recipe card called to me from the kitchen drawer.
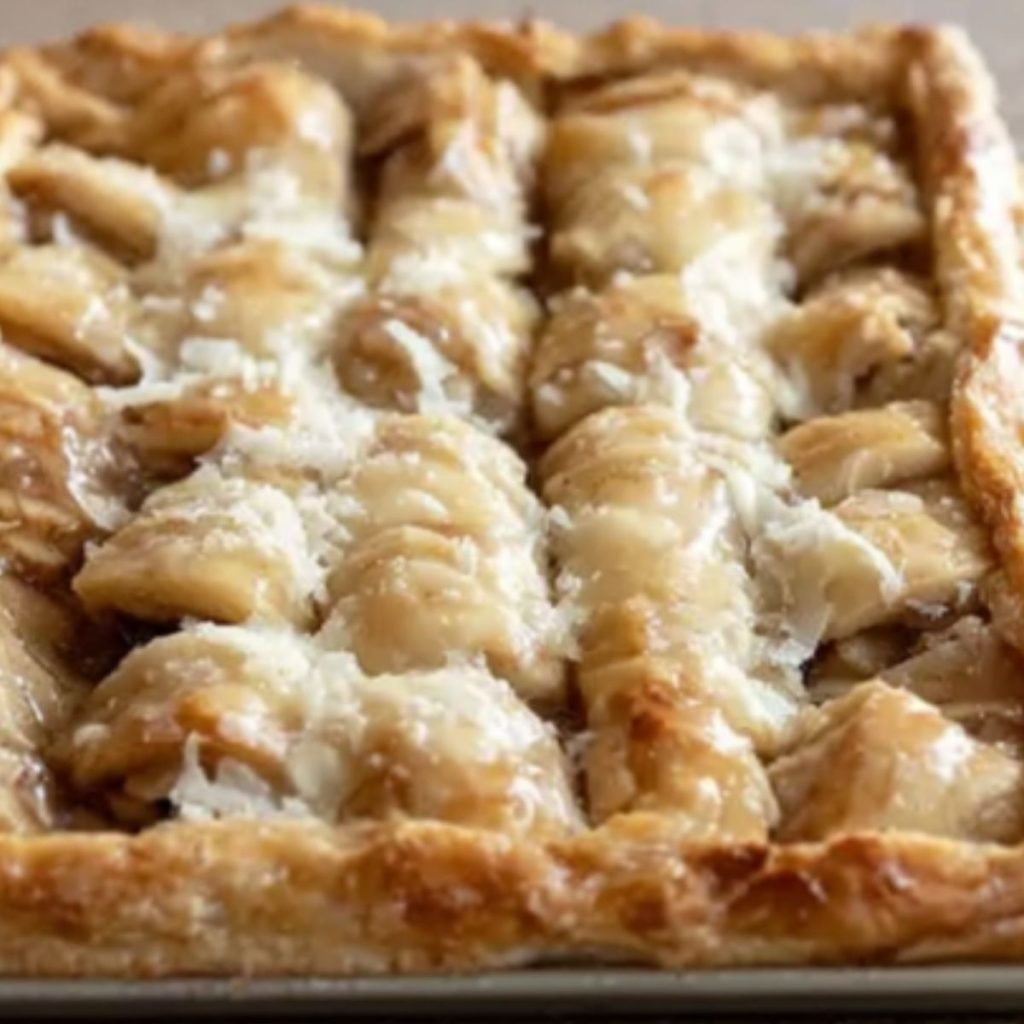
What started as a practical solution to apple abundance became our family’s new autumn tradition. This Apple Slab Pie transformed my understanding of what pie could be – easier than traditional round pies, perfectly portioned for gatherings, and somehow even more delicious with its higher crust-to-filling ratio.
This recipe will save you time while delivering bakery-quality results. The beauty lies in its simplicity: familiar ingredients, straightforward technique, and a final product that serves a crowd beautifully. Whether you’re hosting Thanksgiving or simply want to fill your home with the scent of cinnamon and apples, this slab pie delivers every time.
Why You’ll Love This Apple Slab Pie
What makes this Apple Slab Pie truly special is how it marries convenience with incredible flavor. I’ve discovered that the rectangular shape creates the perfect balance – every bite delivers both tender, cinnamon-kissed apples and flaky, buttery crust. The flour works as a natural thickener, preventing the soggy bottom that plagues many fruit pies, while the salt enhances every other flavor beautifully.
The genius lies in its versatility and ease. Unlike traditional round pies that require crimping skills and perfect circles, this forgiving recipe uses a simple sheet pan approach that even beginners can master. The egg wash creates a gorgeous golden finish that looks professionally made, while the butter adds richness that elevates the entire experience.
• Feeds a crowd: Perfect for potlucks, family gatherings, and holiday celebrations
• Beginner-friendly: No fancy techniques or special equipment required
• Make-ahead friendly: Tastes incredible warm or at room temperature
• Foolproof results: The rectangular shape prevents common pie disasters
• Customizable: Easy to adapt with different spices or apple varieties
Ingredients Notes
- Peeled and sliced apples: I prefer Granny Smith or Honeycrisp for their perfect balance of tartness and texture. They hold their shape beautifully during baking without becoming mushy.
- Granulated sugar: Creates the ideal sweetness level while helping draw out the apples’ natural juices. Don’t reduce this amount – it’s perfectly calibrated for the fruit quantity.
- All-purpose flour: Acts as a natural thickener, absorbing excess apple juices to prevent a soggy bottom crust. This small amount makes a huge difference.
- Ground cinnamon: Provides that essential warm spice that makes apple pie irresistible. Use fresh cinnamon for the most aromatic results and deeper flavor.
- Salt: Enhances all the other flavors while balancing the sweetness. Never skip this ingredient – it’s the secret to professional-tasting results.
- Refrigerated pie crusts: Choose quality brands for best results. Let them come to room temperature for easier rolling and prevent cracking during assembly.
- Butter: Adds richness and helps create steam pockets for flaky texture. Use cold butter and dot it evenly across the filling.
- Egg white: Creates a beautiful golden, glossy finish when beaten with water. This professional touch makes your pie look bakery-made.
- Water: Helps thin the egg white for easy brushing and ensures an even golden finish during baking.
How to Make Apple Slab Pie
Step 1: Prepare Your Workspace Preheat your oven to 425°F and line a 15×10-inch jelly roll pan with parchment paper. This prevents sticking and ensures easy removal. Allow your refrigerated pie crusts to come to room temperature for about 15 minutes – this prevents cracking when you roll them.
Step 2: Prepare the Apple Filling In a large bowl, combine your sliced apples with granulated sugar, flour, cinnamon, and salt. Toss everything together until the apples are evenly coated. The mixture should smell fragrant and look well-distributed. Let this sit for 5 minutes to allow the flavors to meld.
Step 3: Roll Out the Bottom Crust On a lightly floured surface, roll one pie crust to fit your prepared pan with about 1-inch overhang on all sides. You may need to slightly roll and combine the crusts to fit the full pan size. Gently transfer it to your pan, pressing it into the corners without stretching. The crust should lie flat against the bottom and sides.
Step 4: Add the Filling Spread the apple mixture evenly over the bottom crust, making sure to distribute it to all corners. Cut the cold butter into 6-8 small pieces and dot evenly across the surface – this adds richness and helps create steam for a flaky texture.
Step 5: Top with Second Crust Roll out the second pie crust and carefully place it over the filling. Trim both crusts to leave a 1-inch overhang, then fold the edges under and crimp to seal. Cut several small slits in the top crust to allow steam to escape.
Step 6: Apply the Egg Wash Beat the egg white with water until well combined. Brush this mixture evenly over the entire top crust using a pastry brush. This creates that gorgeous golden color and professional appearance.
Step 7: Bake to Perfection Bake for 35-40 minutes, or until the crust is golden brown and you may hear the filling bubbling gently through the steam vents. The top should be beautifully colored and the edges should look set and flaky. If your apple slices are on the thicker side or you prefer a softer filling, bake an additional 5-10 minutes, loosely tenting with foil if the crust darkens too quickly.
Step 8: Cool and Serve Allow the pie to cool for at least 30 minutes before cutting. This helps the filling set properly and prevents a runny mess when you slice it. This recipe yields 12-16 generous slices, perfect for feeding a crowd.
Expert Cooking Tips
• I always taste my apples first – if they’re particularly tart, add an extra 2 tablespoons of sugar to balance the flavors perfectly.
• Roll your crusts between parchment paper to prevent sticking and make transfer to the pan much easier without tearing.
• Create decorative steam vents by cutting small shapes or patterns in the top crust – it’s functional and beautiful.
• Place a baking sheet under your pan to catch any potential drips and prevent oven mess from bubbling filling.
• Check doneness by listening – you should hear gentle bubbling sounds from the filling when it’s properly cooked through.
Storage Tips
• Refrigerate covered for up to 4 days – wrap tightly in plastic wrap or store in an airtight container.
• Freeze for up to 3 months – wrap individual slices in plastic wrap, then aluminum foil to prevent freezer burn.
• Reheat in 350°F oven for 10-15 minutes to restore the crust’s crispness and warm the filling through.
• Serve at room temperature for best flavor, or warm slightly if you prefer the filling heated through.
Variations and Substitutions
• Gluten-free version: Use your favorite gluten-free pie crust and substitute the flour with cornstarch for thickening.
• Dairy-free option: Replace butter with vegan butter or coconut oil for equal richness and flavor.
• Spice variations: Add 1/4 teaspoon nutmeg, cardamom, or allspice alongside cinnamon for deeper complexity.
• Mixed fruit version: Replace 2 cups apples with pears or cranberries for interesting flavor combinations.
• Caramel apple twist: Drizzle 2 tablespoons caramel sauce over apples before adding the top crust.
• Streusel topping: Skip the top crust and add a crumb topping made with oats, brown sugar, and butter.
What to Serve with Apple Slab Pie
• Vanilla ice cream: The classic pairing that never fails – the cold creaminess perfectly balances the warm spiced filling.
• Whipped cream: Light and airy, it adds richness without overwhelming the delicate apple flavors underneath.
• Sharp cheddar cheese: A traditional pairing that adds savory depth and cuts through the sweetness beautifully.
• Caramel sauce: Drizzle over individual slices for an extra layer of indulgent sweetness and richness.
• Hot coffee or tea: The perfect beverage companions that enhance the warm spices and provide comforting contrast.
• Cinnamon ice cream: Doubles down on the warming spices while adding creamy texture and temperature contrast.
FAQ
Q: Can I use frozen apples? A: Yes, but thaw and drain them first to prevent excess moisture from making the crust soggy.
Q: Why is my bottom crust soggy? A: Pre-bake the bottom crust for 10 minutes before adding filling, or increase flour to 2 tablespoons.
Q: Can I make this ahead? A: Yes! Assemble unbaked and refrigerate overnight, then bake fresh. Or bake fully, cool, and store covered.
Q: What if my crust cracks while rolling? A: Let it warm up more, or patch small cracks with dough scraps and water.
Q: How do I prevent the edges from burning? A: Cover edges with foil strips if they brown too quickly during baking.
Q: Can I double this recipe? A: Yes, but you’ll need two pans or one very large sheet pan and longer baking time.
- 0 Facebook
- 46 Pinterest
- 3 Email
- Copy Link
- 49 shares
Apple Slab Pie
Ingredients
Instructions
- Step 1: Prepare Your Workspace
Preheat your oven to 425°F and line a 15×10-inch jelly roll pan with parchment paper. This prevents sticking and ensures easy removal. Allow your refrigerated pie crusts to come to room temperature for about 15 minutes – this prevents cracking when you roll them.
- Step 2: Prepare the Apple Filling
In a large bowl, combine your sliced apples with granulated sugar, flour, cinnamon, and salt. Toss everything together until the apples are evenly coated. The mixture should smell fragrant and look well-distributed. Let this sit for 5 minutes to allow the flavors to meld.
- Step 3: Roll Out the Bottom Crust
On a lightly floured surface, roll one pie crust to fit your prepared pan with about 1-inch overhang on all sides. You may need to slightly roll and combine the crusts to fit the full pan size. Gently transfer it to your pan, pressing it into the corners without stretching. The crust should lie flat against the bottom and sides.
- Step 4: Add the Filling
Spread the apple mixture evenly over the bottom crust, making sure to distribute it to all corners. Cut the cold butter into 6-8 small pieces and dot evenly across the surface – this adds richness and helps create steam for a flaky texture.
- Step 5: Top with Second Crust
Roll out the second pie crust and carefully place it over the filling. Trim both crusts to leave a 1-inch overhang, then fold the edges under and crimp to seal. Cut several small slits in the top crust to allow steam to escape.
- Step 6: Apply the Egg Wash
Beat the egg white with water until well combined. Brush this mixture evenly over the entire top crust using a pastry brush. This creates that gorgeous golden color and professional appearance.
- Step 7: Bake to Perfection
Bake for 35-40 minutes, or until the crust is golden brown and you may hear the filling bubbling gently through the steam vents. The top should be beautifully colored and the edges should look set and flaky. If your apple slices are on the thicker side or you prefer a softer filling, bake an additional 5-10 minutes, loosely tenting with foil if the crust darkens too quickly.
- Step 8: Cool and Serve
Allow the pie to cool for at least 30 minutes before cutting. This helps the filling set properly and prevents a runny mess when you slice it. This recipe yields 12-16 generous slices, perfect for feeding a crowd.