- 0 Facebook
- 3 Pinterest
- 0 Email
- Copy Link
- 3 shares
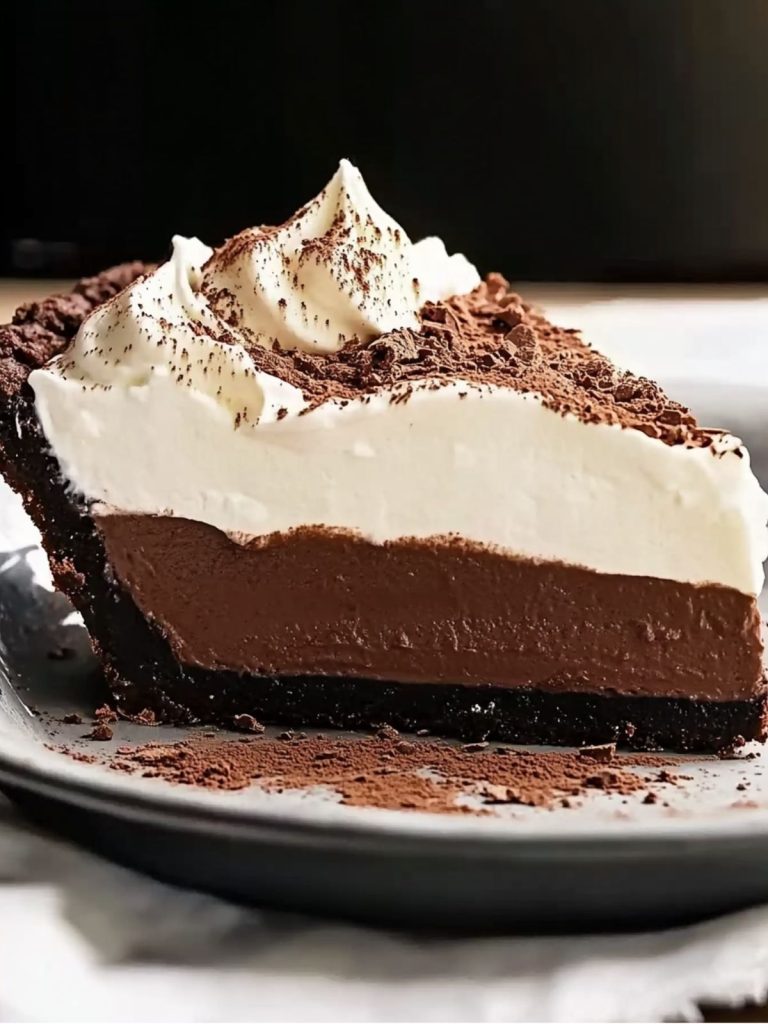
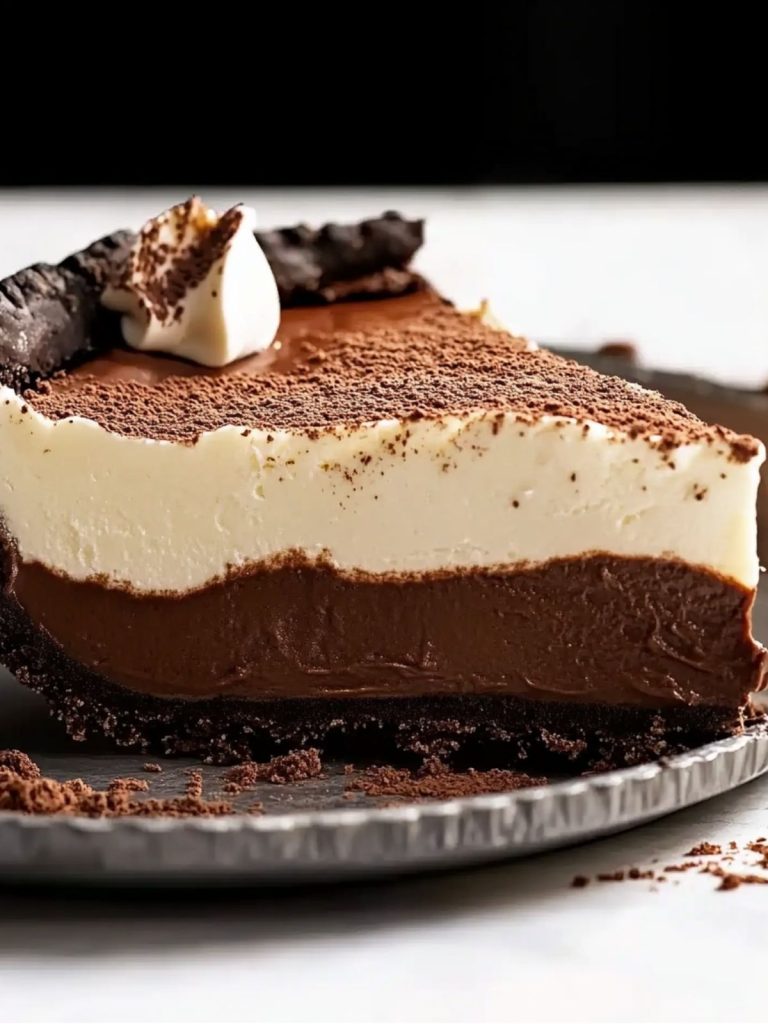
I adore the way this chocolate cream pie blends simple ingredients with rich tastes to create a beautifully creamy treat. It’s the ideal dessert for any occasion because it’s so wonderful! I was trying to wow my family with a homemade dessert years ago when I discovered the ideal chocolate cream pie. The idea came to me one cold winter evening—combining my love of chocolate with a rich, comforting pie crust.
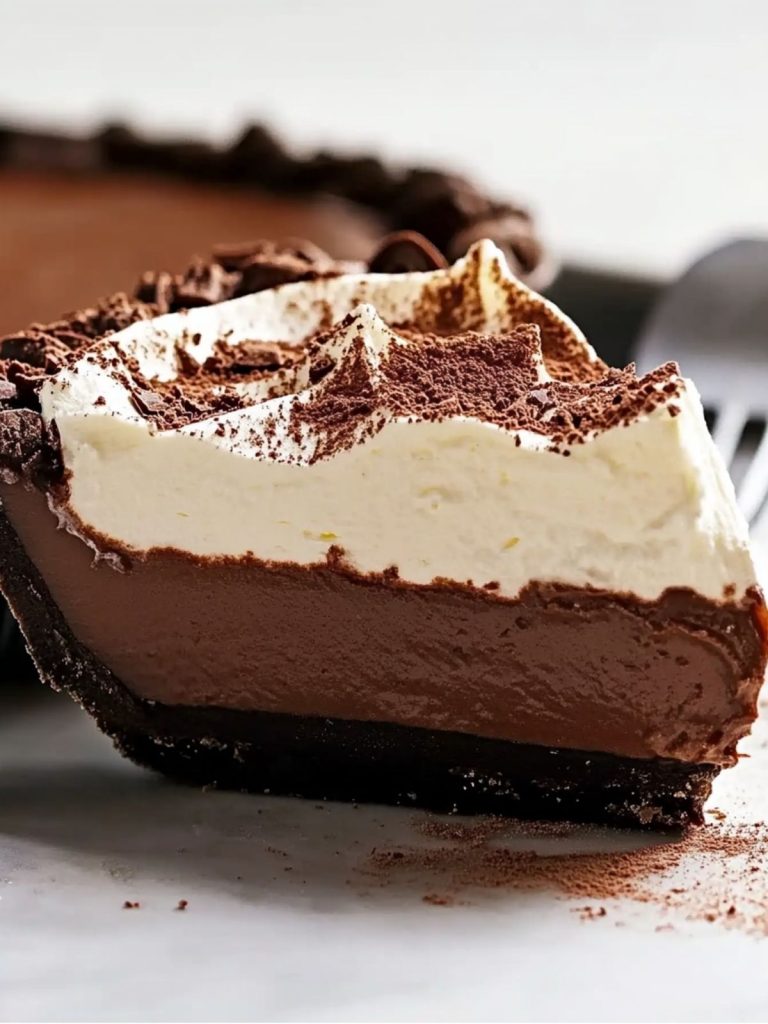
This recipe, praised for its simplicity and affordability without sacrificing flavor, swiftly became a family favorite and a treasured custom. This chocolate cream pie makes your preparation time worthwhile by providing everything you could possibly want, whether you’re searching for a quick, gourmet experience or something that brings back fond memories.
Why You’ll Love Chocolate Cream Pie?
- Simplicity at its Best: This pie is incredibly easy to prepare, perfect for both novice bakers and seasoned chefs. The straightforward steps ensure that you’ll get it right every time.
- Rich, Decadent Flavor: It’s all about the indulgent taste of real chocolate. The homemade filling brings out deep cocoa notes balanced with a silky smooth texture.
- Consistency and Reliability: Using tried-and-true cooking techniques, this recipe guarantees consistent results, making it a reliable go-to whether you’re on a tight schedule or crafting a grand feast.
- A Crowd Pleaser: The universal appeal of chocolate paired with easy preparation makes this pie a hit at gatherings, offering both visual appeal and a taste that wins hearts.
Ingredients Notes
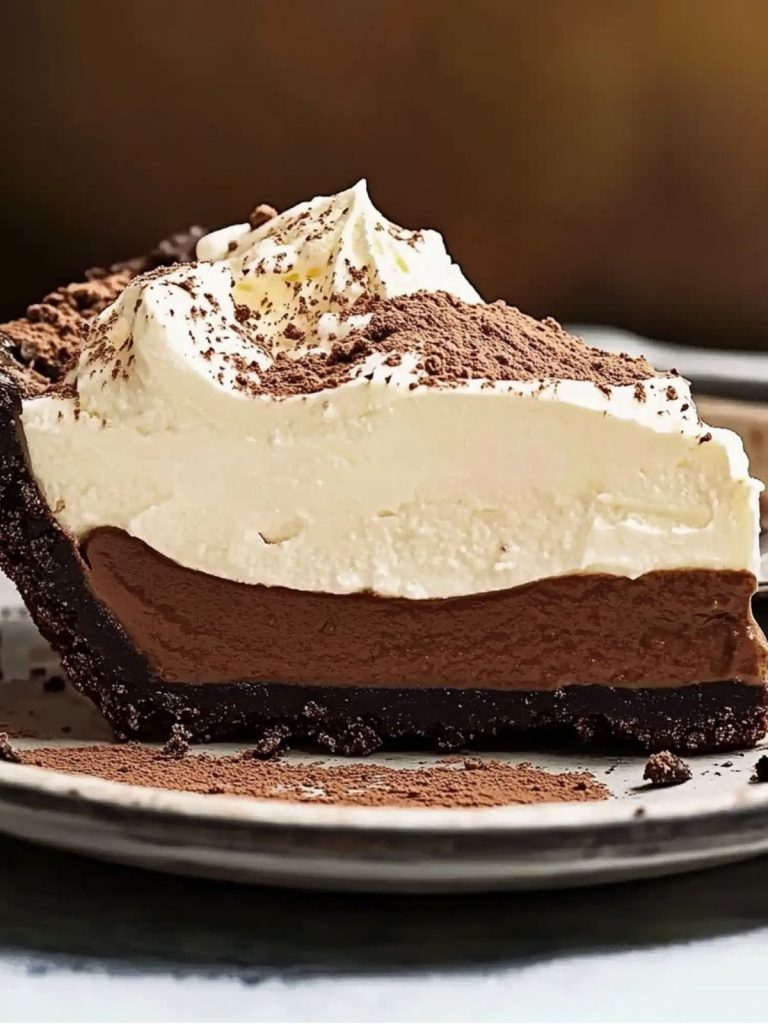
Let me guide you through each ingredient’s role in creating the delectable layers of a chocolate cream pie. Each component is carefully chosen to blend flavor, texture, and elegance.
- Oreo Biscuits: These form the perfect crumbly crust, infused with chocolate flavor. I preferEgg Yolks: These provide structure and contribute to the custard’s richness. I choose fresh, large eggs to maximize flavor and texture.
- Butter (cubed): Added at the end, it enriches the filling with a glossy finish. High-quality, unsalted butter is crucial.
- Vanilla Extract: Offers an aromatic sweetness, complementing the chocolate. I opt for pure vanilla extract to avoid synthetic flavors.
- Dark Chocolate: The heart of the chocolate flavor, its bitter-sweet notes balance the pie’s richness. Select a 70% cocoa chocolate for intensity.
- Milk Chocolate: Introduces a creamy sweetness that tempers the dark chocolate. Ensure it’s finely chopped for even melting.
- Thickened/Heavy Cream: Essential for creating the whipped cream topping. Its high fat content ensures optimal whipping results.
- White Sugar: Enhances the whipped cream’s flavor subtly. It’s key to achieving that sweet, cloud-like topping.
- Vanilla Extract (for whipped cream): Adds gentle fragrance to the topping, marrying the dessert’s flavors.
- Chocolate for Grating: An optional garnish that adds a decadent touch and pleasing aroma. I choose a high-quality chocolate for best results.
How to Make Chocolate Cream Pie?
- Prepare the Crust: Start with a pre-made or homemade crust. If making from scratch, roll the dough gently on a floured surface to maintain a tender texture. Carefully transfer to the pie dish, smoothing out any cracks.
- Blind Bake: Preheat your oven to 375°F (190°C). Line the crust with parchment paper and fill with pie weights or dried beans to prevent bubbling. Bake for 15 minutes until golden, set aside to cool.
- Create the Filling: In a medium saucepan, whisk sugar, cornstarch, and salt, gradually adding milk until smooth. Cook over medium heat, stirring constantly, until the mixture thickens and bubbles. This ensures a smooth texture.
- Add Chocolate and Flavor: Once thick, remove from heat, add chopped chocolate, butter, and vanilla. Stir until you achieve a silky, shiny consistency and rich aroma fills the kitchen.
- Cool the Filling: Pour filling into the cooled crust and smooth the top. Let it cool at room temperature before chilling in the refrigerator for at least 4 hours to set properly.
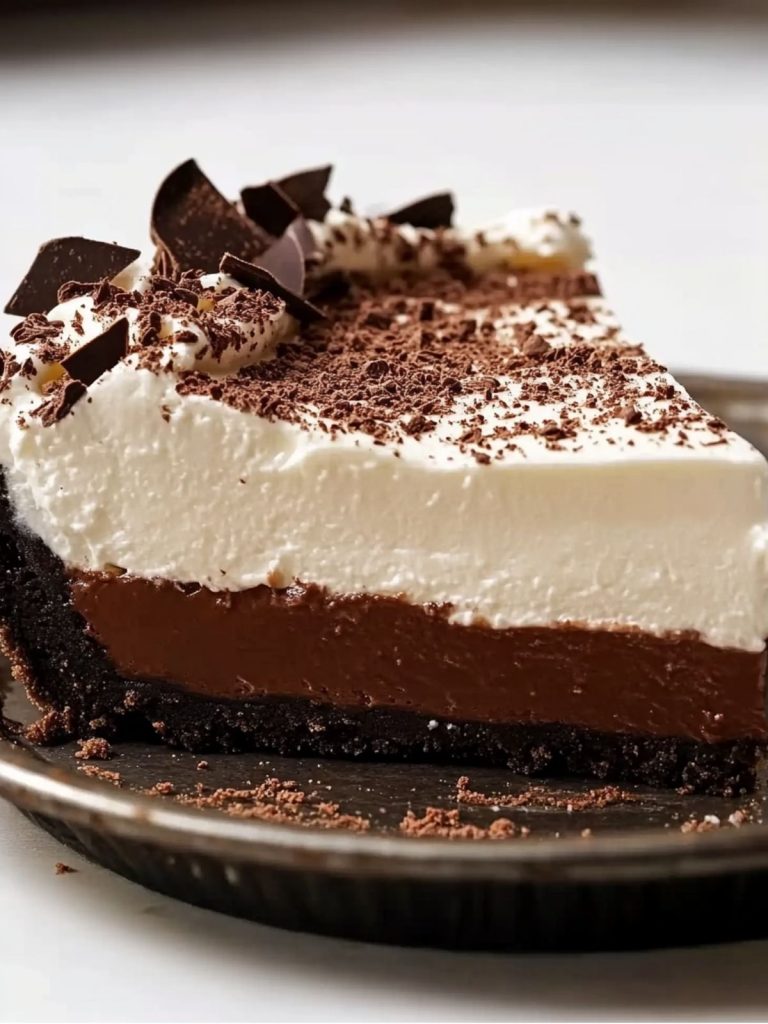
- Serve: Top with whipped cream before serving. Notice the contrast between the creamy topping and rich filling, both visually enticing and delicious.
Expert Cooking Tips
- Chill Your Dough: I always chill the dough before rolling to prevent it from shrinking during baking.
- Perfect Tempering: Gradually incorporate heated milk to avoid lumps, ensuring a smooth filling.
- Room Temperature Ingredients: Use room temperature butter and eggs for a flawlessly mixed filling.
- Over thickening? If your filling is too thick, blend in a tablespoon of milk at a time until desired consistency is reached.
- Aroma as Guide: Trust your nose! The sweet cocoa fragrance hints at when the chocolate is thoroughly melted.
Storage Tips
- Refrigeration: Store covered with plastic wrap to prevent drying out, ensuring the pie remains fresh for up to 4 days.
- Freezing: Freeze pie by wrapping slices individually in plastic wrap and foil, minimizing air exposure to prevent freezer burn.
- Thawing: Thaw frozen pie in the refrigerator overnight to preserve texture and prevent a soggy crust.
- Reheating: Serve chilled, but if desired, allow it to sit at room temperature for 15 minutes before eating to enhance flavors.
- Food Safety: Ensure the pie is regularly chilled to avoid bacterial growth and maintain its delicious taste.
Variations and Substitutions
- Dairy-Free: Use coconut milk or almond milk in place of regular milk, maintaining creaminess without compromising flavor.
- Gluten-Free: Opt for a gluten-free graham cracker crust or almond flour crust to retain the pie’s crispy base.
- Nutty Twist: Incorporate chopped hazelnuts or almonds into the filling for added crunch and richness.
- Fruity Boost: Add a layer of sliced bananas or raspberries between the crust and filling for a refreshing contrast.
- Extra Chocolatey: Stir in dark chocolate chunks or chips to the filling for intensified chocolate indulgence.
What to Serve with Chocolate Cream Pie?
- Fresh Berries: Complement the pie’s richness with a side of fresh strawberries or raspberries for a burst of tartness.
- Whipped Cream: Serve with a dollop of freshly whipped cream to enhance the silky texture of the pie.
- Espresso: Pair with a shot of espresso to balance the pie’s sweetness with a touch of bitter aroma.
- Mint Leaves: Garnish with mint for a refreshing flavor that harmonizes with the chocolate.
- Vanilla Ice Cream: Offer a scoop of vanilla ice cream for a classic combination that highlights creamy and rich flavors.
- Toasted Pecans: Sprinkle with toasted pecans for a crunchy texture that complements the pie’s smooth filling.
FAQ
Pre-bake the crust and cool completely before adding the filling.
Yes, reduce sugar in the filling or use bittersweet chocolate.
Refrigerate for at least 4 hours or until completely firm.
Ensure appropriate cooling time and use cornstarch to thicken.
Yes, graham cracker or nut-based crusts work well as alternatives.
- 0 Facebook
- 3 Pinterest
- 0 Email
- Copy Link
- 3 shares
Chocolate Cream Pie
Ingredients
Instructions
- Prepare the Crust
Start with a pre-made or homemade crust. If making from scratch, roll the dough gently on a floured surface to maintain a tender texture. Carefully transfer to the pie dish, smoothing out any cracks.
- Blind Bake
Preheat your oven to 375°F (190°C). Line the crust with parchment paper and fill with pie weights or dried beans to prevent bubbling. Bake for 15 minutes until golden, set aside to cool.
- Create the Filling
In a medium saucepan, whisk sugar, cornstarch, and salt, gradually adding milk until smooth. Cook over medium heat, stirring constantly, until the mixture thickens and bubbles. This ensures a smooth texture.
- Add Chocolate and Flavor
Once thick, remove from heat, add chopped chocolate, butter, and vanilla. Stir until you achieve a silky, shiny consistency and the rich aroma fills the kitchen.
- Cool the Filling
Pour filling into the cooled crust and smooth the top. Let it cool at room temperature before chilling in the refrigerator for at least 4 hours to set properly.
- Serve
Top with whipped cream before serving. Notice the contrast between the creamy topping and rich filling, both visually enticing and delicious.