- 0 Facebook
- 12 Pinterest
- 0 Email
- Copy Link
- 12 shares
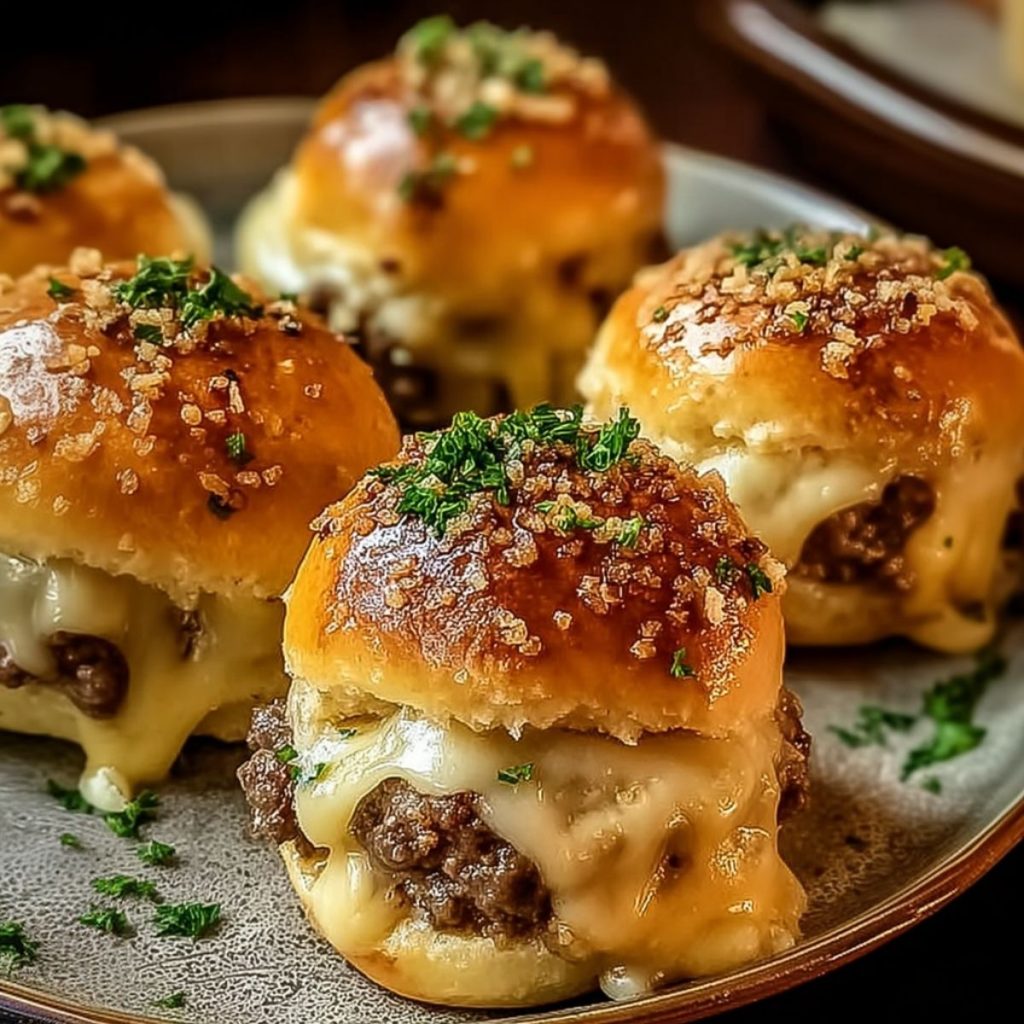
I’ve crafted this Garlic Parmesan Cheeseburger Bombs recipe to be blissfully simple, featuring juicy beef, gooey cheese, and bold garlic flavor in each savory bite.
My first encounter with the magic of Garlic Parmesan Cheeseburger Bombs happened quite by accident. I was on a mission, one weekend afternoon, to surprise my friends with a homemade twist on a fast-food favorite. Nostalgia met innovation in my kitchen as I experimented with flavors that took me back to family cookouts, where each bite burst with comfort and a touch of gourmet flair.
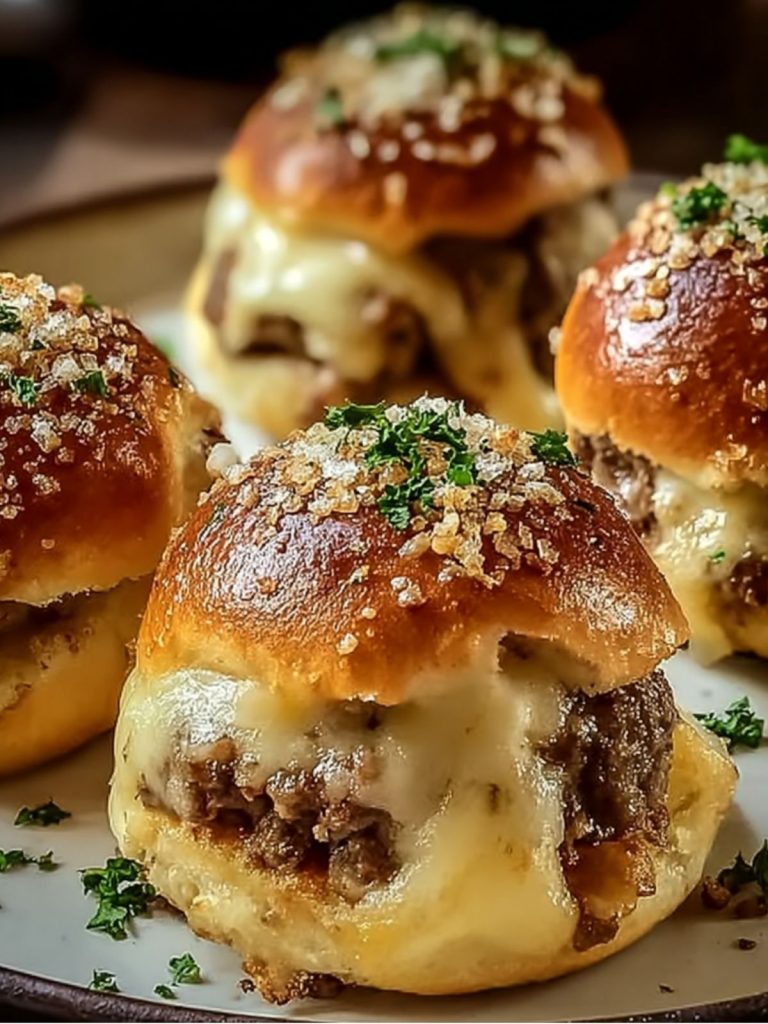
This dish became special the moment I realized how effortlessly it brought smiles to the table. It’s budget-friendly and impressively easy to make, yet it delivers an explosion of taste that reminds me of my favorite summer getaways. Whether you’re short on time or just looking for a unique culinary experience, this recipe will transform a simple meal into a delightful feast.
Why You’ll Love Garlic Parmesan Cheeseburger Bombs?
- Simplicity at Its Finest: The recipe is crafted to keep prep time minimal without sacrificing any of the flavor that typically requires a culinary degree to produce.
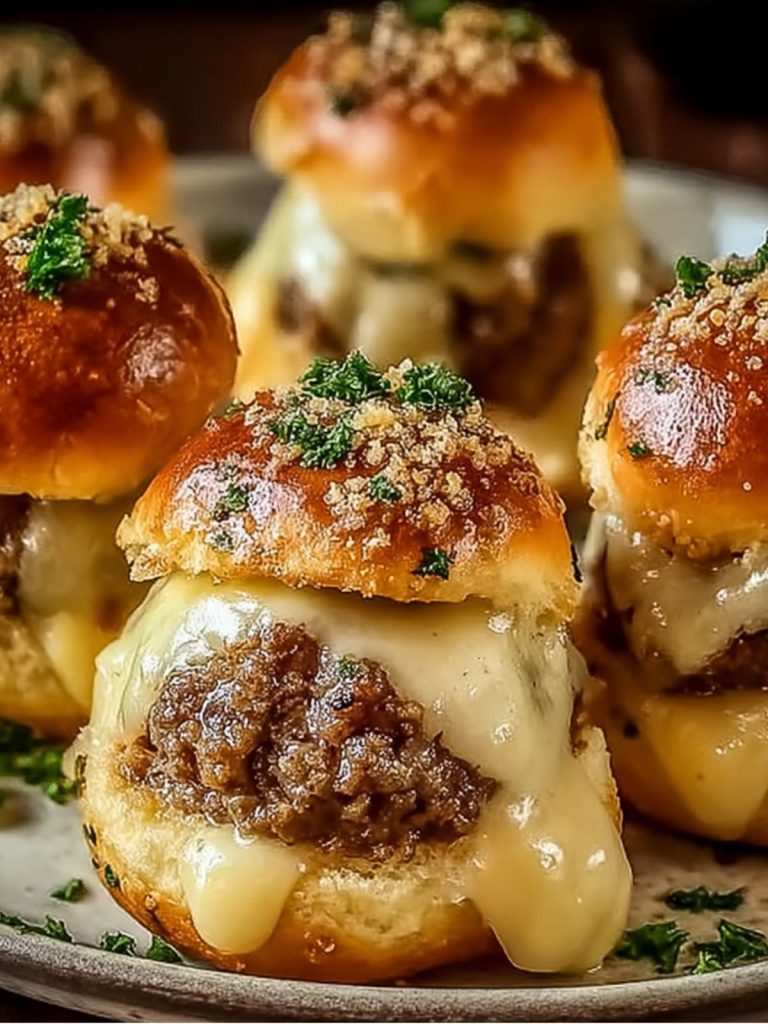
- Rich, Indulgent Flavors: Each bomb encapsulates the robust taste of garlic, the creaminess of melted Parmesan, and the satisfying savoriness of seasoned beef.
- Consistent Results for All Skill Levels: Whether you’re a seasoned cook or a kitchen novice, the straightforward method ensures that you’ll achieve delicious results with every batch.
- Trusted Techniques: From expertly sealing the dough around every cheeseburger filling to baking at just the right temperature, this recipe relies on proven methods that ensure even cooking and crispy golden perfection.
The key to consistently delightful results is striking the perfect balance between the boldness of flavors and the ease of preparation.
Ingredients Notes
- Ground Beef: I choose lean beef for fewer drips and a meaty texture. Look for bright red tones and avoid overly packaged or gray meat for the best quality.
- Garlic, Minced: Fresh garlic is crucial for that punchy, aromatic hit. I use a fine mince to distribute flavor evenly throughout the mixture.
- Parmesan Cheese, Diced: Grate yourself for bold, nutty flavors that pre-packaged just can’t match. Go for a block with a gritty rind.
- Cheddar Cheese, Cubed: Cube it yourself for creamy, gooey results. Cheddar should be sharp, smooth, and firm to the touch.
- Biscuit Dough: Choose quality dough that rises well, lending a fluffy, golden base to the bomb. Consistency is key.
- Butter, Melted: Add richness and a glossy finish. I prefer to use unsalted to control seasoning levels.
- Parsley, Chopped: Freshly chopped parsley brightens the dish with herbal freshness. Make sure the leaves are a vivid green.
How to Make Garlic Parmesan Cheeseburger Bombs?
- Prepare the Filling: Begin by browning the ground beef in a skillet over medium heat until fully cooked. As the beef sizzles, let the rich, savory aroma fill your kitchen. Add the minced garlic and continue cooking for about a minute, allowing it to release its fragrant aroma. Drain any excess fat from the skillet and stir in the diced parmesan cheese until it’s incorporated, adding a nutty, cheesy depth to the mix.
- Prepare Biscuit Dough: Carefully separate the biscuit dough pieces and flatten them gently using your palms on a lightly floured surface. Aim for even thickness to ensure a uniform cook. The dough should feel soft and pillowy, each piece expanding gently under the pressure of your hands.
- Assemble the Bombs: Place a heaping tablespoon of the beef mixture in the center of a flattened biscuit. Add a cube of cheddar cheese for that luscious, melty center. Bring the edges of the dough up and over the filling, pinching them together to seal securely. Ensuring a good seal prevents any delicious fillings from leaking out during the baking process.
- Bake to Perfection: Arrange the sealed bombs seam-side down on a baking sheet lined with parchment paper. Brush them with melted butter for extra richness and a golden shine once baked. Pop them into a preheated oven at 375°F (190°C) for about 15-18 minutes, till they’re golden and fragrant.
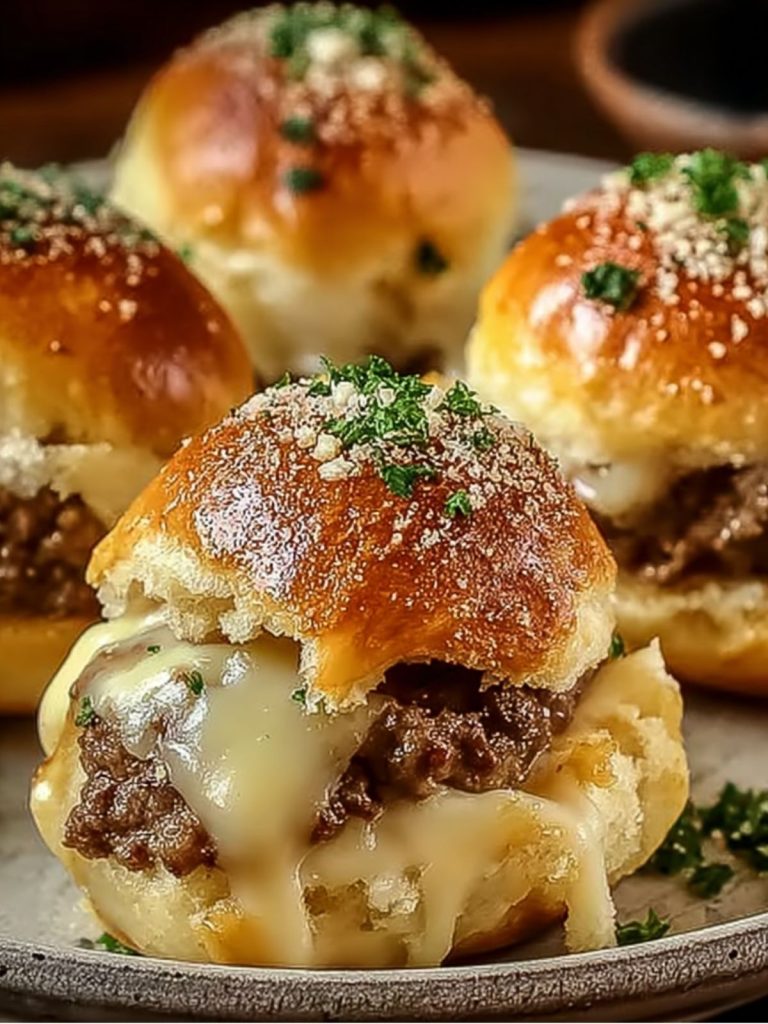
- Finish with Parsley: Once baked, allow them to cool slightly before garnishing with freshly chopped parsley. The vibrant green hue adds visual appeal, while the herbal freshness complements the cheese and beef beautifully.
Expert Cooking Tips
- Always bring your ingredients to room temperature before starting; it helps in even cooking and prevents the dough from tearing.
- I use a rolling pin to flatten the biscuit dough evenly, which ensures consistent baking.
- Chill the cheddar cheese slightly before using; it makes cubing and handling easier.
- Seal the biscuit dough tightly to avoid any cheese leaks during baking.
- I sprinkle a little flour on my hands to prevent dough sticking while assembling.
- Brown the beef thoroughly to enhance its rich flavor and remove excess moisture.
- If the dough sticks, use parchment paper to flatten out biscuit rounds effortlessly.
- Add a splash of Worcestershire sauce to the beef for an extra depth of flavor.
Storage Tips
- Store baked bombs in an airtight container in the refrigerator for up to 3 days.
- For longer storage, freeze individually wrapped bombs to maintain freshness.
- Reheat in the oven at 350°F for 10 minutes to retain crispness.
- Avoid microwave reheating to prevent sogginess; oven or air fryer is best.
- Prevent freezer burn by double-wrapping bombs in foil and then placing in a Ziploc bag.
- Thaw frozen bombs overnight in the fridge before reheating for best texture.
- Label your storage bags with date and contents for easy identification.
- Ensure storage containers are fully sealed to maintain flavor and prevent contamination.
Variations and Substitutions
- For a gluten-free version, use gluten-free biscuit dough and ensure ingredients are certified gluten-free.
- Substitute cheddar for dairy-free cheese options to make it lactose-free.
- For a spicy twist, add diced jalapeños to the beef filling.
- Replace ground beef with ground turkey or chicken for a leaner option.
- Add cooked and crumbled bacon to the filling for an extra smoky flavor.
- Swap out parsley for fresh basil for a different herbal note.
- Include caramelized onions in the filling for a sweet, savory contrast.
- Try a mix of mozzarella and provolone for an Italian-inspired variation.
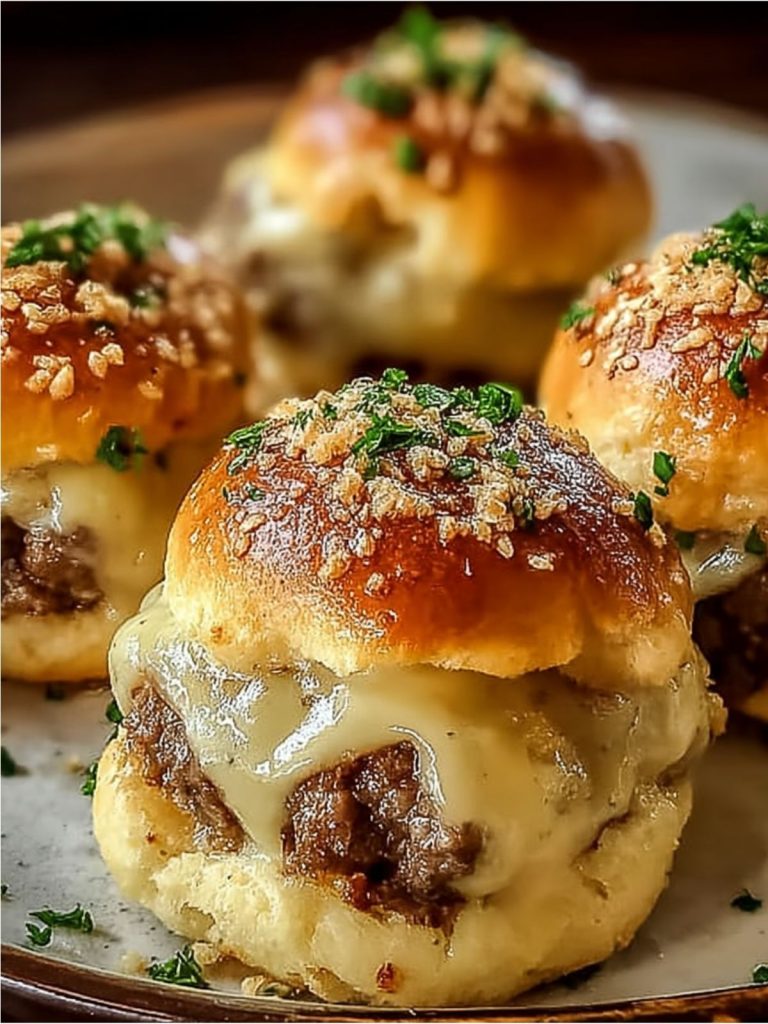
What to Serve with Garlic Parmesan Cheeseburger Bombs?
- Classic Fries: Crispy, golden fries offer a satisfying crunch that complements the soft, cheesy bombs, creating a balanced textural experience.
- Mixed Green Salad: Fresh greens with a light vinaigrette provide a crisp, refreshing contrast, enhancing the rich flavors of the cheeseburger bombs.
- Roasted Vegetables: Roasted carrots and asparagus add a sweet and savory flavor that complements the garlic and beef inside the bombs.
- Coleslaw: A creamy, tangy coleslaw introduces a cool, contrasting texture and flavor that cuts through the dish’s richness.
- Sweet Potato Fries: These introduce sweetness and a slight chewiness, balancing the savory, cheesy flavor profile beautifully.
- Corn on the Cob: Grilled corn offers a smoky, buttery essence that pairs well with the cheesy garlic flavors.
- Caprese Salad: The combination of tomato, mozzarella, and basil adds fresh, vibrant flavors that enhance the cheeseburger bombs’ richness.
- Garlic Bread: Amplifies the garlic flavor, adding warmth and crunch to the meal complementing the melted cheese filling.
- Crispy Brussels Sprouts: The nutty, slightly bitter taste provides a nice contrast to the savory and cheesy filling.
- Mac and Cheese: This creamy, cheesy dish complements the filling, creating a comforting and indulgent meal.
FAQs
Ensure biscuits are fully sealed and bake until golden for crisp layers.
Yes, freeze before baking; defrost and bake as directed when needed.
Add diced jalapeños or a dash of cayenne pepper to the filling.
Cheddar melts well, but mozzarella or provolone offer Italian flair.
Do not overcook the beef; adding sauce maintains juicy filling.
- 0 Facebook
- 12 Pinterest
- 0 Email
- Copy Link
- 12 shares
Garlic Parmesan Cheeseburger Bombs
Ingredients
Instructions
- Prepare the Filling
Begin by browning the ground beef in a skillet over medium heat until fully cooked. As the beef sizzles, let the rich, savory aroma fill your kitchen. Add the minced garlic and continue cooking for about a minute, allowing it to release its fragrant aroma. Drain any excess fat from the skillet and stir in the diced parmesan cheese until it’s incorporated, adding a nutty, cheesy depth to the mix.
- Prepare Biscuit Dough
Carefully separate the biscuit dough pieces and flatten them gently using your palms on a lightly floured surface. Aim for even thickness to ensure a uniform cook. The dough should feel soft and pillowy, each piece expanding gently under the pressure of your hands.
- Assemble the Bombs
Place a heaping tablespoon of the beef mixture in the center of a flattened biscuit. Add a cube of cheddar cheese for that luscious, melty center. Bring the edges of the dough up and over the filling, pinching them together to seal securely. Ensuring a good seal prevents any delicious fillings from leaking out during the baking process.
- Bake to Perfection
Arrange the sealed bombs seam-side down on a baking sheet lined with parchment paper. Brush them with melted butter for extra richness and a golden shine once baked. Pop them into a preheated oven at 375°F (190°C) for about 15-18 minutes, till they’re golden and fragrant.
- Finish with Parsley
Once baked, allow them to cool slightly before garnishing with freshly chopped parsley. The vibrant green hue adds visual appeal, while the herbal freshness complements the cheese and beef beautifully.