- 0 Facebook
- 17 Pinterest
- 0 Email
- Copy Link
- 17 shares
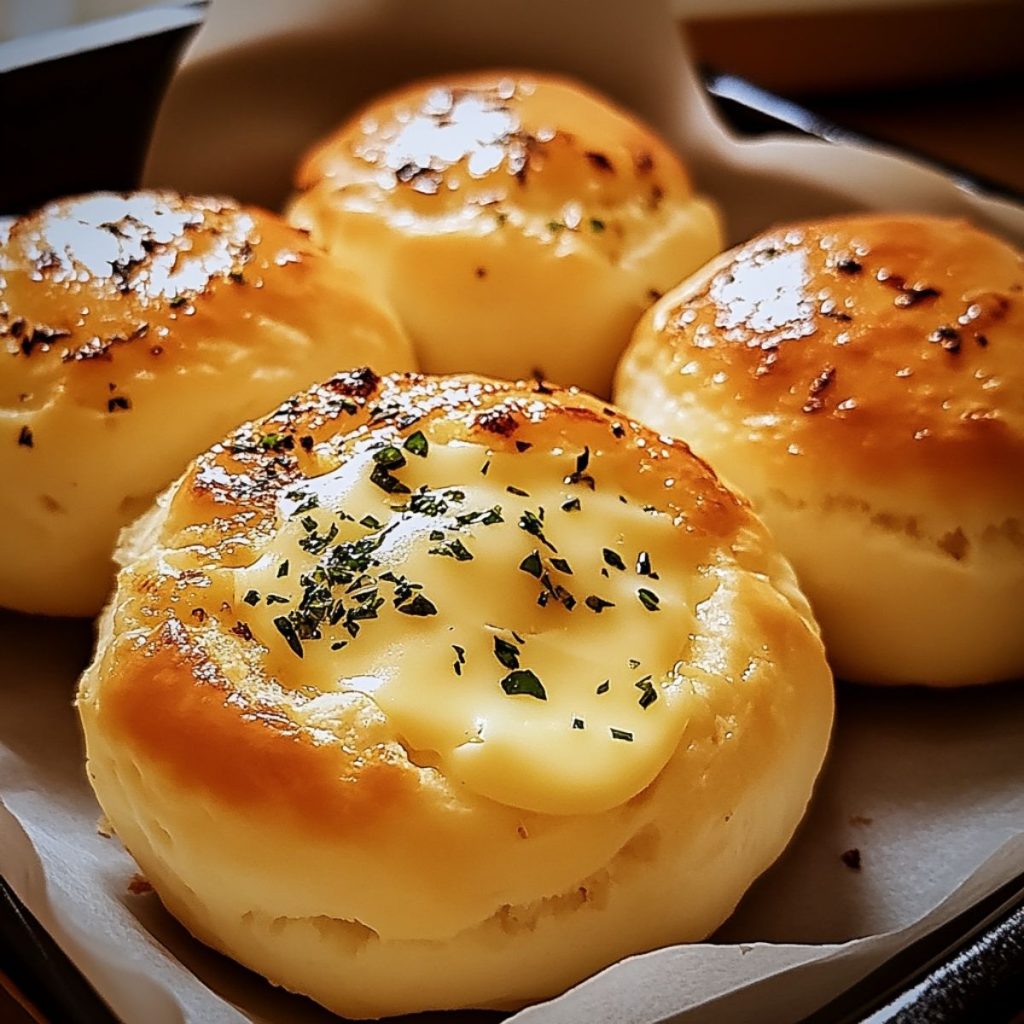
I love how Pillsbury Biscuit Garlic Butter Cheese Bombs are not only incredibly easy to prepare but also packed with mouth-watering flavors. With simple ingredients like cheese, garlic, and ready-made biscuits, this creation is a true flavor explosion.
Growing up, weekend mornings meant one thing: family brunch. It was during one of those warm gatherings that I first tinkered with the idea of enhancing our usual biscuits into something extraordinary. Armed with a little creativity and a love for garlic and cheese, the Garlic Butter Cheese Bombs were born, much to everyone’s delight.
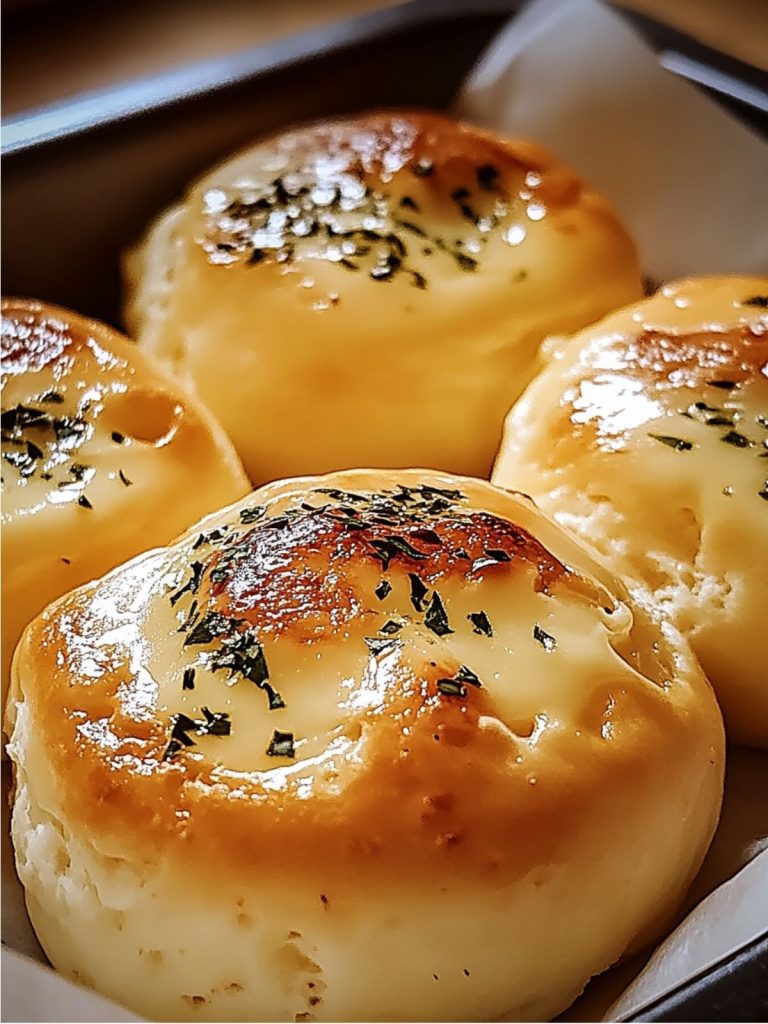
This recipe became a staple because it’s both a culinary delight and a time-saver, perfect for those who crave a quick gourmet treat. Not only does it bring back cherished memories, but it’s also sure to save you time in the kitchen and give your taste buds something to celebrate.
Why You’ll Love Pillsbury Biscuit Garlic Butter Cheese Bombs?
I can confidently say that this recipe is a game-changer in any kitchen. Here’s why it works so exceptionally well:
- Simple and Quick: Using ready-made biscuit dough shortens prep time significantly, allowing you to focus on savoring each bite rather than stressing over ingredients.
- Rich, Irresistible Flavor: The combination of gooey cheese and aromatic garlic butter perfectly complements the fluffy biscuits, creating a delightful burst of flavor with every bite.
- Versatile Appeal: Whether you’re a novice cook or an experienced chef, this recipe delivers consistently delicious results, taking the guesswork out of gourmet baking.
- Consistent Results: Meticulous layering techniques ensure the garlic butter and cheese are well distributed, guaranteeing a cheesy, buttery bite every time.
- Family-Friendly: These Cheese Bombs are destined to be a hit with both kids and adults, making them perfect for family gatherings or casual Sunday breakfasts.
“The simplicity and unbeatable flavor profile of this recipe makes it a staple in my kitchen, transforming the everyday meal into a gourmet treat lined with indulgence.”
Ingredients Notes
- Pillsbury Refrigerated Biscuits: I find these perfect for consistently light, flaky dough. They absorb flavors well, making them an ideal canvas for the cheese and seasonings.
- Shredded Mozzarella Cheese: Mozzarella offers a creamy melt and stretch, essential for that classic cheese pull. Freshly shredded for best meltability.
- Shredded Cheddar Cheese: The sharpness of cheddar balances the mozzarella’s creaminess. I recommend a high-quality sharp cheddar for depth and richness.
- Butter, Melted: A luscious base for binding flavors. Use high-quality, unsalted butter to control the saltiness and boost the buttery allure.
- Garlic Powder: Offers a concentrated garlic essence without moisture. I prefer a high-grade powder for genuine depth that partners well with the fresh garlic in the topping.
- Onion Powder: Adds an earthy, savory undertone, rounding out the garlic’s flavor profile. Sift for consistency to avoid clumps.
- Dried Parsley: Enhances the visual appeal and introduces a hint of earthy freshness. Opt for vibrant-colored parsley for maximum potency.
- Salt: A flavor enhancer that elevates the other ingredients. I choose fine sea salt for even distribution.
- Black Pepper: Adds a subtle kick that cuts through the richness. Freshly ground pepper provides superior aroma and flavor.
- Garlic Butter Topping: This rich, herbed topping complements and enhances each bite. Utilize unsalted butter to mix with powdered and dried herbs for a flawless glaze.
How to Make Pillsbury Biscuit Garlic Butter Cheese Bombs?
- Preheat Your Oven : Set your oven to 375°F (190°C) and allow it to fully preheat. A consistently hot oven ensures a golden, crispy exterior.
- Prepare the Filling: In a mixing bowl, combine 1/2 cup shredded mozzarella and 1/2 cup shredded cheddar. Toss them gently but thoroughly to ensure even distribution.
- Roll Out the Biscuits: Open the can of Pillsbury refrigerated biscuits and separate each biscuit. Place on a clean, flat surface. With a rolling pin, gently flatten each biscuit until it’s about 1/4 inch thick, taking care not to overwork the dough to maintain its flakiness.
- Fill the Biscuits: Place a small mound of the cheese mixture in the center of each flattened biscuit. The face should hold together without being too compact, ensuring a gooey center when baked.
- Seal the Cheese Bombs: Carefully bring the edges of the dough over the cheese, pinching them together firmly to seal. Roll the sealed biscuits into smooth balls using your palms for consistent cooking and appearance.
- Prepare the Garlic Butter Topping: In a small bowl, mix 2 tablespoons melted butter with 1 teaspoon garlic powder, 1 teaspoon dried parsley, and 1/4 teaspoon salt. Stir until uniform.
- Brush and Season: Place the sealed cheese bombs onto a baking sheet lined with parchment paper. Generously brush each bomb with the garlic butter mixture, ensuring even coverage for flavor and color enhancement.
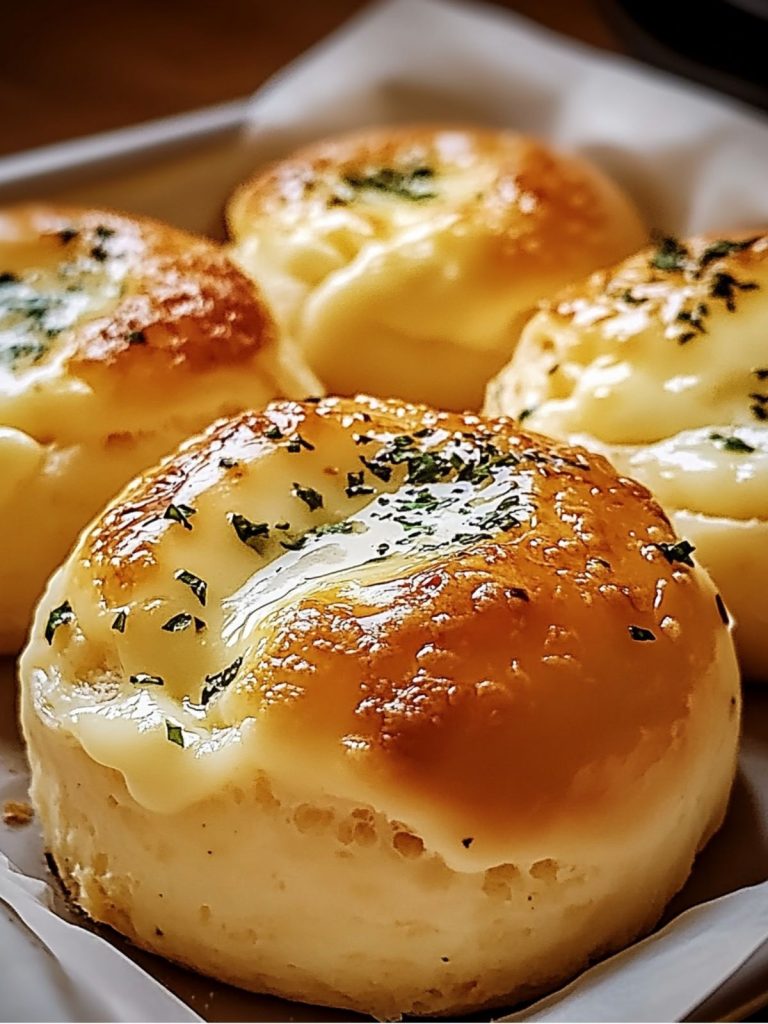
- Bake to Perfection: Slide your baking sheet into the preheated oven . Bake for 12-15 minutes or until the cheese bombs are a rich golden brown and the aroma of baking cheese and herbs fills your kitchen.
- Serve and Enjoy: Once out of the oven , let the cheese bombs cool for a few minutes. Serve warm, garnishing with a sprinkle of fresh dried parsley, and savor the crisp exterior yielding to a melty, cheesy delight!
Expert Cooking Tips
- Even Heat Distribution: Ensure your oven racks are centered for consistent heat. This avoids uneven cooking and ensures all cheese is melty without over-baking.
- Don’t Overflour the Surface: When flattening biscuits, lightly dust just enough flour to prevent sticking. Overworking the dough alters the final texture to dense and dry.
- Sealing Strategy: I pinch the dough edges firmly before rolling them into balls. This ensures the cheese stays inside without leaking during baking.
- Perfect Butter Mix: Mix your garlic butter thoroughly. Uneven mixing leads to inconsistent flavor across your cheese bombs.
- Check for Golden Color: I pull them out once the tops are golden brown. Letting them sit longer risks burning the bottoms.
- Cooling Time: Allow cheese bombs to cool slightly. This step ensures the cheese firms slightly, making them easier to handle and taste better.
Storage Tips
- Refrigerator Storage: Store leftovers in an airtight container to maintain freshness. Consume within three days to ensure optimal flavor and texture.
- Freezer Storage: Wrap each bomb tightly in cling wrap before placing in a freezer bag. Prevents freezer burn and extends shelf life up to 2 months.
- Reheating Method: For best results, reheat in the oven at 350°F (175°C) for 10 minutes. This keeps the exterior crispy and the cheese melty.
- Avoid Microwave for Reheating: The microwave can make the bombs soggy. If you must, use low heat and short intervals.
- Individual Wrapping: Wrap each bomb individually when storing. This prevents them from sticking together, making reheating more efficient.
- Ensure Safety: Always check for spoilage, especially when stored longer term. Discard any bombs that show signs of freezer burn or off-odors.
Variations and Substitutions
- Dairy-Free Option: Use dairy-free cheese and vegan butter. Nutritional yeast can enhance flavor, keeping them just as delicious without dairy.
- Gluten-Free Version: Replace standard biscuits with gluten-free biscuit dough. Keeps all the flavors with a texture everyone can enjoy.
- Herb Flavor Changes: Try adding rosemary or thyme to the garlic butter mix for a different herby touch, enhancing aroma and taste.
- Add a Nutty Twist: Sprinkle finely chopped nuts, like almonds or pecans, into the cheese mix for added texture and flavor depth.
- Spicy Kick Option: Include a dash of chili flakes in your butter mix to bring a mild heat that complements the cheese beautifully.
- Savory and Sweet: Balance with a hint of sweetness by adding dried cranberries to the cheese filling, creating a surprising yet delightful flavor twist.
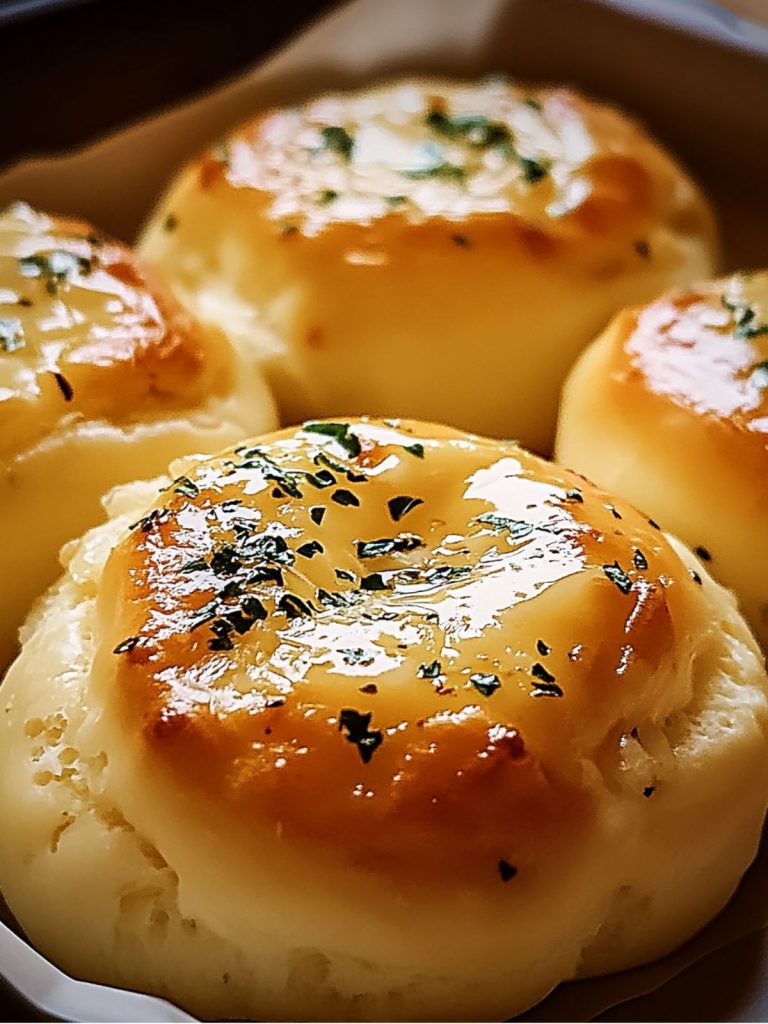
What to Serve with Pillsbury Biscuit Garlic Butter Cheese Bombs?
- Fresh Green Salad: Crisp lettuce with a tangy vinaigrette complements the rich, buttery biscuits with refreshing zest.
- Tomato Basil Soup: A classic pairing that boosts the cheesy goodness of the bombs with savory warmth and vibrant flavors.
- Roasted Vegetables: Caramelized carrots and bell peppers add sweetness and depth to balance the cheesy, garlicky richness.
- Grilled Asparagus: Lends a mild, earthy contrast, enhancing the aromatic garlic butter flavors.
- Parmesan Risotto: Creamy and savory, the risotto echoes the cheese while introducing unique textures for a delightful experience.
- Caramelized Onion Relish: Offers sweetness and tang, creating a harmonious balance with the savory cheese bombs.
- Crispy Kale Chips: Add crunch and a hint of saltiness, lifting the soft, gooey cheese center beautifully.
- Garlicky Mushrooms: Earthy umami notes enhance the garlic and cheese, amplifying the overall depth of the dish.
- Feta and Olive Tapenade: Brings briny, tangy notes that perfectly contrast the rich cheese, elevating the taste profile.
- Herbed Couscous: Light, fluffy couscous infused with herbs offers a bright and refreshing contrast.
FAQs
Use a baking rack to ensure heat circulates evenly, creating a crispy crust.
Yes, assemble and refrigerate until baking, ensuring freshness and convenience.
Ensure edges are securely sealed to prevent cheese from escaping.
Brush with butter and bake longer at a lower temperature for an even golden finish.
Balance with savory elements like herbs or spicy toppings to counteract excessive sweetness.
- 0 Facebook
- 17 Pinterest
- 0 Email
- Copy Link
- 17 shares
Pillsbury Biscuit Garlic Butter Cheese Bombs
Ingredients
Instructions
- Preheat Your Oven
Start by setting your oven to 375°F (190°C) and make sure it fully preheats. A consistently hot oven is key for achieving a golden, crispy exterior.
- Prepare the Filling
In a mixing bowl, combine 1/2 cup shredded mozzarella and 1/2 cup shredded cheddar. Toss them gently but thoroughly to ensure the cheese is evenly distributed.
- Roll Out the Biscuits
Open the can of Pillsbury refrigerated biscuits and separate each one. Lay them on a clean, flat surface. With a rolling pin, gently flatten each biscuit until it’s about 1/4 inch thick. Avoid overworking the dough to maintain its flakiness.
- Fill the Biscuits
Place a small mound of the cheese mixture in the center of each flattened biscuit. Ensure the cheese is mounded without being too compact, which will create a gooey center when baked.
- Seal the Cheese Bombs
Carefully bring the edges of the dough over the cheese and pinch them together firmly to seal the center. Roll the sealed biscuits into smooth balls using your palms for a consistent look and even cooking.
- Prepare the Garlic Butter Topping
In a small bowl, mix 2 tablespoons of melted butter with 1 teaspoon garlic powder, 1 teaspoon dried parsley, and 1/4 teaspoon salt. Stir until the mixture is uniform.
- Brush and Season
Place the sealed cheese bombs onto a baking sheet lined with parchment paper. Generously brush each bomb with the garlic butter mixture, ensuring even coverage for enhanced flavor and color.
- Bake to Perfection
Slide your baking sheet into the preheated oven. Bake for 12-15 minutes or until the cheese bombs are a rich golden brown and the aroma of baking cheese and herbs fills your kitchen.
- Serve and Enjoy
Once out of the oven, let the cheese bombs cool for a few minutes. Serve warm, garnishing with a sprinkle of fresh dried parsley, and savor the crisp exterior yielding to a melty, cheesy delight!