- 0 Facebook
- 24 Pinterest
- 0 Email
- Copy Link
- 24 shares
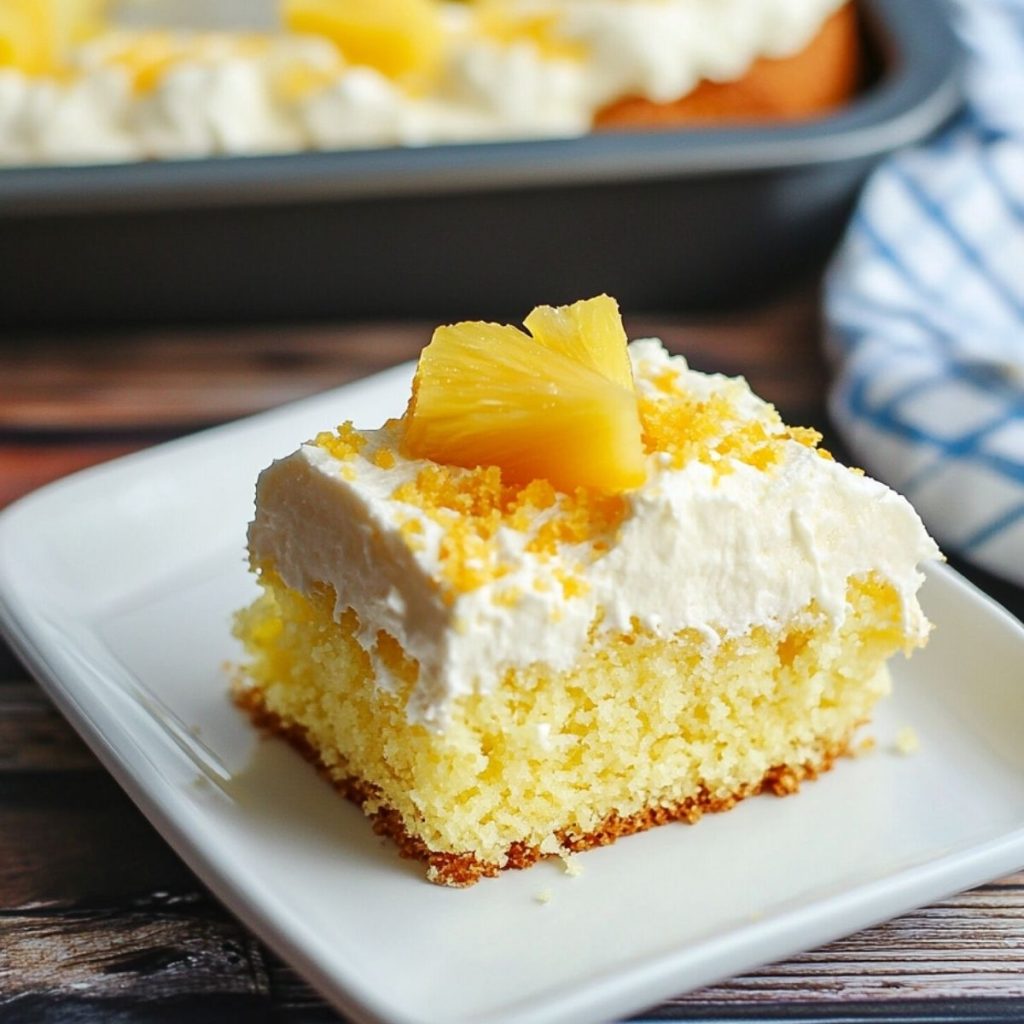
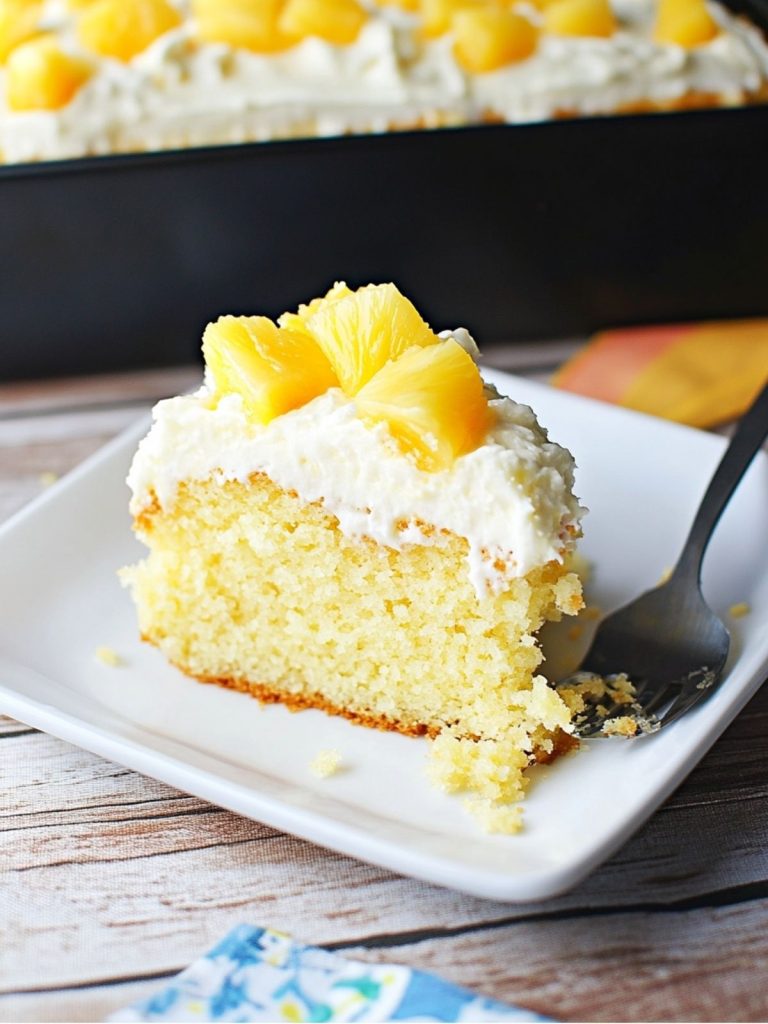
I’ve fallen in love with the Pineapple Sunshine Layer Cake for its incredible simplicity and the vibrant fusion of pineapple and citrus flavors. With easily accessible ingredients and a straightforward preparation, it’s perfect for any occasion.
One sunny afternoon, while exploring my grandmother’s recipe books, I stumbled upon the Pineapple Sunshine Layer Cake. It was a delightful discovery, reminiscent of family gatherings filled with laughter and sweet aromas wafting from the kitchen. This recipe quickly became a staple in my home, cherished for its budget-friendly ingredients and the burst of sunshine it carries in every bite. Whether you’re hosting a party or simply indulging at home, this cake is a delicious time-saver with its easy prep and unique flavor combination.
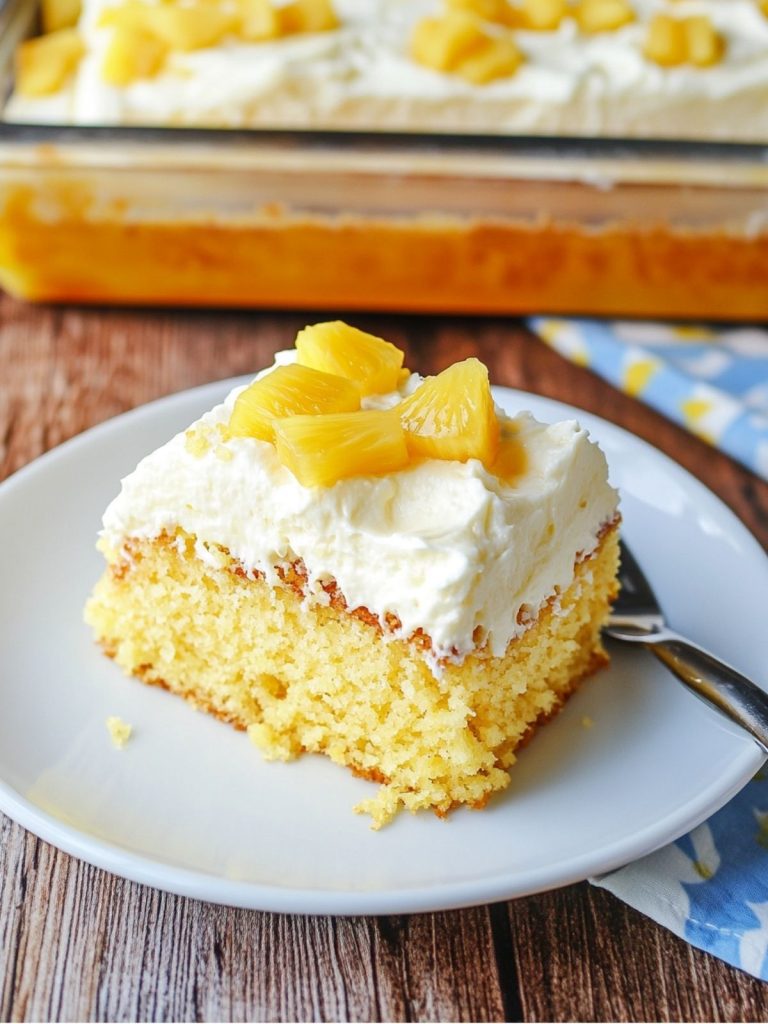
This cake isn’t just a treat for the taste buds; it’s a symbol of tradition and innovation combined. From the first attempt, I appreciated how it consistently delivered a balance of moisture and flavor. You’ll find it as enjoyable to make as it is to eat, thanks to the no-fuss method that invites anyone—seasoned baker or novice cook—to enjoy a slice of sunshine.
Why You’ll Love Pineapple Sunshine Layer Cake?
- Expert Simplicity: This cake leverages classic baking techniques, ensuring even the most amateur bakers achieve perfect results.
- Rich Flavor: The amalgamation of tropical pineapple and zesty citrus creates a flavor profile that’s both sweet and refreshing.
- Standout Features: Moist and tender layers are complemented by a luscious topping, making every bite a true delight.
- Consistency: Crafted to maintain its freshness and texture, this cake promises consistent, delicious results time after time.
- Accessibility: With a short ingredient list and straightforward method, this recipe is both budget-friendly and time-efficient.
From experienced chefs to home bakers, this recipe promises a delightful baking experience that delivers sunshine in every slice.
Ingredients Notes
- Yellow Cake Mix: I find it provides a quick and reliable base with room for creativity. I choose one with a well-balanced vanilla flavor for the best results.
- Eggs: These are essential for structure and richness. I prefer fresh, free-range eggs for a superior taste and texture that elevates the cake’s moisture.
- Oil: Opt for a mild-flavored oil like canola or vegetable to not overpower the cake’s sweetness; it lends a moist, tender crumb.
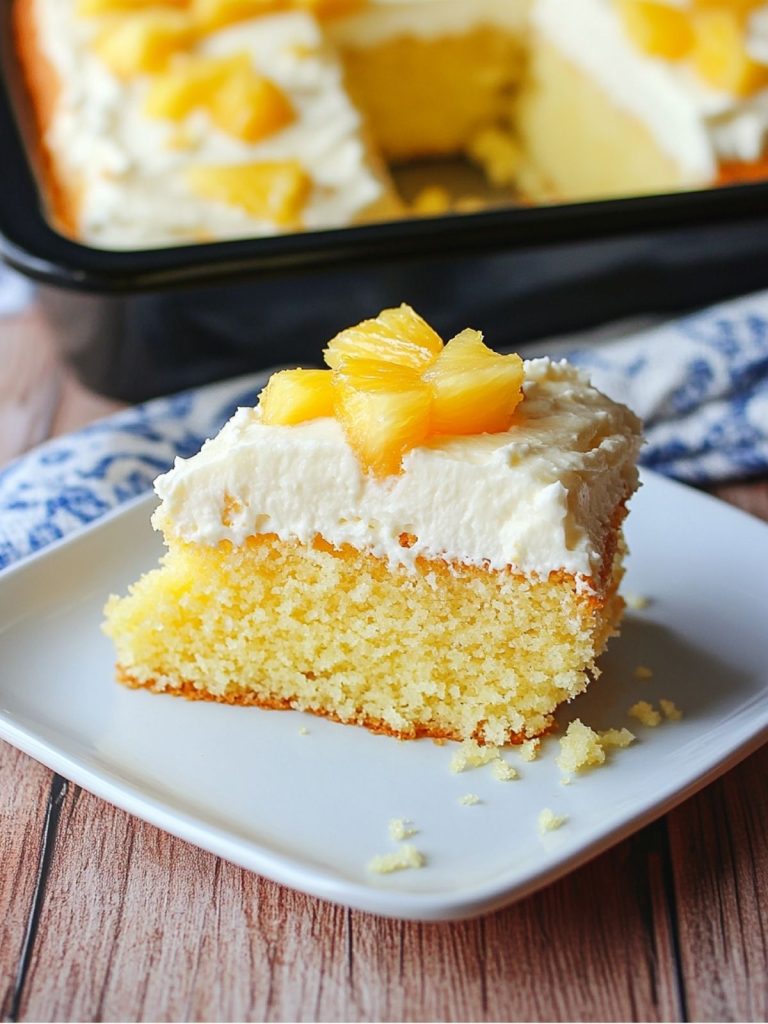
- Crushed Pineapple (undrained): This is the star ingredient, offering natural sweetness and moisture. I recommend high-quality canned or fresh pineapple for a fresh and juicy flavor.
- Whipped Topping (thawed): For a light, fluffy finish, ensure it’s fully thawed before use. The whipped topping adds a smooth, creamy texture when combined with pudding.
- Instant Vanilla Pudding: This enhances the cake’s creaminess and flavor. Use a reputable brand known for its rich vanilla profile to complement the pineapple perfectly.
How to Make Pineapple Sunshine Layer Cake?
- Preheat and Prepare: Start by preheating your oven to 350°F (175°C). Grease a 9×13-inch baking pan thoroughly to ensure your cake doesn’t stick. This initial step helps achieve a beautifully golden crust.
- Mix the Batter: In a large mixing bowl, combine the yellow cake mix, eggs, and oil. Add the undrained crushed pineapple. Whisk together until the batter is smooth with an even consistency. Notice the delightful pineapple aroma that starts to fill the air as you mix.
- Bake the Cake: Pour the batter into the prepared pan. Slide it into the preheated oven and let it bake for 25-30 minutes, or until a toothpick inserted into the center comes out clean. As it bakes, your kitchen will be filled with a warm, sweet scent.
- Cool and Set: Once baked, remove the cake from the oven and let it cool completely in the pan. This cooling period is crucial, as it allows the cake to firm up and makes it easier to handle for layering.
- Prepare the Topping: In a medium bowl, mix the thawed whipped topping with the instant vanilla pudding until smooth. The combination should be creamy and fluffy with a light vanilla fragrance.
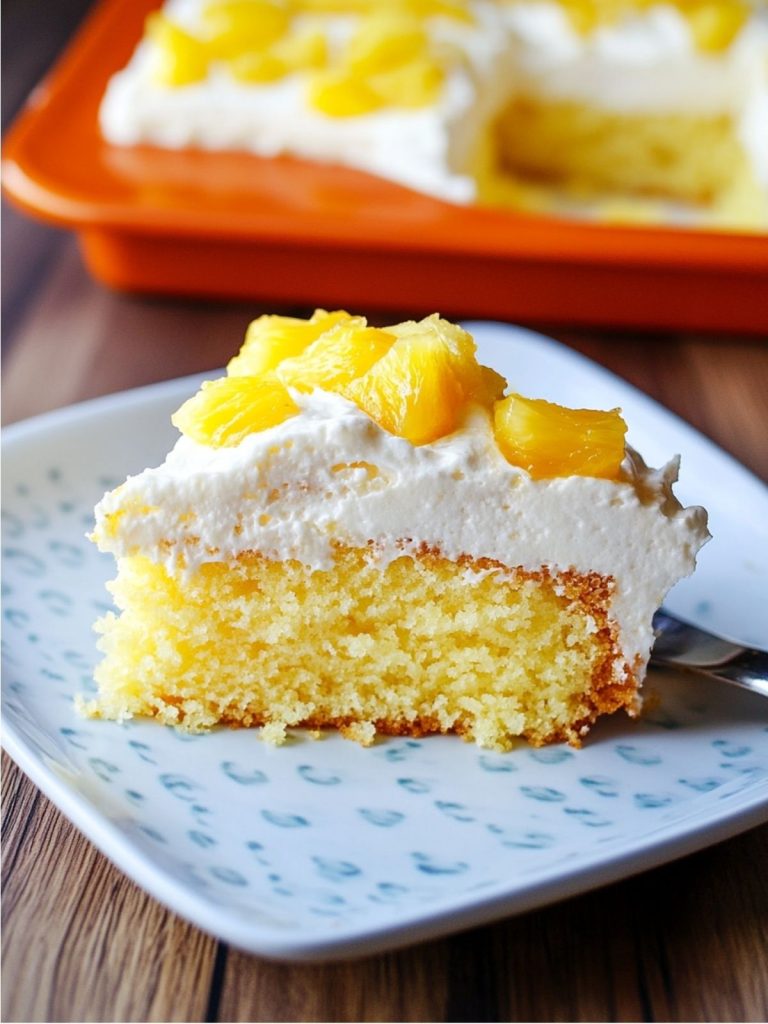
- Assemble Your Layer Cake: Spread the pudding-topping mixture evenly over the cooled cake. Use a spatula to create a smooth finish, ensuring each bite has a perfect balance of cake and creamy topping.
- Serve and Enjoy: Let the cake sit in the refrigerator for at least an hour before serving for best results. This allows the flavors to meld beautifully. Slice and relish the delightful texture and bright, tropical flavor.
Expert Cooking Tips
- Whisk Wisely: I find using a hand mixer ensures a lump-free batter, combining ingredients more thoroughly than by hand.
- Oil Options: Substitute canola or sunflower oil for a lighter cake texture.
- Layering: To avoid crumbs in the frosting, chill your cake first. I always do this for a cleaner look.
- Eggs: Use room temperature eggs to help the batter mix evenly and rise better during baking.
- Pineapple Delight: Always incorporate the juice from the crushed pineapple. It adds moisture and flavor to the cake.
- Frosting Finish: Dip your spatula in hot water for a seamless spread of the topping.
- Troubleshooting: If the cake is too crumbly, reduce baking time by a couple of minutes next time.
Storage Tips
- Refrigeration: Store the cake covered in the refrigerator for up to three days to maintain moisture and freshness.
- Freezing: For longer storage, freeze slices separately wrapped in plastic wrap to prevent freezer burn.
- Reheating: Thaw frozen slices overnight in the refrigerator and bring to room temperature before serving for best flavor.
- Food Safety: Ensure all ingredients are cool before chilling to prevent bacterial growth.
- Airtight is Key: Keep in an airtight container to prevent the cake from absorbing any other flavors in the fridge.
Variations and Substitutions
- Gluten-Free Option: Substitute regular cake mix with gluten-free cake mix to accommodate dietary needs without sacrificing texture.
- Dairy-Free Delight: Use dairy-free whipped topping and pudding mix for a lactose-intolerant friendly version.
- Nutty Addition: Add crushed pecans or walnuts between layers for a delightful crunch.
- Chocolate Twist: Replace vanilla pudding mix with chocolate for a rich, cocoa-flavored twist.
- Fruity Touch: Swap half the pineapple for mashed bananas to add a tropical flair.
What to Serve with Pineapple Sunshine Layer Cake?
- Grilled Pineapple Skewers: Complement the cake’s sweetness with caramelized grilled pineapple for a cohesive tropical dessert experience.
- Coconut Rice: The creaminess of coconut rice enhances the cake’s tropical flavor profile, offering a smooth contrast to the cake’s sweetness.
- Mango Salsa: Add fresh mango salsa for a splash of color and zesty flavor, balancing the cake’s rich layers with a refreshing bite.
- Minty Fruit Salad: A chilled fruit salad with mint enhances tropical notes and introduces a refreshing, aromatic element against the cake’s flavors.
- Roasted Asparagus: Lightly seasoned asparagus adds a savory, crisp foil to the cake, creating a well-rounded dining experience.
- Quinoa and Avocado Salad: A nutritional quinoa salad with creamy avocado introduces a heart-healthy, textural contrast to the dessert.
- Lemon Sorbet: Light and zingy, lemon sorbet cleanses the palate, preparing it for the next slice of decadent cake.
- Cucumber and Tomato Salad: This fresh combination offers juicy, crunchy textures, offsetting the cake’s soft layers beautifully.
FAQ
Use a gentle, quick fold when mixing and avoid over-soaking with fillings.
Yes, reduce sugar in the frosting to balance the overall taste.
Store in an airtight container; it keeps for up to three days refrigerated.
Wrap slices tightly; freeze up to three months for best quality.
Yes, chill to firm up layers, ensuring easy slicing and serving.
- 0 Facebook
- 24 Pinterest
- 0 Email
- Copy Link
- 24 shares
Pineapple Sunshine Layer Cake
Ingredients
Instructions
- Preheat and Prepare
Start by preheating your oven to 350°F (175°C). Grease a 9×13-inch baking pan thoroughly to ensure your cake doesn’t stick. This initial step helps achieve a beautifully golden crust.
- Mix the Batter
In a large mixing bowl, combine the yellow cake mix, eggs, and oil. Add the undrained crushed pineapple. Whisk together until the batter is smooth with an even consistency. Notice the delightful pineapple aroma that starts to fill the air as you mix.
- Bake the Cake
Pour the batter into the prepared pan. Slide it into the preheated oven and let it bake for 25-30 minutes, or until a toothpick inserted into the center comes out clean. As it bakes, your kitchen will be filled with a warm, sweet scent.
- Cool and Set
Once baked, remove the cake from the oven and let it cool completely in the pan. This cooling period is crucial, as it allows the cake to firm up and makes it easier to handle for layering.
- Prepare the Topping
In a medium bowl, mix the thawed whipped topping with the instant vanilla pudding until smooth. The combination should be creamy and fluffy with a light vanilla fragrance.
- Assemble Your Layer Cake
Spread the pudding-topping mixture evenly over the cooled cake. Use a spatula to create a smooth finish, ensuring each bite has a perfect balance of cake and creamy topping.
- Serve and Enjoy
Let the cake sit in the refrigerator for at least an hour before serving for best results. This allows the flavors to meld beautifully. Slice and relish the delightful texture and bright, tropical flavor.