- 0 Facebook
- 13 Pinterest
- 0 Email
- Copy Link
- 13 shares
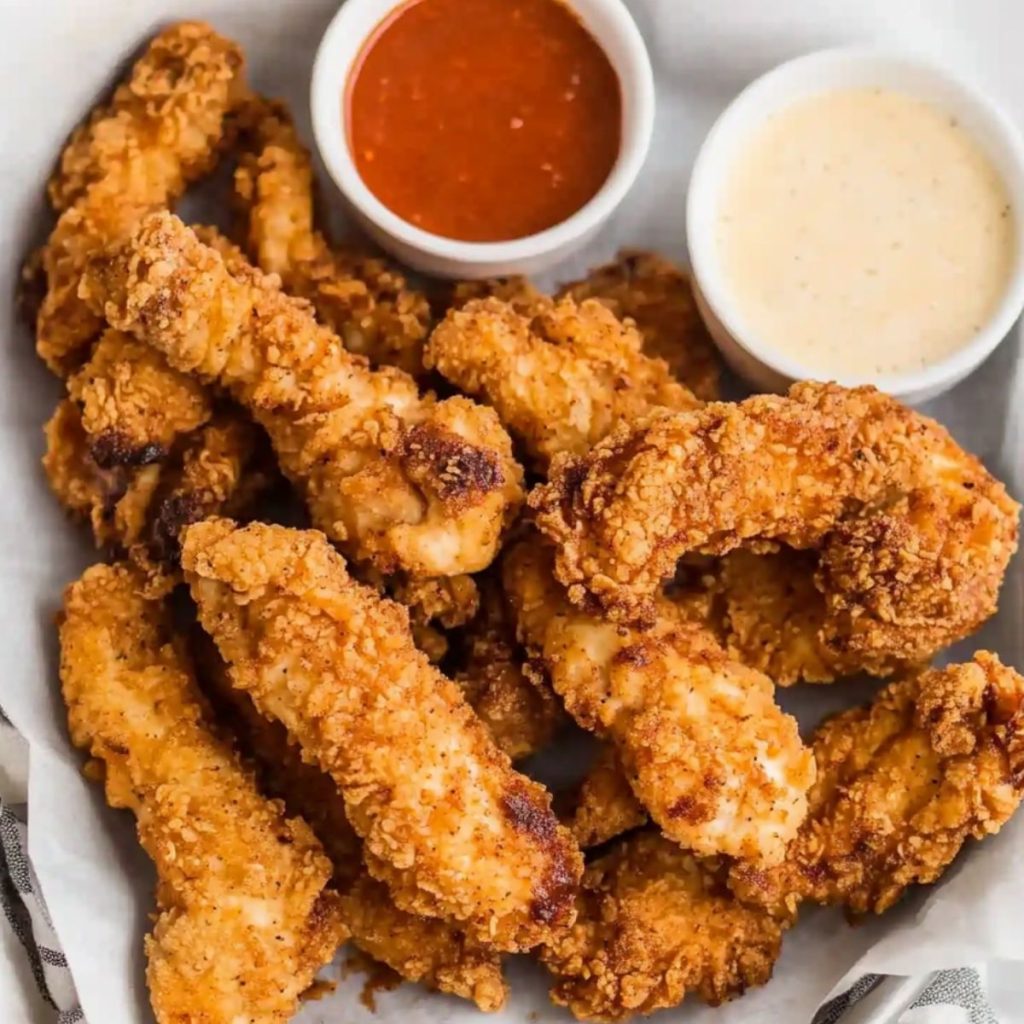
I’ve discovered that making gluten-free chicken tenders is not only simple but also surprisingly flavorful, using few ingredients with a delicious blend of spices to excite your taste buds.
My journey with these gluten-free chicken tenders began one cozy evening when I sought to recreate a childhood favorite in a healthier, allergen-friendly version. It was a family tradition to have crispy snacks over the weekend, but now, I needed something lighter and gluten-free for my dietary needs.
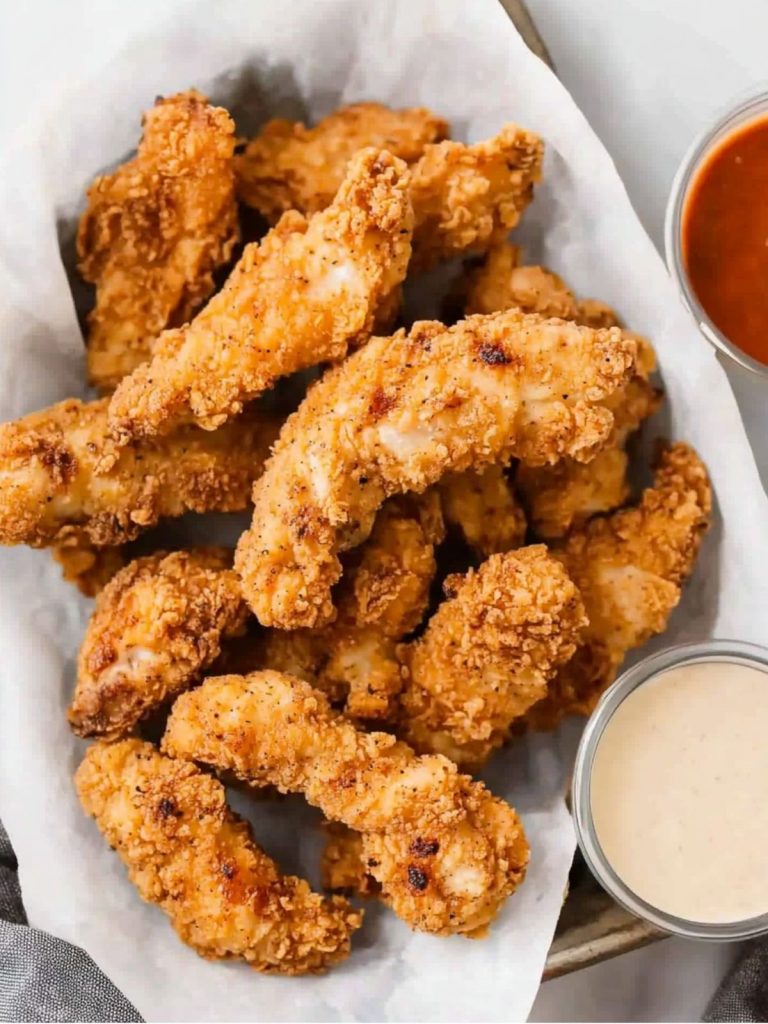
This recipe stands out not only because it’s easy on the budget and quick to prepare, but it also delivers a rich flavor profile that’s hard to resist. Whether you’re a busy parent or a culinary enthusiast, this dish is perfect for those nights when you want something special without spending hours in the kitchen.
Why You’ll Love Gluten-Free Chicken Tenders?
Creating these tenders requires only basic ingredients and some of my cherished cooking techniques, honed over time. It’s all about simplicity and taste combined for your perfect comfort food moment.
- Simple Ingredients: Utilizes common pantry items, making it hassle-free to whip up any night of the week.
- Rich Flavor: The right blend of spices and herbs creates a bold taste without requiring complex seasonings.
- Consistent Results: This recipe is crafted to yield the same crispy, juicy bites every time, even for beginner cooks.
- Quick Preparation: From start to finish, you’ll have these tenders ready in just under an hour, perfect for last-minute meals.
- Versatile Serving Options: Pair with your favorite dipping sauces or add them to salads and wraps for a complete meal.
This recipe brings joy not only through its taste but also through the ease with which it can be prepared, allowing you to savor every bite with minimal fuss.
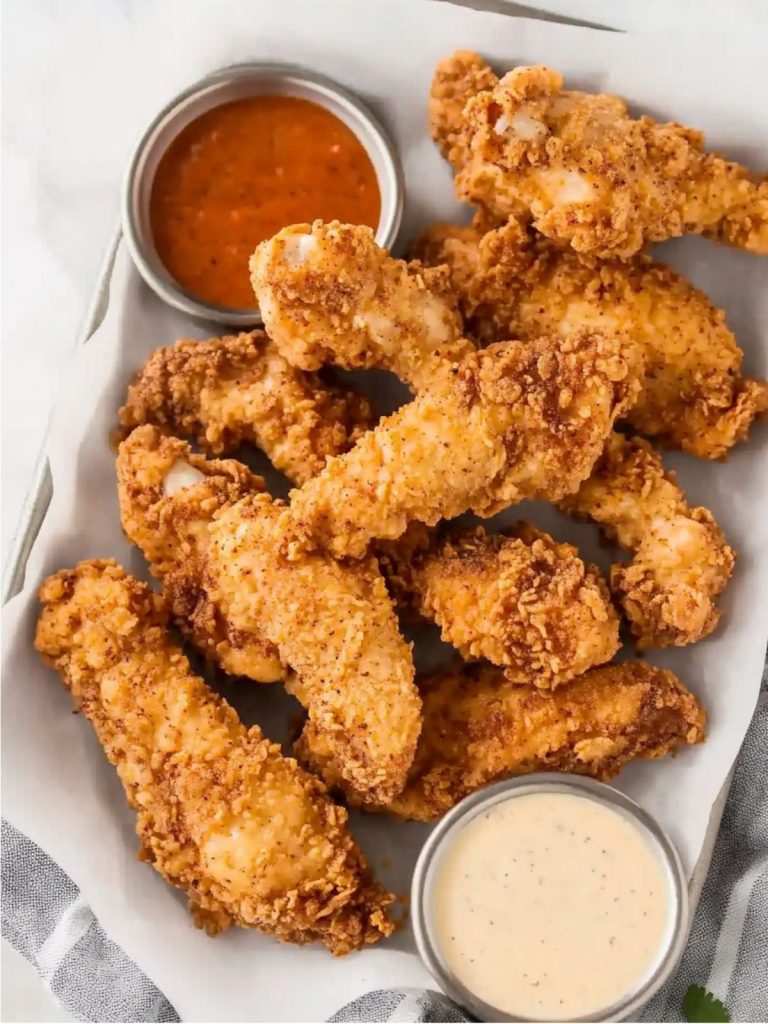
Ingredients Notes
- Chicken Tenderloins: I find fresh, hormone-free chicken enhances flavor and tenderness, providing the perfect canvas for breading.
- Buttermilk: This tenderizes the chicken beautifully, infusing subtle tang. Opt for organic for a creamier texture.
- Hot Sauce: Adds a gentle kick; a dash of your favorite brand elevates depth without overpowering.
- Salt: Enhances every other flavor. Fine sea salt blends evenly into both marinade and breading.
- Ground Black Pepper: Provides earthy heat. Freshly ground ensures vibrant aroma and freshness.
- Gluten-Free Flour: I choose a quality blend for structure, ensuring crispiness without gluten.
- Cornstarch: Contributes a light, airy crust. A pantry staple that creates perfect crunch.
- Paprika: Smoked or sweet paprika adds rich, nuanced color and layers of flavor.
- Garlic Powder: For savory notes, my go-to for ease while still imparting that robust, familiar warmth.
- Baking Powder: Ensures the breading puffs slightly, offering a tender yet crisp coating texture.
How to Make Gluten-Free Chicken Tenders?

- Prepare the Marinade: In a large bowl, combine 1 cup of buttermilk, 2 teaspoons of hot sauce, ½ teaspoon salt, and ½ teaspoon ground black pepper. Whisk until the mixture is smooth and evenly mixed. Immerse 2 lbs of chicken tenderloins, ensuring each piece is well coated. Cover the bowl and refrigerate for at least 30 minutes to tenderize and infuse flavor.
- Create the Breading Mixture: In another bowl, blend 1 ½ cups gluten-free flour, ½ cup cornstarch, 2 teaspoons salt, 1 teaspoon ground black pepper, ½ tablespoon paprika, ½ tablespoon garlic powder, and 1 teaspoon baking powder. Mix well to achieve a uniform consistency. This flour blend provides a light, crisp texture and a tantalizing aroma as it cooks.
- Coat the Chicken: Remove the marinated chicken from the refrigerator . Shake off excess marinade, dip each piece into the gluten-free breading mixture, pressing gently to ensure an even coat. Feel the texture as the flour adheres to the chicken, sifting between your fingers.
- Fry the Chicken Tenders: Heat canola oil in a deep frying pan over medium heat. Carefully place the coated chicken tenderloins into the hot oil, ensuring enough space between pieces for even cooking. Fry until golden brown, about 3-4 minutes on each side. The sound of sizzling should signal the creation of a perfect crispy crust.
- Drain and Serve: Use tongs to transfer cooked tenders to a paper towel-lined plate, allowing excess oil to drain. Once slightly cooled, the tenders are ready to serve. Experience the delightful crunch of the exterior contrasting with juicy, flavorful chicken interior.
Expert Cooking Tips
- For even coating, press chicken firmly into the breading; this helps it adhere better and forms a crispier crust.
- Avoid overcrowding the pan to ensure uniform cooking and prevent steaming, which softens the crisp layer.
- I always use a thermometer to ensure the oil is at 350°F for optimal crispiness without burning.
- Season lightly between layers of the dredging process to enhance flavor in every bite.
- If chicken isn’t browning, increase oil temperature gradually for a golden finish.
- I let dredged chicken rest for a few minutes before frying to let the coating set for better crispiness.
- Keep your seasoning dry to prevent clumping and ensure an even distribution across chicken pieces.
Storage Tips
- Refrigerate leftovers in an airtight container within two hours to maintain freshness and prevent bacteria growth.
- To freeze, lay tenders in a single layer on a baking sheet, freeze, then transfer to a freezer bag.
- Wrap individual tenders in wax paper before freezing to prevent sticking and freezer burn.
- Reheat in an oven at 350°F for 10 minutes to maintain crunchiness and avoid sogginess.
- Always label containers with the date to track freshness and ensure safe consumption.
Variations and Substitutions
- For a dairy-free option, replace buttermilk with a mix of 1 cup almond milk and 1 tablespoon lemon juice.
- Swap paprika with cayenne to add a spicy kick and elevate the tenders’ flavor profile.
- Use ground almonds instead of breadcrumbs for a nutty twist and added texture.
- Incorporate citrus zest into the breading mix for a fresh, tangy accent that complements chicken.
- Mix gluten-free panko with shredded coconut for a tropical flavor and added crunch.
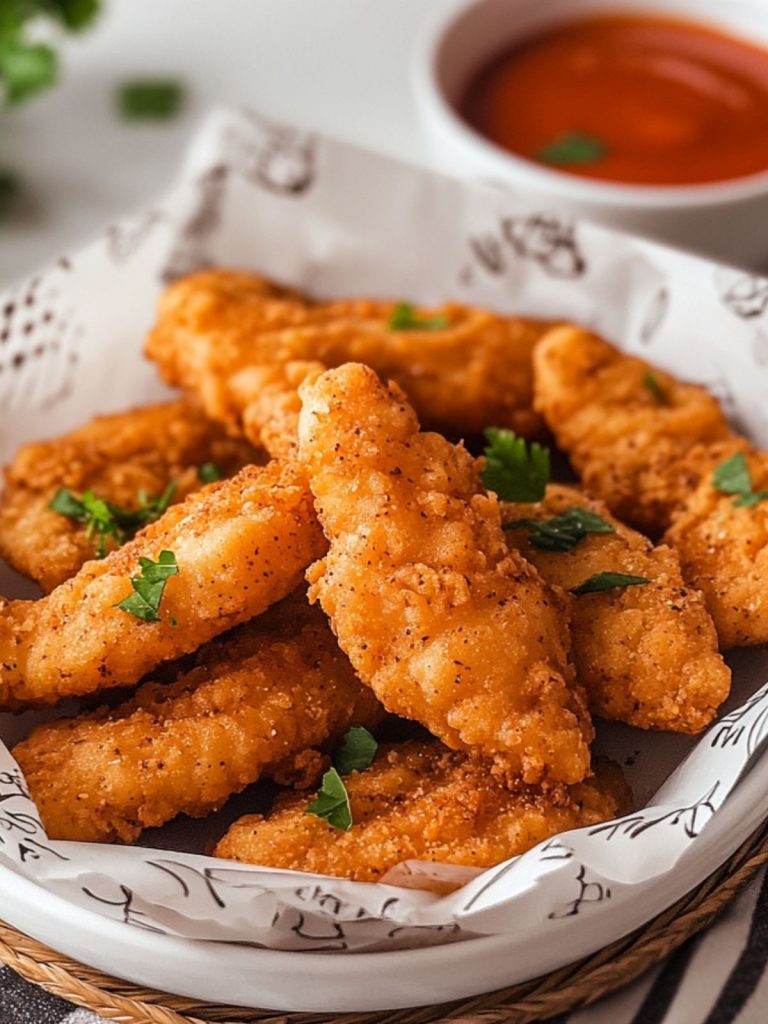
What to Serve with Gluten-Free Chicken Tenders?
- Cornbread: A sweet and savory classic, enhances texture and balances the slight spice from paprika or cayenne in the tenders.
- Quinoa Salad: Light, nutritious grains pair well with tender chicken, offering a fresh contrast with citrus vinaigrette and herbs.
- Sweet Potato Fries: Complement the crispy tenders with a naturally sweet, crunchy side that adds color and nutritional value.
- Coleslaw: Creamy cabbage slaw’s tanginess cuts through the richness of chicken, offering a refreshing and textural balance.
- Roasted Brussels Sprouts: Earthy sprouts caramelize beautifully, their slight bitterness enhances the savory, crispy chicken tenders.
- Garlic Mashed Potatoes: A creamy comfort food classic, gently complements and contrasts the texture and flavor of crispy tenders.
- Garden Salad: Crisp, vibrant veggies provide a refreshing counterpoint and cleanse the palate between bites of tender chicken.
- Grilled Asparagus: Tender and slightly charred asparagus balances protein-rich chicken with its bright, vegetal notes.
- Baked Beans: Smoky, sweet beans offer hearty contrast, enhancing the savory flavors of the chicken with rich depth.
- Citrus Rice Pilaf: Aromatic rice infused with citrus adds zestful brightness, perfect for pairing with the crisp breading.
FAQ
Use wire rack to keep tenders elevated, allowing air circulation for even crisping.
Yes, bake at 400°F for 20-25 minutes, flipping halfway, for a healthier option.
Ensure chicken is dry, use a hot oven, and don’t overcrowd the pan.
Use a mix of milk and flour to mimic egg wash’s adhesive qualities.
Taste breading mix first, and adjust spices incrementally for desired flavor.
- 0 Facebook
- 13 Pinterest
- 0 Email
- Copy Link
- 13 shares
Irresistibly Crispy Gluten-Free Chicken Tenders
Ingredients
Instructions
- Prepare the Marinade
In a large bowl, combine 1 cup of buttermilk, 2 teaspoons of hot sauce, ½ teaspoon salt, and ½ teaspoon ground black pepper. Whisk until the mixture is smooth and evenly mixed. Immerse 2 lbs of chicken tenderloins, ensuring each piece is well coated. Cover the bowl and refrigerate for at least 30 minutes to tenderize and infuse flavor.
- Create the Breading Mixture
In another bowl, blend 1 ½ cups gluten-free flour, ½ cup cornstarch, 2 teaspoons salt, 1 teaspoon ground black pepper, ½ tablespoon paprika, ½ tablespoon garlic powder, and 1 teaspoon baking powder. Mix well to achieve a uniform consistency. This flour blend provides a light, crisp texture and a tantalizing aroma as it cooks.
- Coat the Chicken
Remove the marinated chicken from the refrigerator. Shake off excess marinade, dip each piece into the gluten-free breading mixture, pressing gently to ensure an even coat. Feel the texture as the flour adheres to the chicken, sifting between your fingers.
- Fry the Chicken Tenders
Heat canola oil in a deep frying pan over medium heat. Carefully place the coated chicken tenderloins into the hot oil, ensuring enough space between pieces for even cooking. Fry until golden brown, about 3-4 minutes on each side. The sound of sizzling should signal the creation of a perfect crispy crust.
- Drain and Serve
Use tongs to transfer cooked tenders to a paper towel-lined plate, allowing excess oil to drain. Once slightly cooled, the tenders are ready to serve. Experience the delightful crunch of the exterior contrasting with juicy, flavorful chicken interior.