- 0 Facebook
- 5 Pinterest
- 0 Email
- Copy Link
- 5 shares
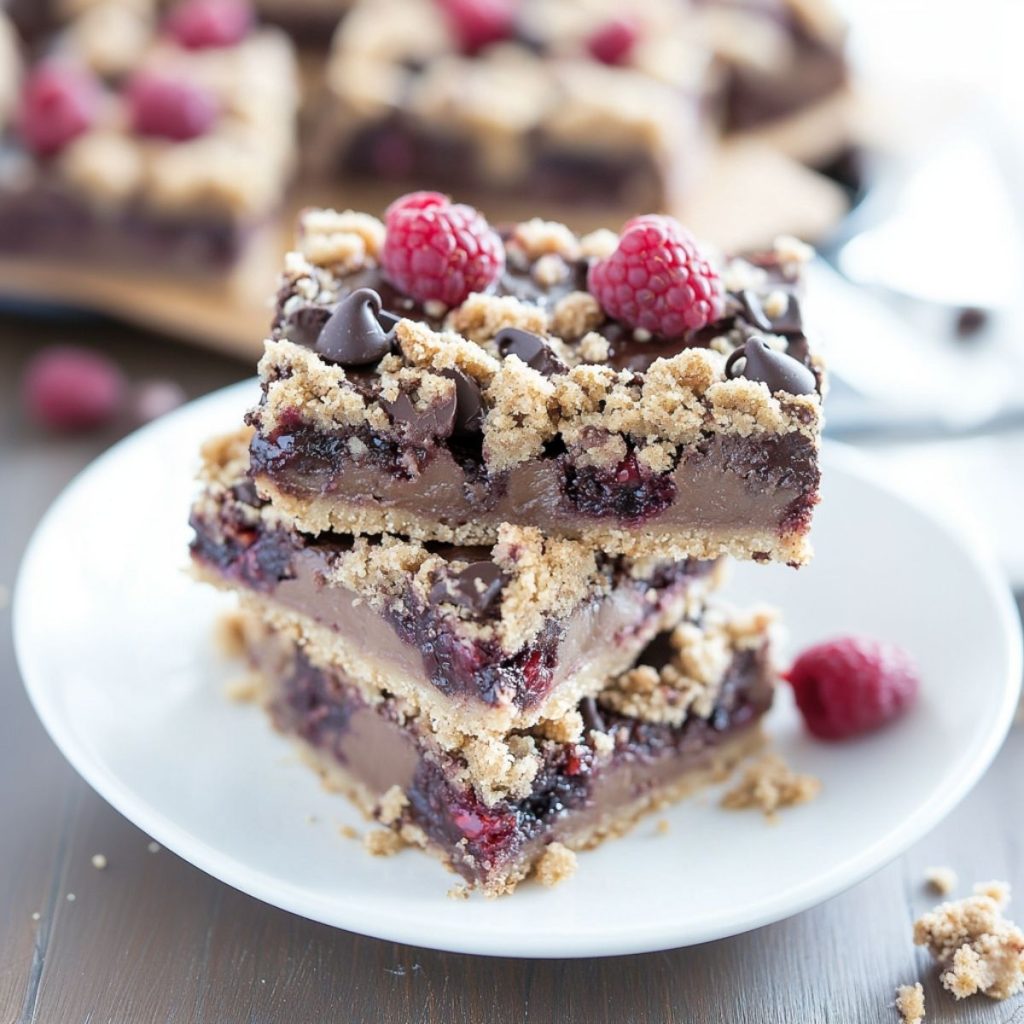
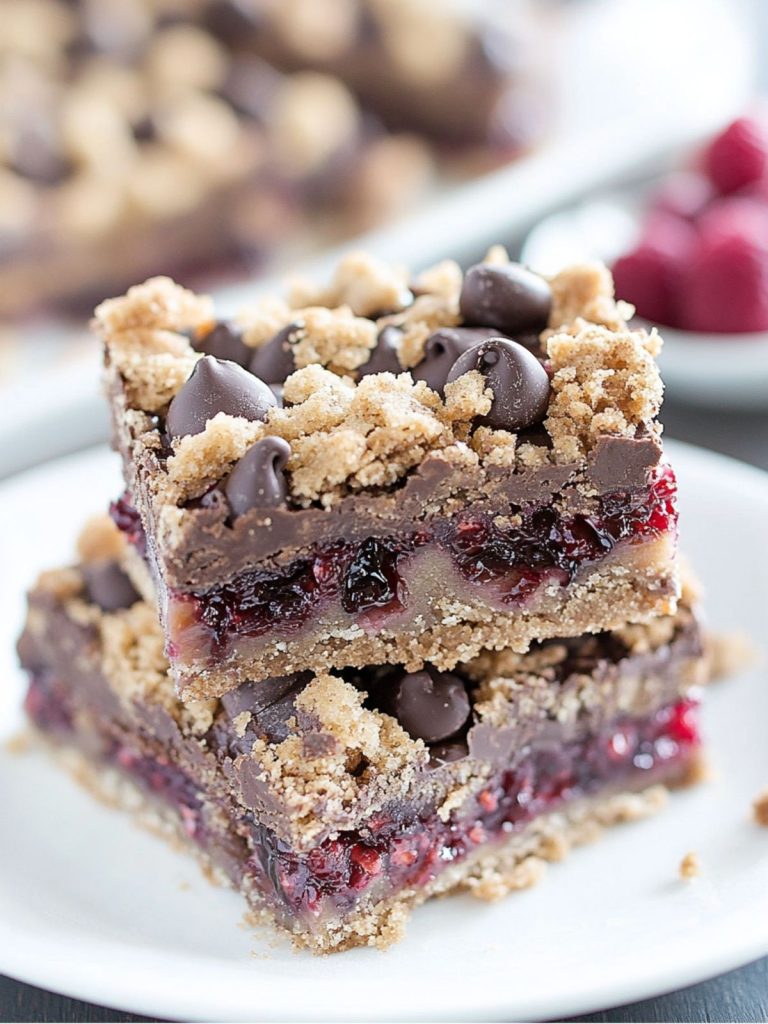
I’ve crafted a delightful treat with my Chocolate Raspberry Crumb Bars, spotlighting rich chocolate and tart raspberries. It’s easy to prepare, with layers that create a symphony of flavors and textures in every bite.
I first stumbled upon the magic combination of chocolate and raspberry during a family gathering, where my aunt gifted us some homemade bars. The experience was unforgettable, with a perfect blend of sweetness and tanginess dancing on my taste buds. It inspired me to create a streamlined version of the recipe, making it both accessible and delicious for everyone.
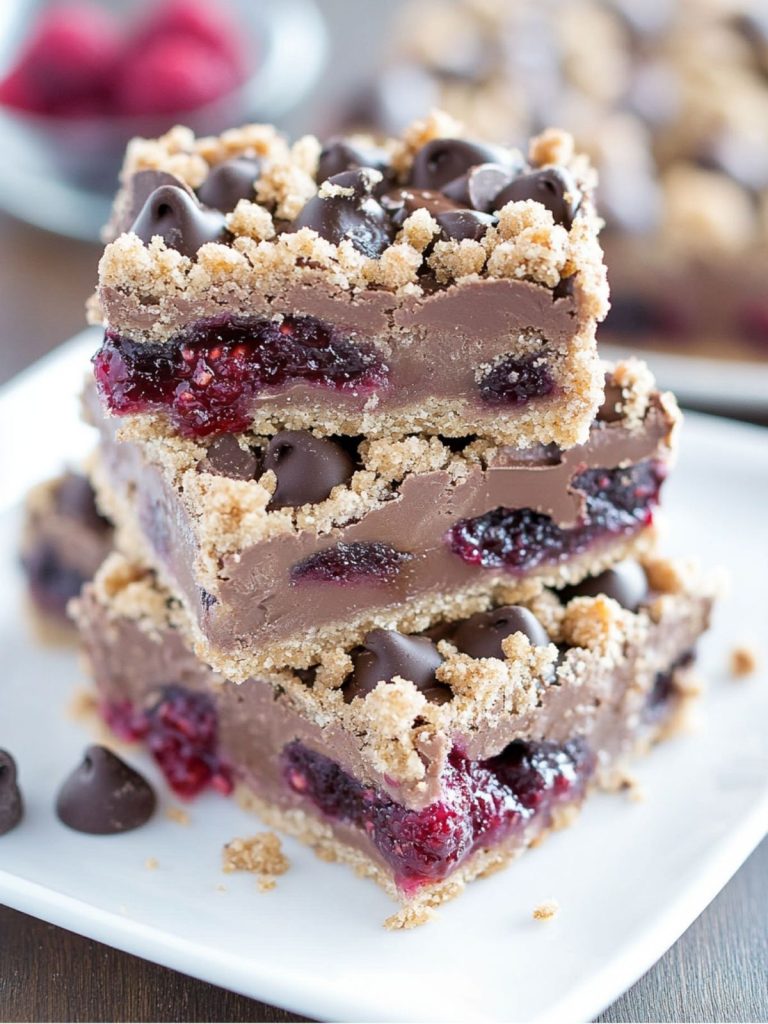
What makes this recipe special is its simplicity and the opportunity to use fresh, wholesome ingredients. Not only is it budget-friendly, but it also caters to those pressed for time, allowing you to create a gourmet dessert without spending hours in the kitchen. This recipe promises to offer you a unique flavor journey, while ensuring satisfaction with every crumbly, chocolaty bite.
Why You’ll Love Chocolate Raspberry Crumb Bars?
- Simplicity in Action: This recipe is straightforward and requires only basic baking skills, making it accessible for bakers of all levels.
- Rich Flavor Profile: Combining bittersweet chocolate with the tangy zing of fresh raspberries creates a sophisticated and irresistible flavor.
- Consistent Results: By following trusted techniques—like allowing the crumb to chill before baking—you can achieve the perfect texture every time.
- Versatility at Its Best: Modify to your liking by swapping raspberries with your favorite berries or adding nuts for a delightful crunch.
- Time Efficient: With minimal prep and bake time, these bars are perfect for last-minute gatherings or a weekday treat.
These crumb bars provide an unforgettable taste experience, offering a perfect blend of chocolate and fruit that keeps your taste buds wondering, “What more could I ask for?”
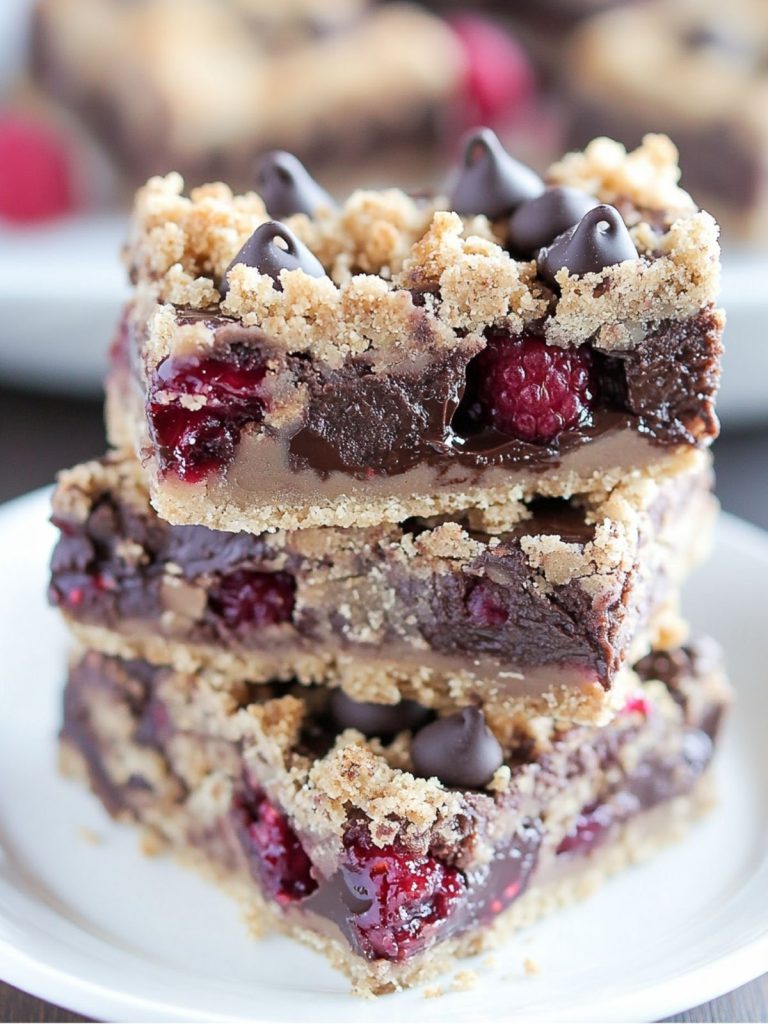
Ingredients Notes
- Unsalted Butter: I use it for its pure flavor. Softened, it blends smoothly, creating a tender crumb. Choose high-quality for richer taste and better texture.
- Brown Sugar: This brings a moist sweetness and adds a hint of molasses flavor. It enhances the bars’ chewiness. Opt for fresh, soft packs to avoid clumping.
- All-Purpose Flour: A neutral base that supports the layers’ structure. I prefer unbleached to maintain a natural taste. Sifted flour blends seamlessly in the dough.
- Salt: This unifies the flavors, balancing sweetness. A pinch of fine sea salt accentuates the chocolate and raspberry notes beautifully.
- Bittersweet Chocolate Chips: These add depth to the sweetness. Their robustness complements the tangy raspberries. Choose quality chips for luxurious melting.
- Semi-Sweet Chocolate Chips: These bridge the gap between sweet and bitter flavors. I find mixing them with bittersweet adds complexity while ensuring broad appeal.
- Sweetened Condensed Milk: Creates a creamy, delectable layer. It carries sweetness and moist texture. I suggest using a reputable brand for consistency and taste.
- Raspberry Preserves: Provides a fruity, tart contrast. The preserves should be thick, with minimal added sugars, for a vibrant raspberry punch.
How to Make Chocolate Raspberry Crumb Bars?
- Prepare the Baking Dish : Preheat your oven to 350°F (175°C) and line a 9×13-inch baking dish with parchment paper. This ensures effortless removal and neat edges.
- Create the Crust: In a mixing bowl, cream the softened butter with brown sugar until light and fluffy. The mixture should have a creamy consistency. Gradually add the all-purpose flour and salt, mixing until you achieve a crumbly texture. This forms the base of your bars, so ensure it’s well mixed but not overworked.
- Form the Base: Press about 1 3/4 cups of the crumb mixture evenly into the prepared baking dish . Aim for an even layer, as this bakes into a sturdy yet tender base. Bake for 10-12 minutes, or until golden brown. You’ll notice a lovely buttery aroma wafting through.
- Prepare the Filling: In a microwave-safe bowl, combine sweetened condensed milk with bittersweet chocolate chips. Heat in short bursts, stirring until smooth and glossy. This should melt uniformly, creating a luscious chocolate layer.
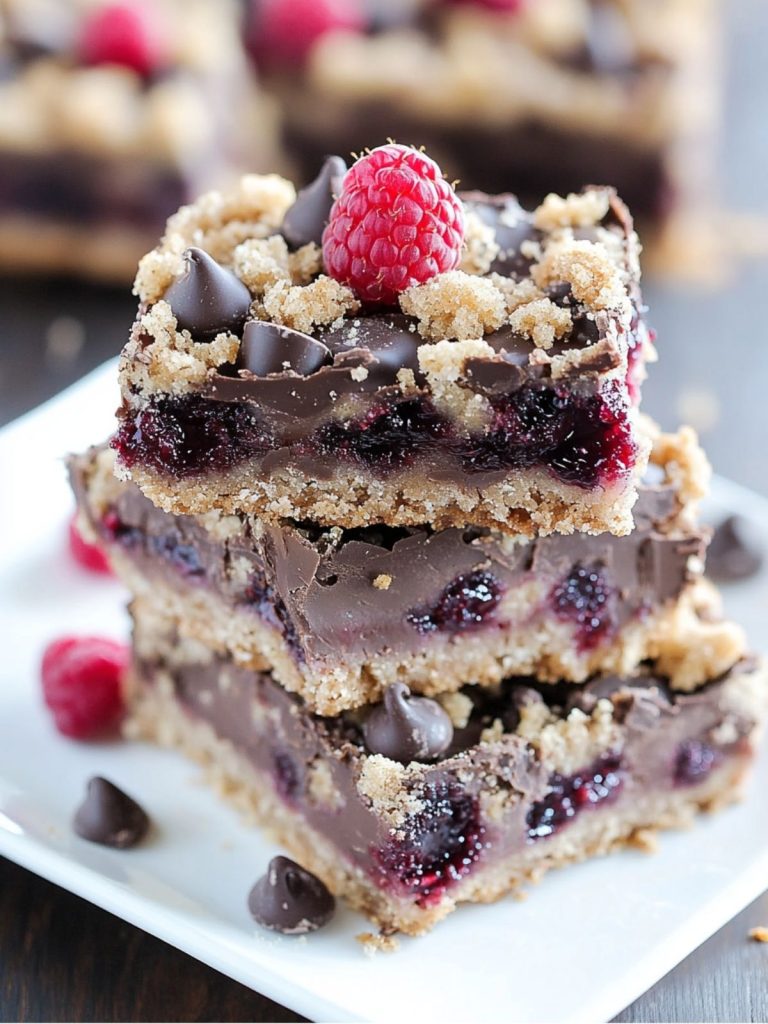
- Assemble the Bars: Pour the chocolate mixture over the hot crust, spreading it out to cover the surface. Dot raspberry preserves over the chocolate, letting small pockets of fruity flavor break through. Sprinkle the top with the remaining crumb mixture and semi-sweet chocolate chips for a layered effect.
- Final Bake: Return the dish to the oven and bake for an additional 25-30 minutes. Look for set tops and a bubbly raspberry appearance. Allow to cool completely – the bars will firm up as they cool, making cutting easier.
- Serve and Enjoy: Slice into bars with a sharp knife , admiring the marbled layers and inhaling the sweet and fruity aroma. These bars are as delightful to look at as they are to eat!
Expert Cooking Tips
- Use Room Temperature Ingredients: I ensure my butter is softened for even mixing; it creates a smoother, more cohesive dough.
- Accurate Measuring: Measure flour by spooning into the cup, then leveling it off to avoid dense crumbs.
- Even Layering: Press the crumb mixture evenly to prevent weak spots and ensure uniform baking.
- Melting Chocolate: I prefer using a double boiler for controlled melting if microwaving seems too risky.
- Staggered Baking Times: I bake until the edges are set and the raspberry bubbles show. Perfect every time!
Storage Tips
- Refrigerator Storage: Place bars in an airtight container, separating layers with wax paper, and refrigerate for up to a week.
- Freezer Storage: Wrap bars tightly in plastic wrap, then foil, to prevent freezer burn. They keep well for up to 3 months.
- Reheating Tips: Thaw in the refrigerator overnight and warm in an oven at 300°F for a few minutes to revive freshness.
- Food Safety: Ensure bars are completely cooled before storing to prevent condensation and spoilage.
Variations and Substitutions
- Dairy-Free Version: Replace butter with coconut oil and use dairy-free chocolate chips. It maintains a rich, decadent flavor.
- Gluten-Free Option: Substitute all-purpose flour with a gluten-free baking mix; results in equally delicious crumb texture.
- Nuts for Texture: Add chopped walnuts or pecans to the crumb topping for an added crunchy dimension.
- Fruity Change: Swap raspberry preserves for strawberry or blackberry for a new fruity taste.
- Extra Chocolatey: Use a mix of dark and milk chocolate chips for deeper chocolate tones in each bite.
What to Serve with Chocolate Raspberry Crumb Bars?
- Creamy Vanilla Ice Cream: The cold, creamy texture of vanilla ice cream beautifully complements the warm, nutty, and sweet crumb bars.
- Fresh Mint Green Tea: A refreshing mint-infused tea cleanses the palate, amplifying the rich chocolate and tart raspberry layers.
- Cinnamon-Spiced Coffee: Spiced coffee enhances the chocolate’s depth and offers a flavorful contrast to the sweet jam.
- Roasted Almond Salad: A light, nutty salad balances the bars’ sweetness and adds a crisp texture contrast.
- Lemon Zest Whipped Cream: The citrusy tang complements the raspberry notes, adding a refreshing bright touch to each bite.
- Dark Chocolate Drizzles: Enhance chocolate intensity with additional drizzles, adding an extra layer of richness to the bars.
- Raspberry Coulis: Serve as a drizzle for added tartness, emphasizing the fruitiness of the bars.
FAQ
Use parchment paper to ensure even baking surface and allow bars to cool before cutting.
Reduce or increase brown sugar according to personal preference without changing other ingredients drastically.
Ensure proper butter and flour ratio; mix until just crumbly, not overmixed.
Store in an airtight container up to one week for freshness and flavor preservation.
Yes, try pecans or almonds for different flavors and textures.
- 0 Facebook
- 5 Pinterest
- 0 Email
- Copy Link
- 5 shares
Chocolate Raspberry Crumb Bars
Ingredients
Instructions
- Prepare the baking dish
Preheat your oven to 350°F (175°C) and line a 9×13-inch baking dish with parchment paper. This ensures effortless removal and neat edges.
- Create the crust
In a mixing bowl, cream the softened butter with brown sugar until light and fluffy. The mixture should have a creamy consistency. Gradually add the all-purpose flour and salt, mixing until you achieve a crumbly texture. This forms the base of your bars, so ensure it’s well mixed but not overworked.
- Form the base
Press about 1 3/4 cups of the crumb mixture evenly into the prepared baking dish. Aim for an even layer, as this bakes into a sturdy yet tender base. Bake for 10-12 minutes, or until golden brown. You’ll notice a lovely buttery aroma wafting through.
- Prepare the filling
In a microwave-safe bowl, combine sweetened condensed milk with bittersweet chocolate chips. Heat in short bursts, stirring until smooth and glossy. This should melt uniformly, creating a luscious chocolate layer.
- Assemble the bars
Pour the chocolate mixture over the hot crust, spreading it out to cover the surface. Dot raspberry preserves over the chocolate, letting small pockets of fruity flavor break through. Sprinkle the top with the remaining crumb mixture and semi-sweet chocolate chips for a layered effect.
- Final bake
Return the dish to the oven and bake for an additional 25-30 minutes. Look for set tops and a bubbly raspberry appearance. Allow to cool completely – the bars will firm up as they cool, making cutting easier.
- Serve and enjoy
Slice into bars with a sharp knife, admiring the marbled layers and inhaling the sweet and fruity aroma. These bars are as delightful to look at as they are to eat!