- 0 Facebook
- 0 Pinterest
- 1 Email
- Copy Link
- 1 share
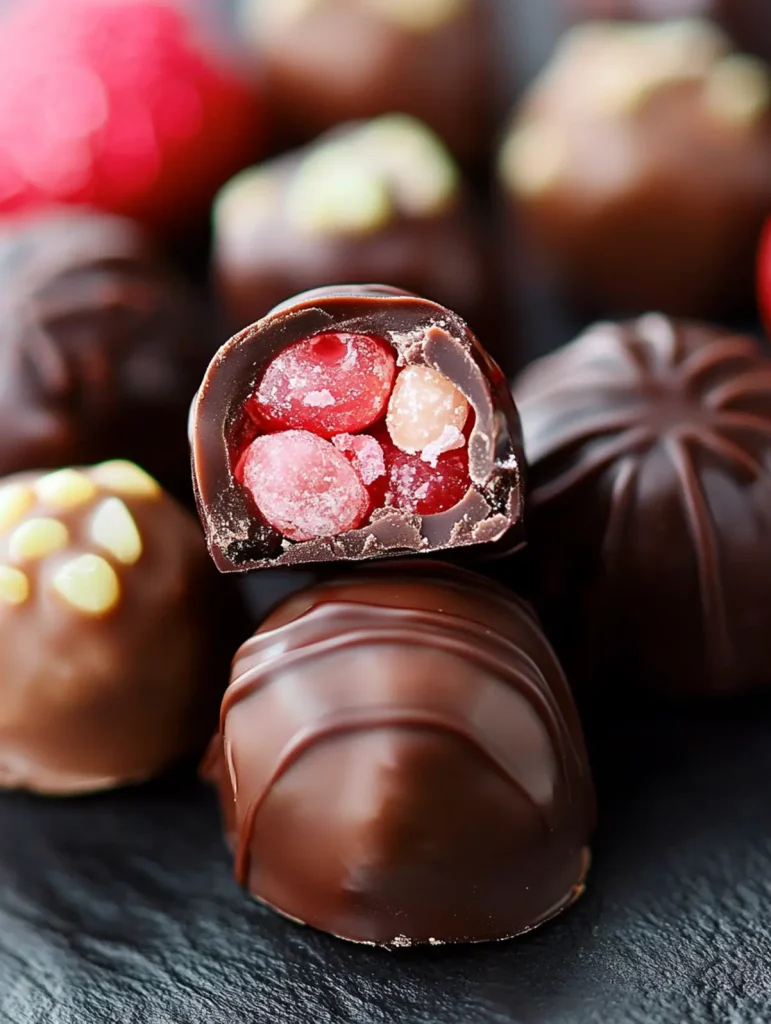
These luxurious Martha Washington Candies transform simple ingredients into a decadent treat that chocolate lovers won’t be able to resist. The delightful combination of sweet cherries and coconut creates a chewy, flavorful center that perfectly balances the rich chocolate coating. Each bite delivers a medley of textures—from the soft, fruity interior to the satisfying crunch of pecans—all wrapped in a smooth blanket of melted candy coating. Serve these elegant confections on a decorative platter at your next gathering, or package them in pretty boxes for homemade holiday gifts that showcase your candy-making prowess.
Why You’ll Love This Recipe
These cherry-studded candies deliver homemade luxury with surprisingly little effort. Here’s why they’re worth making:
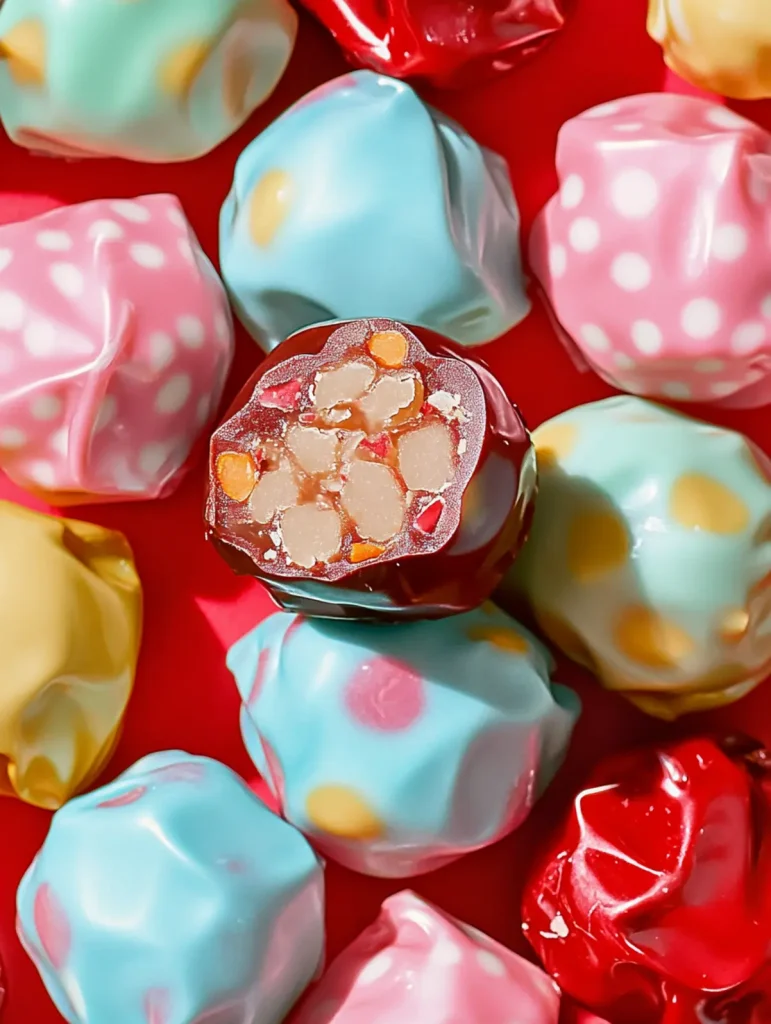
- Gift-Worthy Presentation : Each chocolate-enrobed confection looks professionally made while requiring just simple rolling and dipping techniques.
- Make-Ahead Marvel : The centers can be shaped and refrigerated for up to 3 days before dipping, making holiday prep wonderfully manageable.
- Texture Perfection : The combination of chewy coconut, crunchy pecans, and smooth chocolate coating creates an irresistible mouthfeel that store-bought candies can’t match.
- Customization Potential : The base recipe adapts beautifully to personal preferences—try dark chocolate coating for sophistication or white chocolate for visual contrast with the cherries.
- Temperature-Stable Treats : Unlike fussy truffles, Martha Washington Candies hold their form at room temperature, making them ideal for dessert platters and gift boxes.
Ingredient Breakdown with Tips
Creating these luxurious Martha Washington Candies requires ingredients that work harmoniously to deliver the perfect balance of sweetness, texture, and indulgence. Each component plays a crucial role in achieving the signature flavor profile and melt-in-your-mouth experience.
- Butter : Use unsalted butter for better flavor control in these sweet treats. Melting it completely ensures smooth incorporation with other ingredients without unwanted lumps.
- Powdered sugar : This fine-textured sugar dissolves seamlessly into the mixture, creating the candy’s signature smooth sweetness. Sift before measuring to eliminate clumps for the perfect texture.
- Vanilla extract : Pure vanilla extract provides depth and aromatic complexity that balances the sweetness. For an elevated flavor profile, consider Madagascar bourbon vanilla for its rich, creamy notes.
- Sweetened shredded coconut : The backbone of Martha Washington Candies, providing their distinctive chewy texture. For best results, use moist, fresh coconut rather than dry varieties which can make the centers crumbly.
- Sweetened condensed milk : This ingredient binds everything together while adding creamy richness. Be sure to use condensed milk, not evaporated milk, as they serve entirely different functions in candy-making.
- Maraschino cherries : These bright gems add bursts of fruity flavor and festive color. Pat them thoroughly dry before chopping to prevent excess moisture from making your candy centers too soft.
- Pecans : Finely chopped pecans contribute delightful crunch and nutty depth. Toast them lightly before chopping to enhance their flavor and ensure maximum freshness.
- Candy coating : A quality coating like Ghirardelli melting wafers creates a professional-looking finish that snaps pleasantly when bitten. Dark, milk, or white varieties all work beautifully, allowing for personalization of your Martha Washington Candies.
How to Make Luxurious Martha Washington Candies for Cherry Coconut Lovers
- Mix the melted butter, powdered sugar, and vanilla extract in a large bowl until completely combined and smooth. The mixture should have a thick, paste-like consistency without any powdered sugar lumps.
- Add the sweetened shredded coconut, sweetened condensed milk, and chopped maraschino cherries to the bowl. I find that patting the cherries extra dry with paper towels prevents the filling from becoming too wet.
- Fold in the finely chopped pecans until all ingredients are evenly distributed. The mixture should be thick enough to hold its shape when pressed together.
- Shape the mixture into 1-inch balls using a cookie scoop or tablespoon, then roll between your palms to smooth them. Place the balls on a parchment-lined baking sheet.
- Chill the candy centers in the refrigerator for at least 2 hours or until firm enough to handle without losing their shape. This step is crucial for successful dipping later.
- Melt the candy coating according to package directions, being careful not to overheat. Working with just a few candy centers at a time (keeping the rest chilled), dip each ball into the melted coating using a fork or candy dipping tool.
- Gently tap off excess coating and transfer to a parchment-lined surface. You can add a small decorative swirl on top while the coating is still wet if you’d like a more elegant presentation.
- Allow the candies to set completely at room temperature, which typically takes about 30 minutes. The finished candies should have a smooth, glossy appearance with a satisfying snap when bitten into.
Expert Tips
Here are some insider tricks to ensure your Martha Washington Candies turn out perfectly every time:
- Perfect cherry preparation : Pat maraschino cherries extremely dry with paper towels, then chop them on a paper towel-lined cutting board . This prevents excess moisture from making your centers too soft.
- Temperature matters : I’ve found that letting butter cool slightly after melting prevents the mixture from becoming too runny when combining with powdered sugar and vanilla extract.
- Chill strategically : For the smoothest dipping process, freeze centers for 20 minutes after refrigerating if they still feel too soft. Martha Washington Candies dip beautifully when very cold.
- Coating technique : Add a tiny bit of coconut oil (1 tsp per cup) to your candy coating for easier dipping that creates a thinner, more professional-looking shell.
- Prevent coating seizure : Keep all water away from your melted candy coating and ensure your centers are completely dry. Even a drop of moisture can ruin the smooth consistency.
Variations & Substitutions
Martha Washington Candies are wonderfully adaptable to fit your taste preferences or what you have on hand. Here’s how you can make this classic recipe truly your own:
- Nut variations : Not a pecan fan? Almonds, walnuts, or macadamias work beautifully in this recipe. For a completely nut-free version, try using crispy rice cereal or graham cracker crumbs for that essential textural contrast.
- Fruit swaps : I sometimes replace the maraschino cherries with finely chopped dried cranberries or dried cherries for a more sophisticated flavor profile and less artificial coloring. Dried apricots or candied pineapple also create delicious variations.
- Chocolate options : While the recipe calls for candy coating, you can elevate these treats with premium chocolate. Try dark chocolate for richness, white chocolate to showcase the cherry-flecked centers, or colored candy melts for holiday-themed variations.
- Flavor boosters : Add ½ teaspoon of almond extract alongside the vanilla for a more complex flavor that complements both the cherries and coconut. A splash of cherry liqueur or rum (about 1 tablespoon) adds sophisticated depth for adult versions.
- Dietary adaptations : For dairy-sensitive guests, use coconut oil instead of butter and dairy-free condensed milk. The resulting candies maintain that luxurious mouthfeel while accommodating dietary restrictions.
- Texture play : For a contrasting crunch, mix in 2 tablespoons of mini chocolate chips to the filling. If you prefer a smoother texture, pulse the coconut briefly in a food processor before adding it to the mixture.
Make-Ahead Tips for Martha Washington Candies
These Martha Washington Candies are a meal prep enthusiast’s dream, especially during busy holiday seasons! You can shape the coconut-cherry centers up to 3 days in advance and store them covered in the refrigerator , which actually improves their texture by allowing the flavors to meld beautifully. The chilled centers hold their shape better during the chocolate dipping process, making the final step much easier. When you’re ready to finish your candies, simply melt your candy coating and dip the pre-made centers directly from the fridge (no need to bring to room temperature first). This make-ahead approach transforms what could be a rushed candy-making session into a relaxed, enjoyable experience that yields professional-looking results every time.
Serving Suggestions
These Martha Washington Candies are delightful little treasures that deserve to be showcased in special ways. Their elegant appearance and decadent flavor make them perfect for various serving occasions.
I love arranging these candies on a tiered dessert stand for holiday gatherings – the chocolate-coated gems look stunning against white porcelain or a silver platter. For an extra touch of elegance, dust the serving plate with a light sprinkling of cocoa powder or powdered sugar to create a beautiful backdrop.
These candies pair wonderfully with after-dinner coffee or tea – the rich sweetness complements the bitterness of a good espresso or Earl Grey. For a more indulgent experience, serve alongside glasses of dessert wine like port or a cream sherry that enhances the cherry and coconut flavors.
For gifting, place Martha Washington Candies in decorative paper cups inside a beautiful box tied with ribbon. I’ve found they make particularly thoughtful hostess gifts or holiday presents when presented with a handwritten note about their heritage as a traditional American confection with presidential connections.
Storage & Freezing
These Martha Washington Candies are perfect for making ahead, as they actually improve with a little time for the flavors to meld. Here’s how to keep them fresh and delicious:
Store these candies in an airtight container at room temperature for up to 1 week. Place parchment paper between layers to prevent sticking or marring that beautiful chocolate coating. I’ve found that keeping them in a cool, dry place away from direct sunlight maintains their perfect texture and prevents any bloom on the chocolate coating.
For longer storage, refrigerate the candies for up to 3 weeks. The coconut-cherry centers remain wonderfully chewy when chilled, though I recommend letting them come to room temperature for about 20 minutes before serving for the best flavor experience. If you notice condensation forming on the chocolate when you remove them from the refrigerator , simply let them air dry on a paper towel for a few minutes.
These candies also freeze beautifully for up to 3 months. Place them in a single layer on a baking sheet until frozen solid, then transfer to freezer bags or containers with parchment between layers. Thaw overnight in the refrigerator , then bring to room temperature before enjoying. The texture of Martha Washington Candies holds up remarkably well through freezing and thawing—the centers remain pleasantly chewy while the coating maintains its satisfying snap.
Recipe FAQs
Can I substitute fresh cherries for maraschino cherries? No, they’re too juicy for this recipe.
How long must these candies chill before dipping? At least 2 hours until completely firm.
Can I use a different nut instead of pecans? Yes! Walnuts or almonds work beautifully.
Is it possible to make these without coconut? I wouldn’t recommend it—coconut provides essential texture.
Can Martha Washington Candies be frozen? Yes, they freeze well for up to 3 months.
Will dark chocolate coating work instead of candy coating? Yes, tempered chocolate makes an excellent substitute.
- 0 Facebook
- 0 Pinterest
- 1 Email
- Copy Link
- 1 share
Luxurious Martha Washington Candies for Cherry Coconut Lovers
Ingredients
Instructions
Mix the melted butter, powdered sugar, and vanilla extract in a large bowl until completely combined and smooth. The mixture should have a thick, paste-like consistency without any powdered sugar lumps.
Add the sweetened shredded coconut, sweetened condensed milk, and chopped maraschino cherries to the bowl. I find that patting the cherries extra dry with paper towels prevents the filling from becoming too wet.
Fold in the finely chopped pecans until all ingredients are evenly distributed. The mixture should be thick enough to hold its shape when pressed together.
Shape the mixture into 1-inch balls using a cookie scoop or tablespoon, then roll between your palms to smooth them. Place the balls on a parchment-lined baking sheet.
Chill the candy centers in the refrigerator for at least 2 hours or until firm enough to handle without losing their shape. This step is crucial for successful dipping later.
Melt the candy coating according to package directions, being careful not to overheat. Working with just a few candy centers at a time (keeping the rest chilled), dip each ball into the melted coating using a fork or candy dipping tool.
Gently tap off excess coating and transfer to a parchment-lined surface. You can add a small decorative swirl on top while the coating is still wet if you’d like a more elegant presentation.
Allow the candies to set completely at room temperature, which typically takes about 30 minutes. The finished candies should have a smooth, glossy appearance with a satisfying snap when bitten into.
Notes
Perfect cherry preparation : Pat maraschino cherries extremely dry with paper towels, then chop them on a paper towel-lined cutting board . This prevents excess moisture from making your centers too soft.
Temperature matters : I’ve found that letting butter cool slightly after melting prevents the mixture from becoming too runny when combining with powdered sugar and vanilla extract.
Chill strategically : For the smoothest dipping process, freeze centers for 20 minutes after refrigerating if they still feel too soft. Martha Washington Candies dip beautifully when very cold.
Coating technique : Add a tiny bit of coconut oil (1 tsp per cup) to your candy coating for easier dipping that creates a thinner, more professional-looking shell.
Prevent coating seizure : Keep all water away from your melted candy coating and ensure your centers are completely dry. Even a drop of moisture can ruin the smooth consistency.
Nutrition
| Serving Size | 1 candy |
|---|---|
| Calories | 200 calories |
| Sugar Content | 15g |
| Sodium Content | 50mg |
| Fat Content | 10g |
| Saturated Fat Content | 5g |
| Unsaturated Fat Content | 3g |
| Trans Fat Content | 0g |
| Carbohydrate Content | 25g |
| Fiber Content | 1g |
| Protein Content | 2g |
| Cholesterol Content | 15mg |