- 0 Facebook
- 4 Pinterest
- 0 Email
- Copy Link
- 4 shares
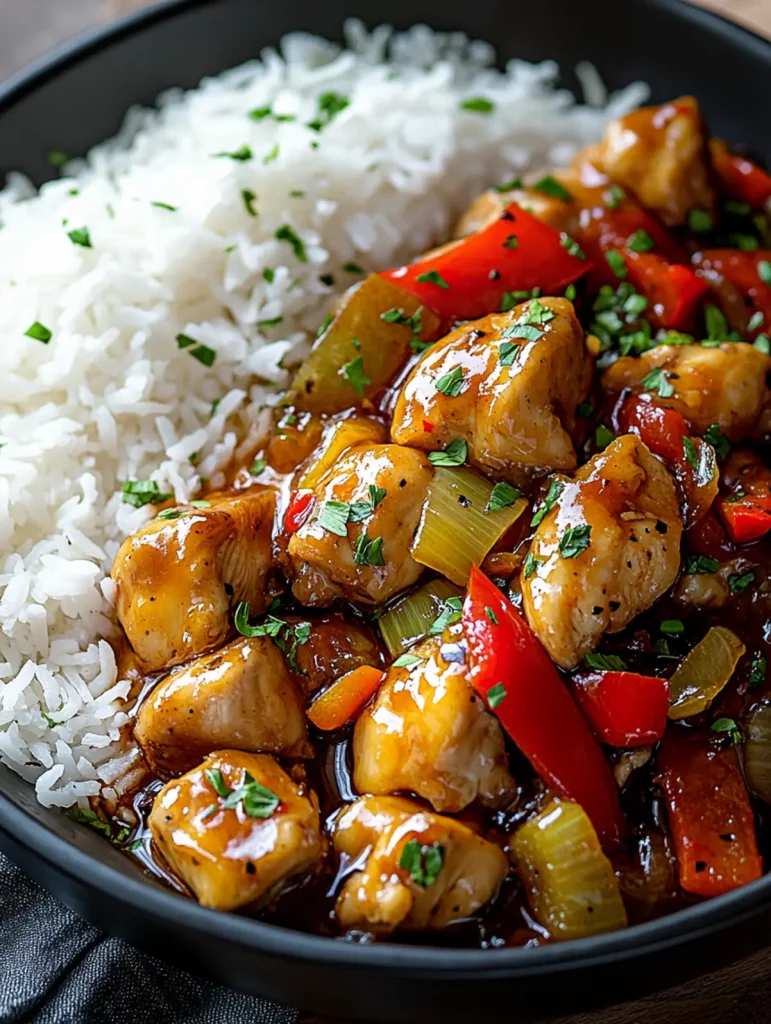
This homemade sweet and sour chicken transforms a takeout classic into something truly spectacular. Tender chunks of chicken mingle with crisp, colorful bell peppers, all enveloped in a glossy sauce that perfectly balances tangy and sweet notes. The magic happens when pineapple juice meets savory soy sauce, creating that distinctive flavor that’s somehow more vibrant and satisfying than restaurant versions. Each saucy bite pairs beautifully with fluffy jasmine rice that soaks up all those delicious flavors — no delivery fee required.
Why You’ll Love This Recipe
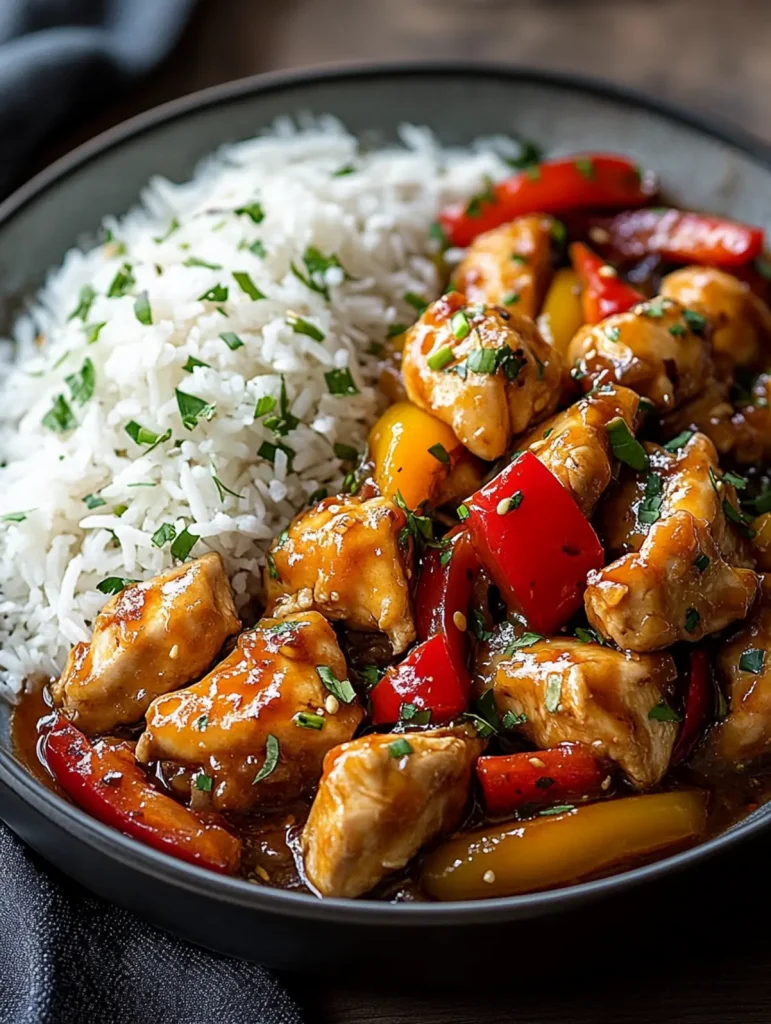
This Better-Than-Takeout Sweet & Sour Chicken delivers restaurant-quality flavor with simple pantry ingredients and surprisingly little effort.
- Restaurant-Quality at Home : The perfect balance of tangy and sweet flavors rivals any takeout version, without the mysterious additives or excessive sugar.
- Quick Kitchen Victory : Ready in just 50 minutes from start to finish, this stir-fry transforms ordinary weeknight cooking into an impressive culinary achievement anyone can master.
- Veggie-Packed Goodness : Vibrant bell peppers add nutritional value and a satisfying crunch that perfectly complements the tender chicken pieces.
- Sauce Perfection : The homemade sweet and sour sauce creates that signature glossy coating that clings beautifully to each ingredient – a technique that eliminates watery, disappointing results.
- Endlessly Adaptable : The foolproof base recipe welcomes customization with whatever vegetables need using up – broccoli, snow peas, or carrots work beautifully with the same cooking method.
Ingredient Notes
Every element in this Better-Than-Takeout Sweet & Sour Chicken Stir-Fry contributes to its spectacular flavor profile. Understanding each ingredient’s role will help you achieve that perfect balance of tangy, sweet, and savory notes that makes this dish truly shine.
- Chicken breast : Provides lean protein and absorbs flavors beautifully. For maximum tenderness, slice against the grain and consider a quick 15-minute marinade in 1 tablespoon of soy sauce before cooking.
- Red bell pepper : Adds vibrant color, sweet flavor, and vitamin C. Choose firm, glossy peppers with no soft spots for the best crunch and freshness.
- Yellow bell pepper : Offers a milder, slightly sweeter flavor than its red counterpart. The color contrast creates visual appeal that makes your stir-fry look restaurant-quality.
- Garlic cloves : Forms the aromatic base that elevates the entire dish. For best flavor, crush slightly before mincing to release more essential oils.
- Small onion : Creates depth and sweetness as it caramelizes during cooking. Yellow onions work best, but white onions provide a slightly sharper flavor if preferred.
- Salt & pepper : Season in stages—a little before cooking the chicken and adjust at the end. Freshly ground black pepper delivers significantly more flavor than pre-ground.
- Oil for frying : Choose a neutral oil with a high smoke point like vegetable, canola, or peanut oil. Avoid olive oil as its distinct flavor can compete with the sweet and sour profile.
- Fresh herbs (parsley/cilantro) : Brightens the finished dish with color and freshness. Cilantro pairs particularly well with the Asian flavor profile, while parsley offers a milder finish.
- Jasmine or basmati rice : These aromatic varieties enhance the overall experience with their floral notes. Rinse thoroughly before cooking to remove excess starch for fluffier results.
- Pineapple juice : The secret ingredient that brings authentic tangy sweetness to the sauce. Fresh juice delivers the brightest flavor, but canned works perfectly in a pinch.
- Ketchup : Provides tomato flavor, thickness, and balanced sweetness. Asian-style ketchup brands often contain less sugar and more umami notes if available.
- Honey or brown sugar : Creates the signature caramelized sweetness. Honey produces a slightly more complex flavor, while brown sugar offers that classic takeout taste.
- Soy sauce : Delivers essential umami depth and saltiness. Low-sodium varieties allow better control over the final salt level of your dish.
- Rice vinegar or apple cider vinegar : Provides the crucial tanginess that balances the sweetness. Rice vinegar has a more delicate, authentic flavor, but apple cider vinegar makes an excellent substitute.
- Cornstarch slurry : Creates that signature glossy, thickened sauce that clings to every bite. Always mix with cold water before adding to prevent lumps forming.
- Chili flakes : Optional but recommended for a gentle heat that cuts through the sweetness. Add more for spice lovers or omit entirely for a milder family-friendly version.
How to Make Better-Than-Takeout Sweet & Sour Chicken Stir-Fry
- Cook the rice according to package instructions. For extra flavor, I like to rinse the rice first then cook it in broth instead of water – it makes such a difference in the final dish.
- Prepare the sweet and sour sauce by combining pineapple juice, ketchup, honey, soy sauce, and vinegar in a bowl. In a separate small bowl, mix the cornstarch with 2 tablespoons of cold water to create a slurry, then set both aside.
- Season the chicken generously with salt and pepper. Heat 1 tablespoon oil in a large skillet or wok over medium-high heat until shimmering, then add the chicken and cook for 5-7 minutes until golden brown and cooked through. Transfer to a plate.
- Sauté the vegetables in the remaining tablespoon of oil for about 3-4 minutes. Add the onions first until slightly softened, then the bell peppers, and finally the garlic for the last 30 seconds – garlic burns easily, so watch it carefully!
- Return the chicken to the pan with the vegetables and reduce heat to medium-low.
- Pour in the sauce mixture and bring to a gentle simmer. Stir in the cornstarch slurry and cook for 2-3 minutes until the sauce thickens and turns glossy. The sauce should coat the back of a spoon nicely.
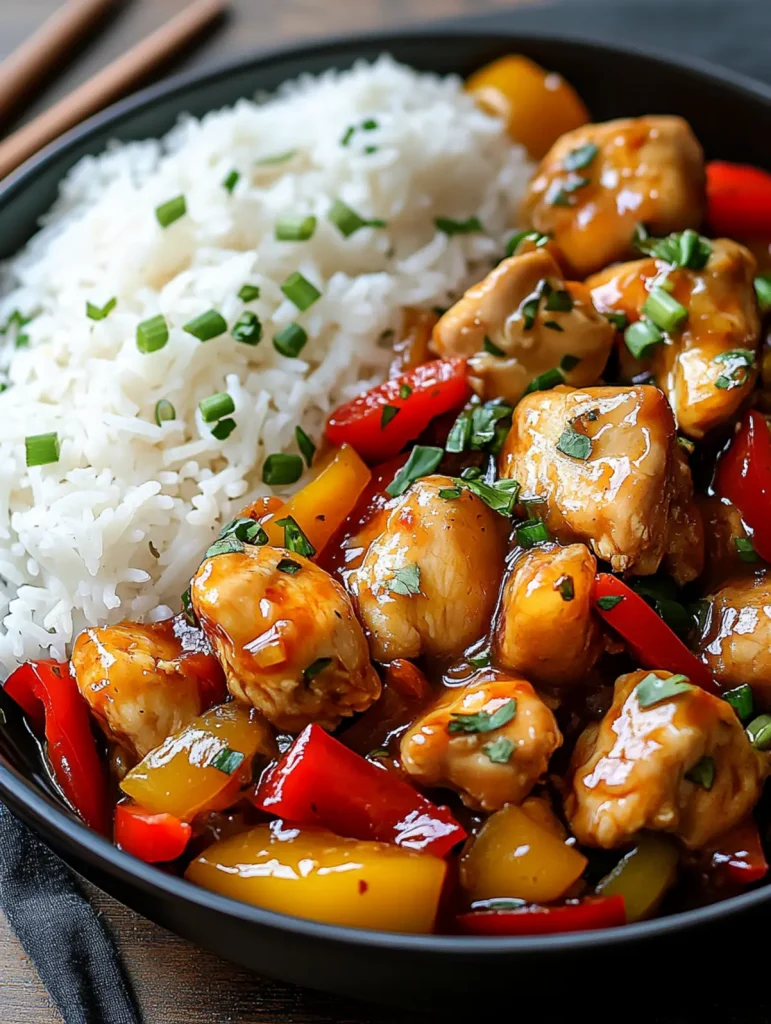
- Serve immediately over the fluffy rice and garnish with chopped fresh herbs. The vibrant colors make this dish as beautiful as it is delicious.
Remember to taste and adjust seasonings before serving – sometimes a splash more vinegar or a drizzle of honey makes all the difference!
Tips for the Best Better-Than-Takeout Sweet & Sour Chicken Stir-Fry
Here’s how to elevate your sweet and sour chicken from good to exceptional:
- Velvet the chicken : For restaurant-quality tenderness, coat your diced chicken breast in 1 tablespoon cornstarch before cooking – this creates a protective barrier that keeps the meat incredibly juicy.
- Stage your cooking : I’ve learned that adding garlic last prevents burning while still infusing flavor. When those 30 seconds are up, the fragrance will tell you it’s perfect!
- Balance the sauce : The magic ratio in sweet & sour sauce is equal parts sweet and tangy. If using pineapple juice, you might need less honey; with water, add a touch more.
- Get the right thickness : Your sauce should coat the back of a spoon but still flow slowly. If it’s too thick, add 1-2 tablespoons of water; if too thin, mix a little more cornstarch with cold water.
- Cook rice properly : Rinse jasmine rice until water runs clear before cooking for fluffier grains that separate beautifully – perfect for soaking up that sticky sweet & sour sauce.
Prep Ahead Instructions for Sweet & Sour Chicken
This Better-Than-Takeout Sweet & Sour Chicken is perfect for meal prep enthusiasts who want to enjoy homemade flavors without the weeknight rush! You can dice the chicken and slice all vegetables up to 24 hours in advance, storing them separately in airtight containers in the refrigerator . The sweet and sour sauce can also be whisked together (excluding the cornstarch slurry) and refrigerated for up to 3 days. When ready to cook, simply let the chicken come to room temperature for 10 minutes while you prepare the cornstarch slurry fresh. The entire stir-fry will come together in just 15 minutes, delivering restaurant-quality results with minimal effort on busy evenings.
Storage & Freezing
This Better-Than-Takeout Sweet & Sour Chicken Stir-Fry stores beautifully for convenient meals throughout the week. Store leftovers in airtight containers in the refrigerator for up to 4 days. For best results, keep the rice and stir-fry in separate containers to prevent the rice from absorbing too much sauce and becoming soggy.
The chicken and vegetable mixture can be frozen for up to 2 months, though the bell peppers may soften slightly upon thawing. I’ve found that freezing the sauce separately from the chicken and vegetables helps maintain better texture when reheated. Rice should be frozen separately in its own container, as it reheats at a different rate than the stir-fry components.
When reheating from refrigerated, warm the stir-fry in a skillet over medium heat with a splash of water to loosen the sauce and prevent drying out. Microwave reheating works well too – cover with a damp paper towel and heat in 30-second intervals, stirring between each. If reheating from frozen, thaw overnight in the refrigerator first for the best texture and flavor preservation.
Serving Suggestions
This Sticky Sweet & Sour Chicken with Bell Peppers & Rice is a complete meal on its own, but a few thoughtful additions can transform it into an impressive spread that rivals any restaurant experience.
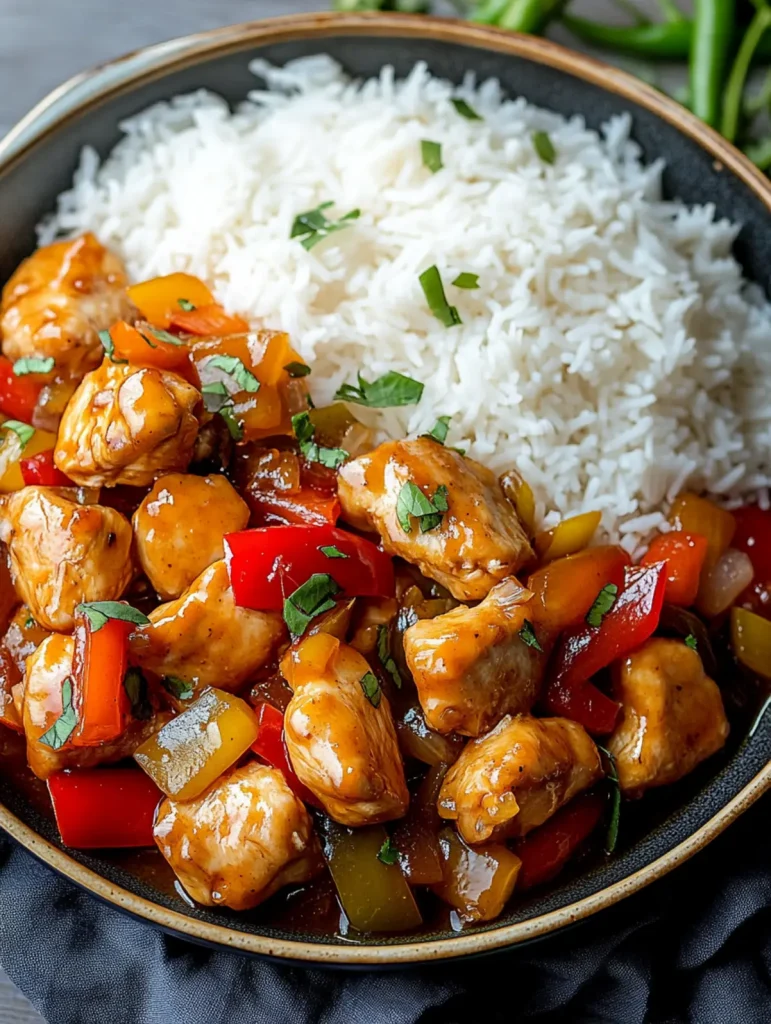
For family-style serving, I love to present this dish in a large shallow bowl with the glossy chicken and peppers piled high atop the fluffy jasmine rice. Sprinkle generously with fresh cilantro or parsley and add a few extra chili flakes on one side (for those who enjoy extra heat). The vibrant colors of the red and yellow peppers against the sticky sauce create a striking presentation that always earns compliments.
Complete your homemade Chinese feast with simple sides that complement without competing. Steamed edamame sprinkled with sea salt makes a perfect starter, while cucumber salad with rice vinegar provides a cool, refreshing contrast to the sweet and tangy chicken. For drinks, a light jasmine tea cuts through the richness beautifully, or try an ice-cold Asian lager for casual dinners. If you’re entertaining, a slightly off-dry Riesling pairs wonderfully with the sweet-sour flavor profile.
This dish truly shines as the centerpiece of an Asian-inspired dinner party, but it’s equally perfect for a cozy weeknight meal when you’re craving something more satisfying than takeout. The sauce is thick enough to cling to each piece of chicken without pooling excessively on the plate—making it surprisingly neat to eat despite its saucy nature!
Make It Your Way: Variations & Substitutions
Don’t have all the ingredients? No problem! This sweet and sour chicken recipe is incredibly flexible and can be adapted to what’s in your pantry or to suit different dietary preferences.
Protein options: Swap chicken breast for thighs (they’re even juicier!), shrimp (cook for just 2-3 minutes until pink), or firm tofu (pressed and cubed) for a vegetarian version. I sometimes use leftover rotisserie chicken when I’m in a hurry – just add it at the end to warm through.
Veggie variations: Bell peppers are classic, but broccoli, snap peas, carrots, or zucchini all work beautifully in this sauce. Try pineapple chunks for authentic takeout vibes – the caramelization when they hit the hot pan is absolutely worth it!
Grain alternatives: While jasmine rice is traditional, cauliflower rice creates a lower-carb option, or try serving over cooked quinoa for added protein. Brown rice adds wonderful nutty flavor and extra fiber if you have a few more minutes to cook it.
Make it gluten-free: Simply swap regular soy sauce for tamari or certified gluten-free soy sauce and double-check your vinegar labels to ensure they’re gluten-free.
Adjust the sweetness: Prefer a tangier sauce? Reduce the honey/sugar by half. Like it sweeter like mall food court versions? Add an extra tablespoon of honey. The beauty of homemade is customizing to your exact taste preference.
Heat level customization: The chili flakes are just the beginning – add a tablespoon of sriracha or sambal oelek to the sauce for serious heat, or keep it mild for family meals by omitting the spice entirely.
Recipe FAQs
Can I use chicken thighs instead of breast? Yes! Thighs stay juicier in stir-fries.
How do I fix a sauce that’s too thick? Add water, one tablespoon at a time.
Can I add pineapple chunks to this recipe? Absolutely! Add with bell peppers for sweetness.
What’s a substitute for rice vinegar? Apple cider vinegar works perfectly.
Is this dish gluten-free? Use tamari instead of regular soy sauce.
How can I make this spicier? I double the chili flakes for extra kick.
- 0 Facebook
- 4 Pinterest
- 0 Email
- Copy Link
- 4 shares
Better-Than-Takeout Sweet & Sour Chicken Stir-Fry
Ingredients
Instructions
- Cook the rice
according to package instructions. For extra flavor, I like to rinse the rice first then cook it in broth instead of water – it makes such a difference in the final dish.
- Prepare the sweet and sour sauce
by combining pineapple juice, ketchup, honey, soy sauce, and vinegar in a bowl. In a separate small bowl, mix the cornstarch with 2 tablespoons of cold water to create a slurry, then set both aside.
- Season the chicken
generously with salt and pepper. Heat 1 tablespoon oil in a large skillet or wok over medium-high heat until shimmering, then add the chicken and cook for 5-7 minutes until golden brown and cooked through. Transfer to a plate.
- Sauté the vegetables
in the remaining tablespoon of oil for about 3-4 minutes. Add the onions first until slightly softened, then the bell peppers, and finally the garlic for the last 30 seconds – garlic burns easily, so watch it carefully!
- Return the chicken
to the pan with the vegetables and reduce heat to medium-low.
- Pour in the sauce mixture
and bring to a gentle simmer. Stir in the cornstarch slurry and cook for 2-3 minutes until the sauce thickens and turns glossy. The sauce should coat the back of a spoon nicely.
- Serve immediately
over the fluffy rice and garnish with chopped fresh herbs. The vibrant colors make this dish as beautiful as it is delicious.
Notes
Velvet the chicken : For restaurant-quality tenderness, coat your diced chicken breast in 1 tablespoon cornstarch before cooking – this creates a protective barrier that keeps the meat incredibly juicy.
Stage your cooking : I’ve learned that adding garlic last prevents burning while still infusing flavor. When those 30 seconds are up, the fragrance will tell you it’s perfect!
Balance the sauce : The magic ratio in sweet & sour sauce is equal parts sweet and tangy. If using pineapple juice, you might need less honey; with water, add a touch more.
Get the right thickness : Your sauce should coat the back of a spoon but still flow slowly. If it’s too thick, add 1-2 tablespoons of water; if too thin, mix a little more cornstarch with cold water.
Cook rice properly : Rinse jasmine rice until water runs clear before cooking for fluffier grains that separate beautifully – perfect for soaking up that sticky sweet & sour sauce.
Nutrition
| Serving Size | 1 plate |
|---|---|
| Calories | 450 calories |
| Sugar Content | 10g |
| Sodium Content | 800mg |
| Fat Content | 10g |
| Saturated Fat Content | 1g |
| Unsaturated Fat Content | 7g |
| Trans Fat Content | 0g |
| Carbohydrate Content | 70g |
| Fiber Content | 2g |
| Protein Content | 30g |
| Cholesterol Content | 75mg |