- 0 Facebook
- 2 Pinterest
- 0 Email
- Copy Link
- 2 shares
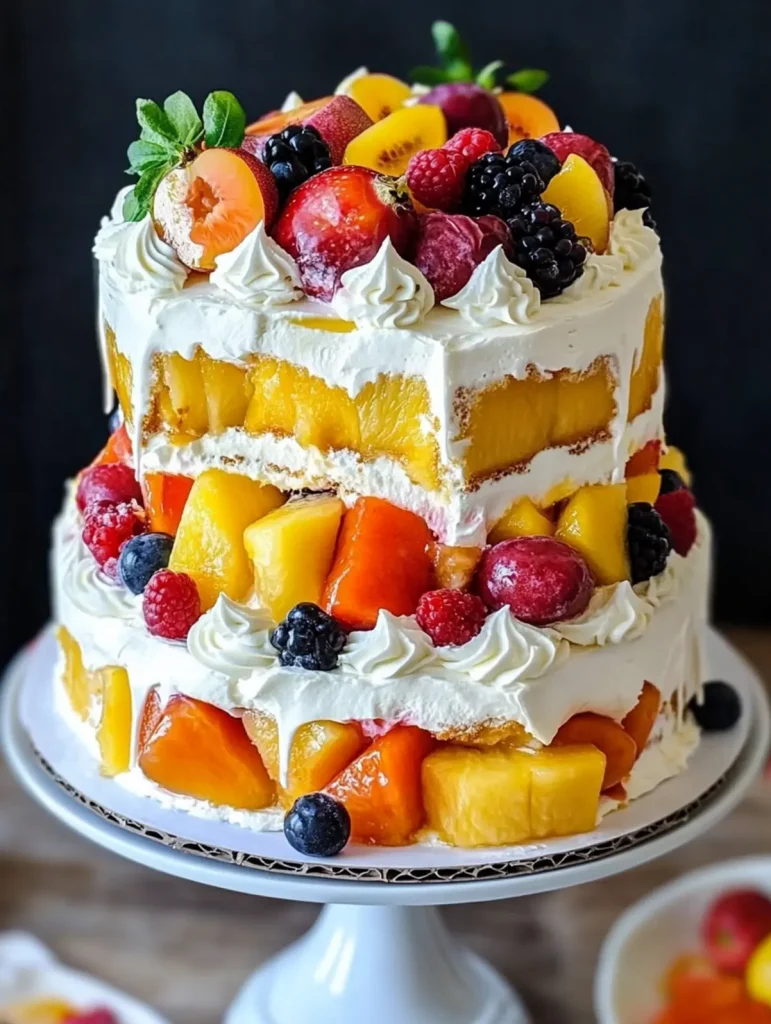
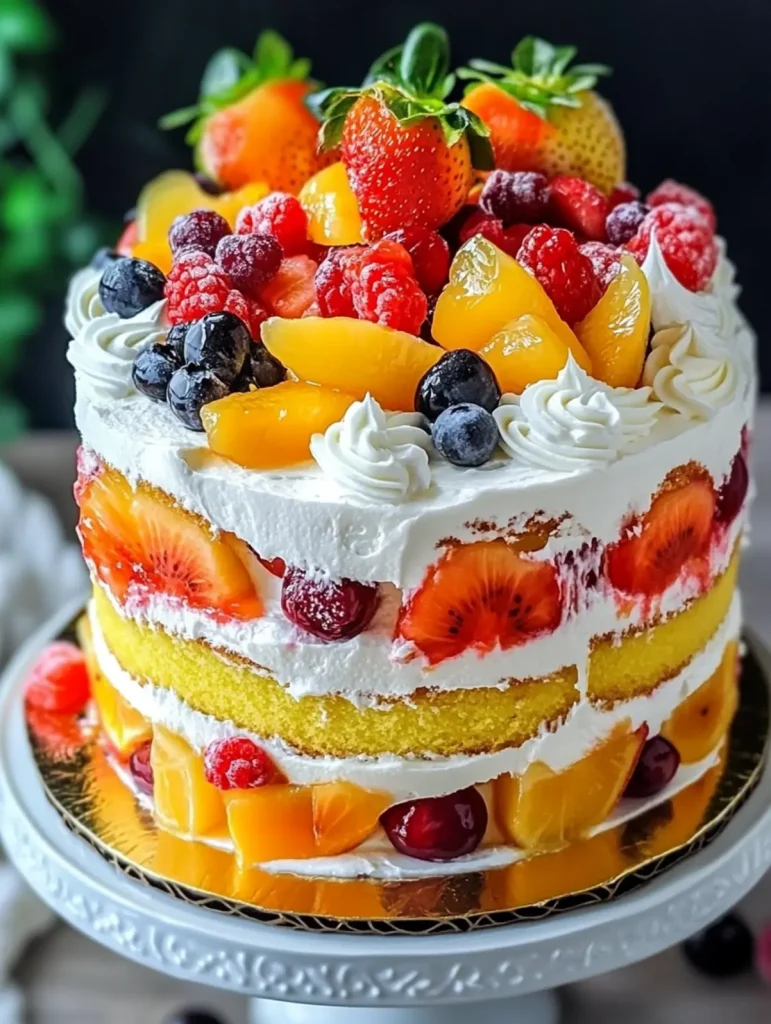
This dreamy whipped cream birthday cake transforms fresh fruit and airy sponge layers into a celebration-worthy masterpiece. Light vanilla cake layers—perfectly soaked for moisture—create the canvas for billowy clouds of whipped cream studded with vibrant strawberries, sweet banana slices, and juicy blueberries between each tier. The delicate balance of textures—tender cake against creamy filling and bursts of fruit—makes every forkful a perfect harmony of flavors. Serve this showstopper slightly chilled with a pot of tea or coffee for an unforgettable birthday treat.
Why You’ll Love This Recipe
This Dreamy Fruit-Filled Whipped Cream Birthday Cake delivers both stunning presentation and incredible flavor without requiring professional baking skills. Here’s why it stands out from ordinary birthday cakes:
- Perfect Celebration Centerpiece : The combination of three fluffy layers adorned with colorful fruits creates an impressive dessert that draws gasps when brought to the table.
- Customizable Fruit Palette : Switch between seasonal favorites like summer berries, tropical mangoes, or autumn peaches to personalize the cake for the birthday honoree’s preferences or match any celebration theme.
- Make-Ahead Friendly : The milk-soaked cake layers actually improve with a few hours of refrigeration, making this an ideal recipe to prepare in advance of a busy celebration day.
- Balanced Texture Symphony : Each bite delivers the perfect combination of airy sponge, cloud-like whipped cream, and juicy fruit bursts—a textural experience that store-bought cakes simply cannot match.
- No Frosting Skills Required : The rustic, semi-naked style with whipped cream between layers means even beginners can achieve a professional-looking finish without mastering complicated piping techniques.
Ingredient Notes
Every component in this Dreamy Fruit-Filled Whipped Cream Birthday Cake plays a crucial role in creating the perfect balance of texture, flavor, and structure. Understanding each ingredient ensures your celebration centerpiece turns out exactly as intended.
- Eggs (room temperature) : These provide structure and richness to the sponge cake. Bringing eggs to room temperature allows them to incorporate more air when beaten, resulting in a fluffier, more voluminous cake.
- Granulated sugar : Beyond sweetness, sugar tenderizes the cake by interfering with gluten development and helps create a golden crust through caramelization. Use fine granulated sugar for best incorporation into the batter.
- Warm water : Adds necessary moisture without weighing down the batter like milk would. The warmth helps dissolve sugar more effectively and creates a lighter texture in the finished cake.
- Vegetable oil : Contributes moisture and tenderness to the cake that lasts for days. Unlike butter, oil creates a more reliably moist cake that stays soft even when refrigerated.
- Vanilla extract : The foundation flavor that enhances all other ingredients. Pure vanilla extract delivers a more complex, authentic flavor than imitation varieties.
- Flour : Provides the cake’s structure through its protein content. All-purpose flour works perfectly, but cake flour can be substituted for an even more delicate texture.
- Baking powder : The leavening agent that creates the cake’s rise through carbon dioxide production. Check that your baking powder is fresh (less than 6 months old) for optimal lift.
- Milk (for soaking) : This brilliant technique keeps the cake layers moist and tender. Whole milk provides the best flavor, but 2% works well too.
- Granulated sugar for soaking : Optional but recommended for adding a hint of extra sweetness to the soaked layers. This balances perfectly with the tart fruits.
- Whipped cream packets : These stabilized cream mixtures provide consistent results and hold their shape longer than homemade whipped cream. For a homemade version, use 2 cups heavy cream with 1/4 cup powdered sugar and 1 teaspoon vanilla.
- Cold milk for whipped cream : Must be very cold to achieve proper volume and stability. Refrigerate the mixing bowl and beaters for 15 minutes before whipping for best results.
- Bananas : Provide creamy texture and natural sweetness. Choose slightly firm bananas (with minimal brown spots) for easier slicing and better presentation.
- Strawberries : Add vibrant color, juicy texture, and slight tartness. Look for bright red berries with a sweet fragrance for optimal flavor.
- Blueberries or cherries : These provide beautiful color contrast and bursts of flavor. Blueberries offer subtle sweetness while cherries bring deeper, more intense flavor notes.
- Optional fruits (peaches, kiwis, pineapples) : These can be incorporated based on seasonal availability. Peaches add aromatic sweetness, kiwis contribute tangy brightness, and pineapples bring tropical flair to your birthday masterpiece.
Let’s Cook It
- Preheat your oven to 350°F (180°C) and prepare three 8-inch round cake pans by lining them with parchment paper and lightly greasing the sides.
- Beat the eggs and sugar in a large bowl for about 5 minutes until pale and fluffy. I find that beating until the mixture forms ribbons when the beater is lifted gives the perfect texture for the sponge.
- Gradually whisk in the warm water, vegetable oil, and vanilla extract until fully incorporated, making sure to maintain as much air in the batter as possible.
- Sift the flour and baking powder together, then gently fold into the wet mixture using a spatula until just combined—overmixing will deflate all that wonderful air you’ve incorporated.
- Divide the batter evenly between the prepared pans and bake for 18-22 minutes, or until a toothpick inserted in the center comes out clean and the tops are springy to the touch.
- While the cakes cool for 10 minutes in their pans, prepare the soaking liquid by combining the milk with the optional tablespoon of sugar. Once the cakes are turned out onto cooling racks, brush each layer generously with this mixture.
- Prepare the whipped cream by beating the cold milk with the whipped cream packets until stiff peaks form—this usually takes about 3-4 minutes. The cream should hold its shape when the beater is lifted.
- Assemble the cake by placing the first layer on your serving plate, spreading a thick layer of whipped cream on top, then arranging sliced bananas and strawberries over the cream. Repeat with the second layer, then top with the final cake layer and cover the entire cake with the remaining whipped cream before decorating with assorted fruits.
Variations & Substitutions
This birthday cake is wonderfully adaptable to your preferences and what you have on hand. Here’s how to make it truly your own:
- Dietary adaptations : For a gluten-free version, substitute the all-purpose flour with a 1:1 gluten-free baking blend. The tender crumb structure works beautifully with these alternatives without compromising texture.
- Cream alternatives : Don’t have whipped cream packets? Use 2 cups of heavy whipping cream with 1/4 cup powdered sugar and 1 teaspoon vanilla extract. I sometimes add 1 tablespoon of mascarpone for extra stability and a subtle richness.
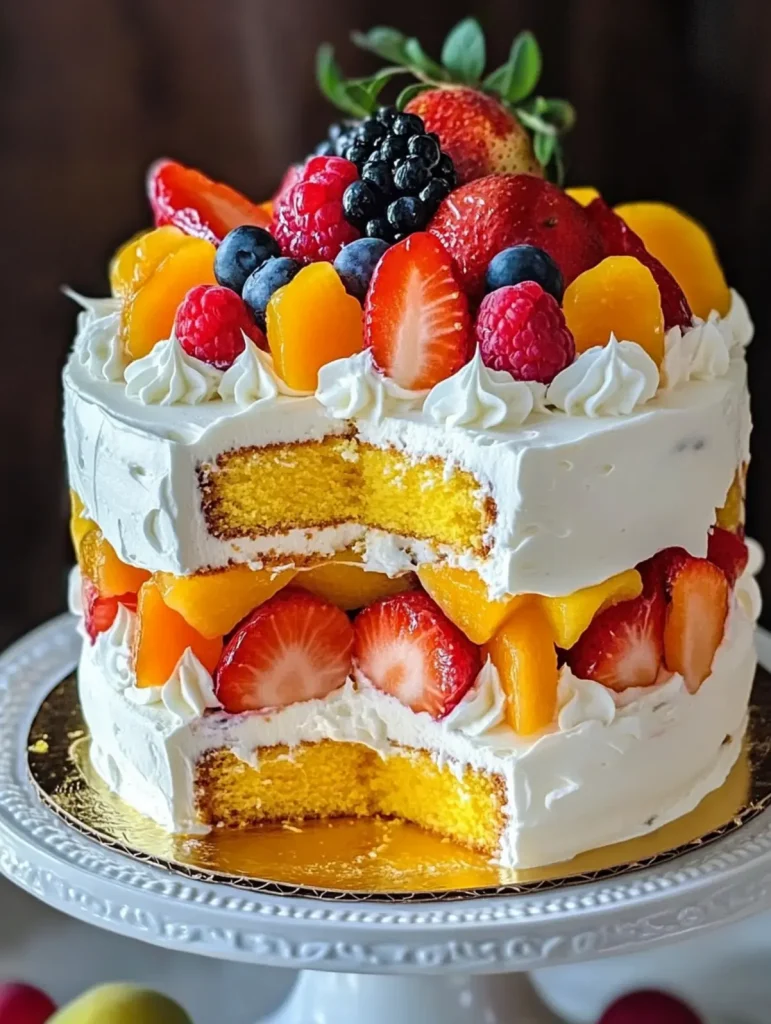
- Fruit combinations : While the recipe suggests bananas, strawberries and blueberries, consider seasonal swaps like peach and raspberry in summer, or orange segments and pomegranate in winter. The flavor pairing possibilities are endless!
- Flavor infusions : Enhance the soaking milk with subtle flavors by adding 1 teaspoon of orange zest, 1/4 teaspoon almond extract, or even 1 tablespoon of coffee liqueur for an adult version.
- Sheet cake option : Short on time? Transform this into a sheet cake using a 9×13 pan (adjusting baking time to 25-30 minutes), then top with cream and fruit for a simpler but equally delicious dessert.
- Special occasion twist : For celebrations, add a thin layer of lemon curd or raspberry preserves between the cake and whipped cream layers for an extra dimension of flavor that beautifully complements the fresh fruit.
Storage & Freezing
This Dreamy Fruit-Filled Whipped Cream Birthday Cake requires proper storage to maintain its delicate texture and freshness. Store any leftover cake in the refrigerator , covered with a cake dome or loosely wrapped with plastic wrap, for up to 3 days. The whipped cream and fresh fruits make refrigeration essential—never leave this cake at room temperature for more than 2 hours.
For make-ahead options, you can prepare the cake layers up to 2 days in advance. Simply wrap the cooled, unsoaked layers tightly in plastic wrap and store at room temperature. I’ve found that assembling the cake at least 4-6 hours before serving creates the perfect texture, as the soaked layers have time to soften while the cream firms up slightly.
This cake doesn’t freeze well once assembled due to the whipped cream and fresh fruit. The fruits release moisture during thawing, making the cake soggy, while the whipped cream can become grainy. However, you can freeze the unfrosted cake layers for up to 1 month—just wrap them individually in plastic wrap followed by aluminum foil, then defrost completely before soaking and assembling with fresh whipped cream and fruit.
How to Make Fruit-Filled 3-Layer Whipped Cream Birthday Cake Ahead of Time
This Fruit-Filled 3-Layer Whipped Cream Birthday Cake is perfect for busy celebration planning! You can bake the three cake layers up to 2 days in advance , wrapping them tightly in plastic wrap and storing at room temperature (the milk-soaking step actually helps preserve moisture). Prepare your fruits by washing, hulling strawberries, and slicing bananas up to 4 hours ahead, storing them separately in the refrigerator (toss banana slices with a touch of lemon juice to prevent browning). When ready to serve, simply whip the cream, soak the layers with milk, and assemble your masterpiece—you’ll have a stunning birthday centerpiece with minimal last-minute stress and maximum wow factor.
Tips for the Best Dreamy Fruit-Filled Whipped Cream Birthday Cake
Master these insider tricks to elevate your Fruit-Filled Whipped Cream Birthday Cake from good to spectacular:
- Room temperature matters : Those 4 eggs must be truly at room temperature (at least 30 minutes on the counter) to create the volume that gives this cake its signature light texture.
- Prep fruit strategically : Slice bananas just before assembly and toss strawberries with a teaspoon of sugar to draw out juices—I’ve found this prevents dry fruit layers and enhances flavor transfer to the whipped cream.
- Perfect soaking technique : When applying the milk mixture, use a pastry brush in gentle strokes rather than pouring directly—this ensures even distribution without creating soggy spots.
- Stabilize your cream : For picture-perfect slices, add 1 tablespoon of instant vanilla pudding powder to your cold milk before mixing with the whipped cream packets—it prevents weeping and keeps layers defined.
- Chill between steps : Place your cake in the refrigerator for 20 minutes after adding each layer of fruit and cream—this prevents sliding layers and allows flavors to meld beautifully.
Serving Suggestions
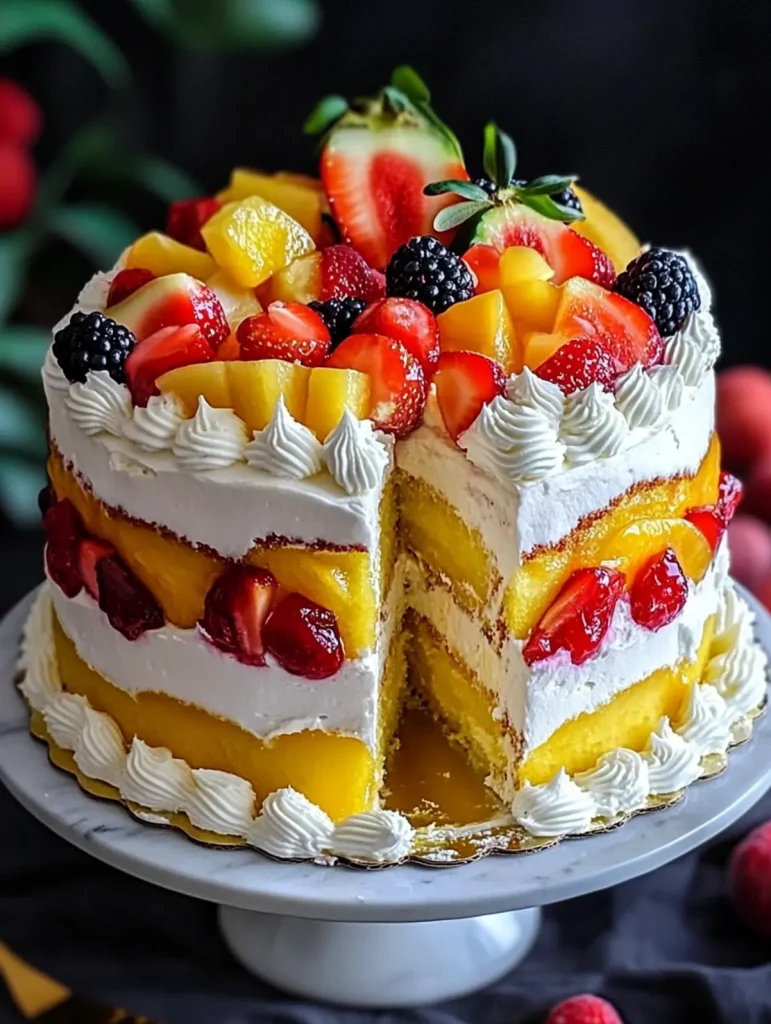
This Fruit-Filled 3-Layer Whipped Cream Birthday Cake deserves a presentation as special as the occasion it celebrates. The combination of light sponge, billowy cream, and fresh fruits creates a versatile dessert that can be styled to impress any birthday honoree.
For a classic birthday presentation, serve generous slices on colorful dessert plates with a small side of extra berries. I like to add a scoop of premium vanilla ice cream alongside each slice when serving at summer celebrations—the contrast between the cold ice cream and the room-temperature cake creates a delightful sensory experience.
This cake pairs beautifully with beverages that complement its light, fruity profile. Consider serving with:
- A pot of Earl Grey or chamomile tea for afternoon birthday gatherings
- Sparkling wine or Prosecco for adult celebrations—the bubbles cut through the cream’s richness perfectly
- Hot chocolate with whipped cream for children’s parties, echoing the cake’s creamy texture
For an elevated dessert table, surround the cake with small bowls of additional sliced fruits that match those used in the filling. This creates a cohesive theme and allows guests to customize each bite with extra fruit if desired. The cake’s versatility makes it appropriate for everything from intimate family birthdays to larger milestone celebrations.
Recipe FAQs
Can I make this cake a day ahead? Yes, it’s actually better after refrigeration.
How do I prevent the fruit from making the cake soggy? Pat fruit dry before adding.
Can I substitute the whipped cream packets? Use 2 cups heavy cream with powdered sugar.
Will frozen fruit work instead of fresh? Thaw completely and drain excess moisture first.
Can I make this cake without eggs? Try 1 cup applesauce as my go-to substitute.
What if I only have two cake pans? Bake in batches, cooling pans between uses.
- 0 Facebook
- 2 Pinterest
- 0 Email
- Copy Link
- 2 shares
Dreamy Fruit-Filled Whipped Cream Birthday Cake
Ingredients
Instructions
Preheat your oven to 350°F (180°C) and prepare three 8-inch round cake pans by lining them with parchment paper and lightly greasing the sides.
Beat the eggs and sugar in a large bowl for about 5 minutes until pale and fluffy. I find that beating until the mixture forms ribbons when the beater is lifted gives the perfect texture for the sponge.
Gradually whisk in the warm water, vegetable oil, and vanilla extract until fully incorporated, making sure to maintain as much air in the batter as possible.
Sift the flour and baking powder together, then gently fold into the wet mixture using a spatula until just combined—overmixing will deflate all that wonderful air you’ve incorporated.
Divide the batter evenly between the prepared pans and bake for 18-22 minutes, or until a toothpick inserted in the center comes out clean and the tops are springy to the touch.
While the cakes cool for 10 minutes in their pans, prepare the soaking liquid by combining the milk with the optional tablespoon of sugar. Once the cakes are turned out onto cooling racks, brush each layer generously with this mixture.
Prepare the whipped cream by beating the cold milk with the whipped cream packets until stiff peaks form—this usually takes about 3-4 minutes. The cream should hold its shape when the beater is lifted.
Assemble the cake by placing the first layer on your serving plate, spreading a thick layer of whipped cream on top, then arranging sliced bananas and strawberries over the cream. Repeat with the second layer, then top with the final cake layer and cover the entire cake with the remaining whipped cream before decorating with assorted fruits.
Notes
Room temperature matters : Those 4 eggs must be truly at room temperature (at least 30 minutes on the counter) to create the volume that gives this cake its signature light texture.
Prep fruit strategically : Slice bananas just before assembly and toss strawberries with a teaspoon of sugar to draw out juices—I’ve found this prevents dry fruit layers and enhances flavor transfer to the whipped cream.
Perfect soaking technique : When applying the milk mixture, use a pastry brush in gentle strokes rather than pouring directly—this ensures even distribution without creating soggy spots.
Stabilize your cream : For picture-perfect slices, add 1 tablespoon of instant vanilla pudding powder to your cold milk before mixing with the whipped cream packets—it prevents weeping and keeps layers defined.
Chill between steps : Place your cake in the refrigerator for 20 minutes after adding each layer of fruit and cream—this prevents sliding layers and allows flavors to meld beautifully.
Nutrition
| Serving Size | 1 slice |
|---|---|
| Calories | 320 calories |
| Sugar Content | 20g |
| Sodium Content | 180mg |
| Fat Content | 10g |
| Saturated Fat Content | 2g |
| Unsaturated Fat Content | 8g |
| Trans Fat Content | 0g |
| Carbohydrate Content | 50g |
| Fiber Content | 2g |
| Protein Content | 5g |
| Cholesterol Content | 50mg |