- 0 Facebook
- 0 Pinterest
- 0 Email
- Copy Link
- 0 shares
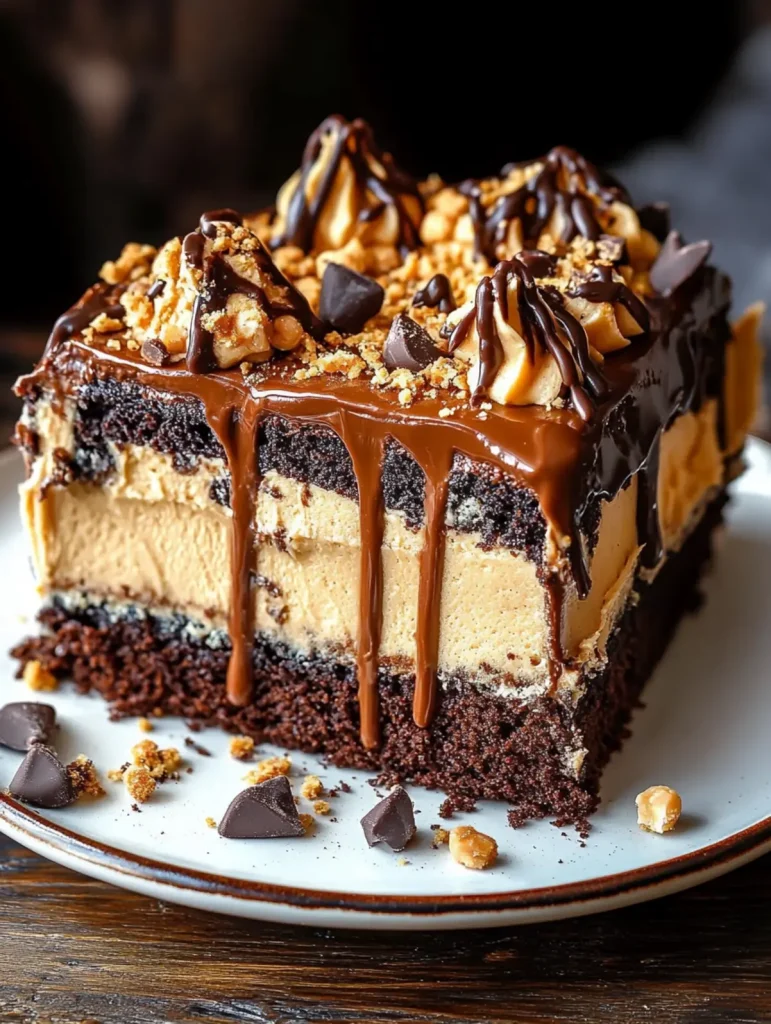
This decadent Peanut Butter Earthquake Cake delivers an indulgent collision of flavors that chocolate and peanut butter enthusiasts won’t be able to resist. Each bite reveals a mesmerizing pattern of fudgy chocolate cake dramatically interrupted by luscious swirls of cream cheese and peanut butter—creating the “earthquake” effect that gives this showstopper its name. The contrast between the rich, tender cake and creamy peanut butter mixture creates a dessert experience that’s wonderfully complex yet comforting. Serve slightly warm with a scoop of vanilla ice cream for a truly memorable treat.
Why You’ll Love This Recipe
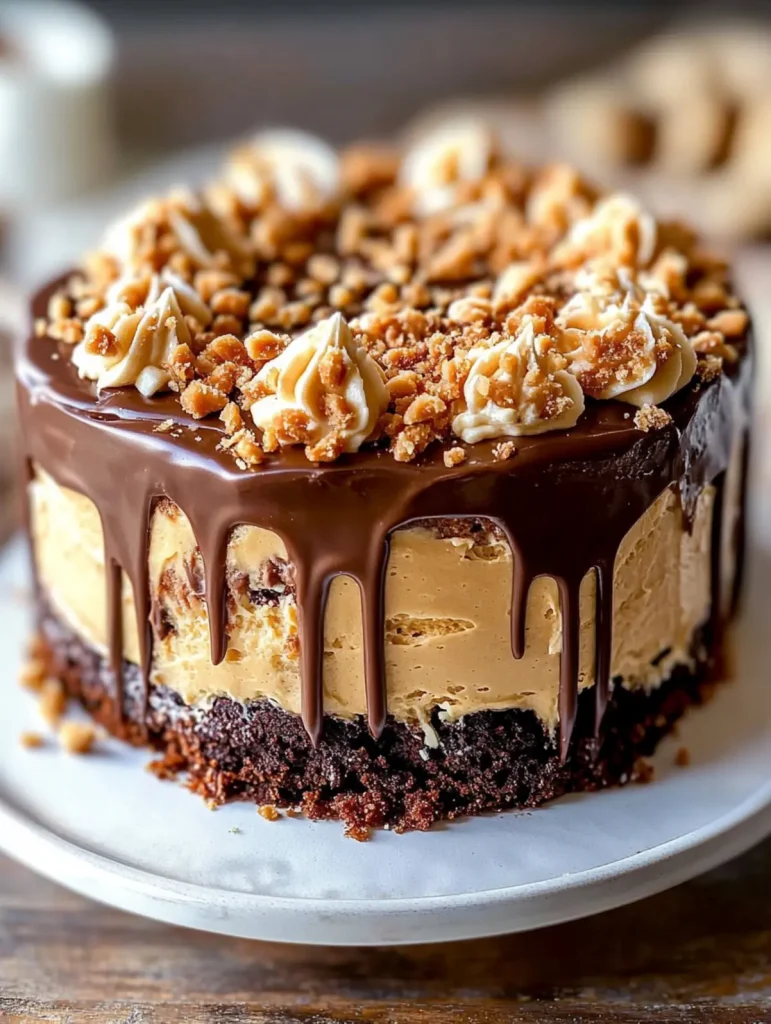
This Peanut Butter Earthquake Cake breaks all the rules in the best possible way, creating a dessert that’s as visually striking as it is delicious.
- Foolproof Decadence : The combination of boxed cake mix with homemade cream cheese swirl means impressive results with minimal effort, perfect for both novice bakers and seasoned pros.
- Texture Paradise : Each bite delivers the perfect contrast between moist chocolate cake, gooey cream cheese pockets, and melty chocolate chips that create an irresistible mouthfeel.
- Make-Ahead Marvel : The flavors actually deepen overnight, making this the ideal dessert to prepare a day before your gathering for even more pronounced chocolate-peanut butter perfection.
- Customization Champion : Swap milk chocolate chips for dark or semi-sweet depending on your preference, or add chopped peanut butter cups for an extra layer of indulgence.
- Crowd-Tested Favorite : The dramatic swirl pattern never fails to impress at potlucks and family gatherings, where even self-proclaimed “non-dessert people” request second slices.
Ingredient Breakdown with Tips
The secret to a spectacular Peanut Butter Earthquake Cake lies in understanding how each ingredient contributes to its signature texture and flavor profile. Quality ingredients and proper preparation ensure that perfect balance of fudgy cake and creamy peanut butter swirls.
- Chocolate cake mix : Serves as the foundation of this dessert, providing deep chocolate flavor. Choose a moist, premium brand like Duncan Hines or Betty Crocker for best results—devil’s food variety adds extra richness.
- Eggs : Provide structure and stability to the cake while contributing to its tender crumb. Bring to room temperature for optimal incorporation and more even baking.
- Vegetable oil : Creates moisture and tenderness in the cake that butter alone cannot achieve. Use a neutral oil like canola or sunflower to let the chocolate and peanut butter flavors shine.
- Water or milk : Activates the cake mix ingredients. Milk adds subtle richness and helps create a more tender crumb, while water produces a slightly lighter texture.
- Cream cheese : Forms the creamy base for the peanut butter swirl that creates the “earthquake” effect. Philadelphia brand is recommended for its consistent texture—ensure it’s completely softened to avoid lumps.
- Butter : Adds richness to the cream cheese layer and helps it melt beautifully throughout the cake. Unsalted butter allows better control of the overall sweetness.
- Powdered sugar : Sweetens the cream cheese mixture while maintaining a smooth texture. Sift before measuring to prevent lumps in your swirl mixture.
- Peanut butter : The star flavor that complements the chocolate cake. Choose smooth, traditional peanut butter (like Jif or Skippy) rather than natural varieties which can separate and affect the texture.
- Chocolate chips : Create pockets of melty chocolate goodness throughout the cake. Milk chocolate offers sweetness, while dark chocolate provides more depth and less sweetness.
- Peanut butter chocolate chips : Optional, but highly recommended for amplifying the peanut butter flavor. These specialty chips intensify the signature chocolate-peanut butter combination that makes this earthquake cake truly irresistible.
How to Make The Ultimate Peanut Butter Earthquake Cake for Chocolate Lovers
- Preheat the oven to 350°F (175°C) and lightly grease a 9×13-inch baking pan with cooking spray or butter.
- Prepare the chocolate cake batter by combining the cake mix, eggs, vegetable oil, and water (or milk) in a large mixing bowl. Mix with an electric mixer on medium speed for about 2 minutes until smooth and well combined.
- In a separate bowl, beat the softened cream cheese until fluffy, then add melted butter and mix until well incorporated. Gradually add the powdered sugar and mix until smooth—I find that adding it in thirds helps prevent that dreaded sugar dust cloud!
- Stir the peanut butter into the cream cheese mixture until fully combined. The mixture should be pourable but thick enough to hold its shape when dolloped.
- Pour half of the chocolate cake batter into the prepared baking pan, spreading it evenly with a spatula. Sprinkle half of the chocolate chips over the batter.
- Drop spoonfuls of the peanut butter cream cheese mixture randomly over the cake batter. Then pour the remaining cake batter on top, trying to cover most of the cream cheese layer.
- Use a butter knife to gently swirl through all layers, creating the “earthquake” effect. Don’t overmix—those distinct swirls are what make this cake so impressive! Top with remaining chocolate chips and the peanut butter chocolate chips if using.
- Bake for 35-40 minutes, until the center is almost set but still slightly jiggly. The toothpick test won’t work perfectly here since the cream cheese swirl stays moist, but the edges should be set and pulling away slightly from the pan.
Variations & Substitutions
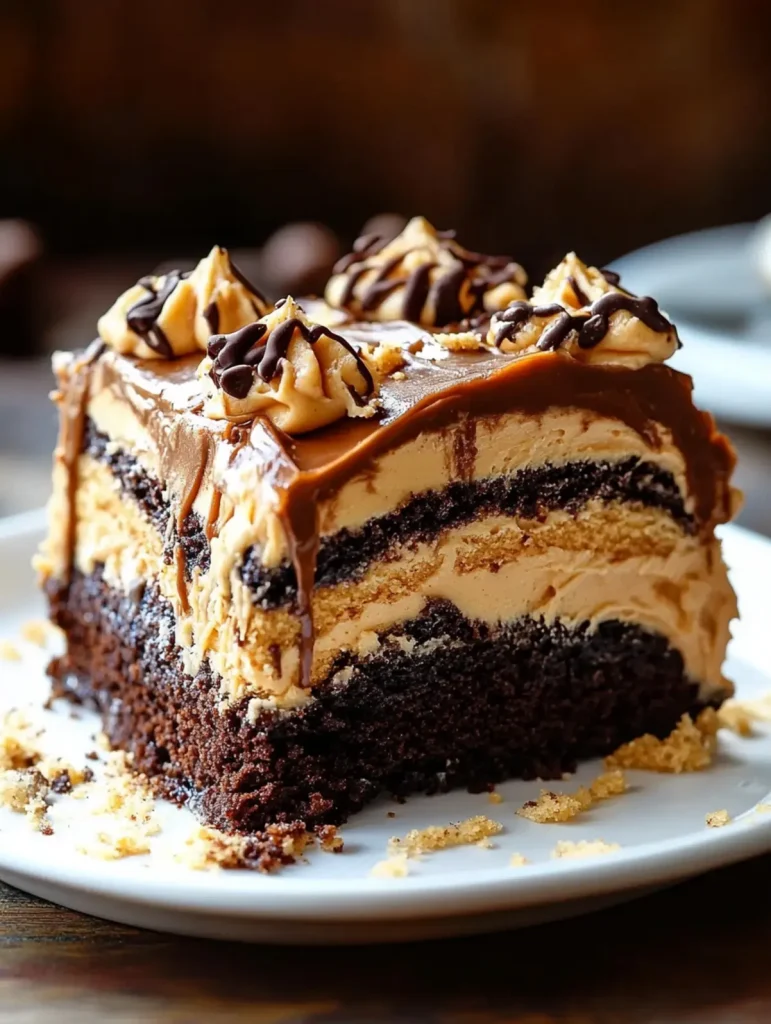
Don’t be afraid to experiment with this forgiving recipe! The basic structure allows for plenty of delicious twists while maintaining that signature earthquake effect.
Nutty alternatives: Not a peanut butter fan? Substitute almond butter, cashew butter, or cookie butter (Biscoff spread) for equally delicious results with distinctive flavor profiles. I’ve tried hazelnut chocolate spread instead of peanut butter for a Nutella-inspired cake that was absolutely divine.
Dietary adaptations: Need a gluten-free version? Use your favorite gluten-free chocolate cake mix – just decrease the water by 2 tablespoons for better structure. For dairy-free needs, use plant-based cream cheese and butter substitutes, though the texture may be slightly different.
Chocolate customization: Play with different chocolate flavors by swapping the cake mix – dark chocolate, German chocolate, or even red velvet create interesting variations. You can also mix up your chip selection with white chocolate, butterscotch, or toffee chips for different flavor combinations.
Fun mix-ins: Enhance the texture by folding chopped peanuts, crushed Oreos, or mini peanut butter cups into the cake batter. For coffee lovers, dissolve 1 tablespoon of espresso powder in your liquid ingredients to intensify the chocolate flavor.
Flavor boosters: Add 1 teaspoon of vanilla extract to the peanut butter mixture for extra depth, or try a dash of cinnamon in the cake batter for a subtle warmth that complements both chocolate and peanut butter beautifully.
Special occasion upgrade: For a more festive presentation, drizzle the cooled cake with 1/4 cup of melted peanut butter mixed with 1 tablespoon of oil, followed by a chocolate ganache made from 1/2 cup chocolate chips melted with 1/4 cup heavy cream.
Make Ahead Options
This Peanut Butter Earthquake Cake is absolutely perfect for meal prep enthusiasts who love having dessert ready when guests arrive! You can prepare the entire cake up to 24 hours in advance —simply bake as directed, let it cool completely, then cover tightly with plastic wrap and store at room temperature. The flavors actually deepen beautifully overnight, creating an even more decadent chocolate-peanut butter experience. For maximum convenience, you can also prepare both the chocolate batter and cream cheese mixture separately up to 4 hours ahead, storing them covered in the refrigerator until ready to assemble and bake. When ready to serve, simply warm individual slices in the microwave for 15-20 seconds to restore that irresistible gooey texture that makes this earthquake cake so beloved.
Serving Suggestions
This Peanut Butter Earthquake Cake is a showstopper that deserves to be highlighted on your table! With its mesmerizing swirls and decadent flavor, here’s how to make serving it an event in itself.
I love serving this cake slightly warm, when the chocolate chips are still a bit melty and the peanut butter swirl is at its creamiest. A 20-second microwave zap works wonders for refrigerated slices to bring back that fresh-from-the- oven magic.
For an impressive dessert presentation, cut generous squares and serve them on dessert plates with a scoop of premium vanilla ice cream right on top – the contrast between warm cake and cold ice cream creates an irresistible texture experience. The ice cream slowly melts into the cake’s crevices, creating a sauce-like effect that enhances the chocolate-peanut butter flavor combination.
For a coffee shop-worthy treat, try serving with a dollop of lightly sweetened whipped cream and a drizzle of warm peanut butter sauce (simply heat 2 tablespoons of peanut butter with 1 tablespoon of cream until pourable). Pair with a strong cup of coffee or cold milk for the ultimate indulgence that cuts through the richness perfectly.
Storage & Freezing
This Peanut Butter Earthquake Cake keeps beautifully, allowing you to enjoy its decadent flavors for days after baking. The combination of moist chocolate cake and creamy peanut butter swirls actually develops deeper flavor notes with time!
Room Temperature Storage: For up to 3 days, store leftover cake in an airtight container or cover the baking pan tightly with plastic wrap. The cake maintains its moisture best at room temperature, keeping that perfect fudgy texture intact.
Refrigeration: For longer storage up to 1 week, refrigerate the cake covered tightly. I recommend bringing refrigerated slices to room temperature for about 15-20 minutes before serving to restore that perfect gooey texture—though some fans actually prefer it cold for a more fudge-like consistency!
Freezing Option: This cake freezes surprisingly well for up to 2 months! Wrap individual portions tightly in plastic wrap then foil, or freeze the entire cake (uncut) for best results. Thaw overnight in the refrigerator , then bring to room temperature before serving. The cream cheese-peanut butter swirl might have a slightly different texture after freezing, but the flavor remains delicious.
Reheating Tip: To recreate that fresh-baked experience, microwave individual slices for 15-20 seconds until just warm—this revives the melty chocolate chips and makes the peanut butter swirl extra luscious. Perfect for serving with a scoop of vanilla ice cream!
Expert Tips
Here’s how to take your Peanut Butter Earthquake Cake from good to absolutely incredible:
- Room temperature matters: Ensure your cream cheese is truly softened before mixing—I leave mine out for at least an hour to prevent those frustrating lumps in your peanut butter swirl.
- Perfect peanut butter consistency: If your peanut butter is too stiff to blend smoothly, microwave it for 15-20 seconds before adding to the cream cheese mixture for easier swirling.
- Strategic layering: I’ve found that sprinkling chocolate chips between layers rather than mixing them in keeps them from sinking to the bottom of your Peanut Butter Earthquake Cake.
- Master the swirl technique: Use a butter knife held vertically when creating swirls—this maintains distinct peanut butter and chocolate sections rather than blending them completely.
- Trust your eyes, not the toothpick: The cream cheese mixture will remain moist even when fully baked, so look for set edges and a slight jiggle in the center instead of relying on the clean toothpick test.
- Cooling creates magic: Allow the cake to cool for at least 30 minutes before serving—this sets the structure while maintaining those gloriously gooey peanut butter pockets.
Recipe FAQs
Can I use natural peanut butter instead of regular? Stick with conventional brands for best texture.
How do I know when the cake is done? Edges set with slight center jiggle.
Can I omit the cream cheese? No—it’s essential for the earthquake effect.
Can I freeze this peanut butter earthquake cake? Yes, wrap tightly for up to 2 months.
What if I don’t have peanut butter chocolate chips? Regular chocolate chips work perfectly fine.
Is this cake better warm or cold? I prefer slightly warm with melty chips.
- 0 Facebook
- 0 Pinterest
- 0 Email
- Copy Link
- 0 shares
The Ultimate Peanut Butter Earthquake Cake for Chocolate Lovers
Ingredients
Instructions
Preheat the oven to 350°F (175°C) and lightly grease a 9×13-inch baking pan with cooking spray or butter.
Prepare the chocolate cake batter by combining the cake mix, eggs, vegetable oil, and water (or milk) in a large mixing bowl. Mix with an electric mixer on medium speed for about 2 minutes until smooth and well combined.
In a separate bowl, beat the softened cream cheese until fluffy, then add melted butter and mix until well incorporated. Gradually add the powdered sugar and mix until smooth—adding it in thirds helps prevent that dreaded sugar dust cloud!
Stir the peanut butter into the cream cheese mixture until fully combined. The mixture should be pourable but thick enough to hold its shape when dolloped.
Pour half of the chocolate cake batter into the prepared baking pan, spreading it evenly with a spatula. Sprinkle half of the chocolate chips over the batter.
Drop spoonfuls of the peanut butter cream cheese mixture randomly over the cake batter. Then pour the remaining cake batter on top, trying to cover most of the cream cheese layer.
Use a butter knife to gently swirl through all layers, creating the ‘earthquake’ effect. Don’t overmix—those distinct swirls are what make this cake so impressive! Top with remaining chocolate chips and the peanut butter chocolate chips if using.
Bake for 35-40 minutes, until the center is almost set but still slightly jiggly. The toothpick test won’t work perfectly here since the cream cheese swirl stays moist, but the edges should be set and pulling away slightly from the pan.
Notes
Room temperature matters: Ensure your cream cheese is truly softened before mixing—I leave mine out for at least an hour to prevent those frustrating lumps in your peanut butter swirl.
Perfect peanut butter consistency: If your peanut butter is too stiff to blend smoothly, microwave it for 15-20 seconds before adding to the cream cheese mixture for easier swirling.
Strategic layering: Sprinkling chocolate chips between layers rather than mixing them in keeps them from sinking to the bottom of your Peanut Butter Earthquake Cake.
Master the swirl technique: Use a butter knife held vertically when creating swirls—this maintains distinct peanut butter and chocolate sections rather than blending them completely.
Trust your eyes, not the toothpick: The cream cheese mixture will remain moist even when fully baked, so look for set edges and a slight jiggle in the center.
Cooling creates magic: Allow the cake to cool for at least 30 minutes before serving—this sets the structure while maintaining those gloriously gooey peanut butter pockets.
Nutrition
| Serving Size | 1 slice |
|---|---|
| Calories | 350 calories |
| Sugar Content | 25g |
| Sodium Content | 200mg |
| Fat Content | 18g |
| Saturated Fat Content | 7g |
| Unsaturated Fat Content | 10g |
| Trans Fat Content | 0g |
| Carbohydrate Content | 45g |
| Fiber Content | 2g |
| Protein Content | 6g |
| Cholesterol Content | 60mg |