- 0 Facebook
- 0 Pinterest
- 0 Email
- Copy Link
- 0 shares
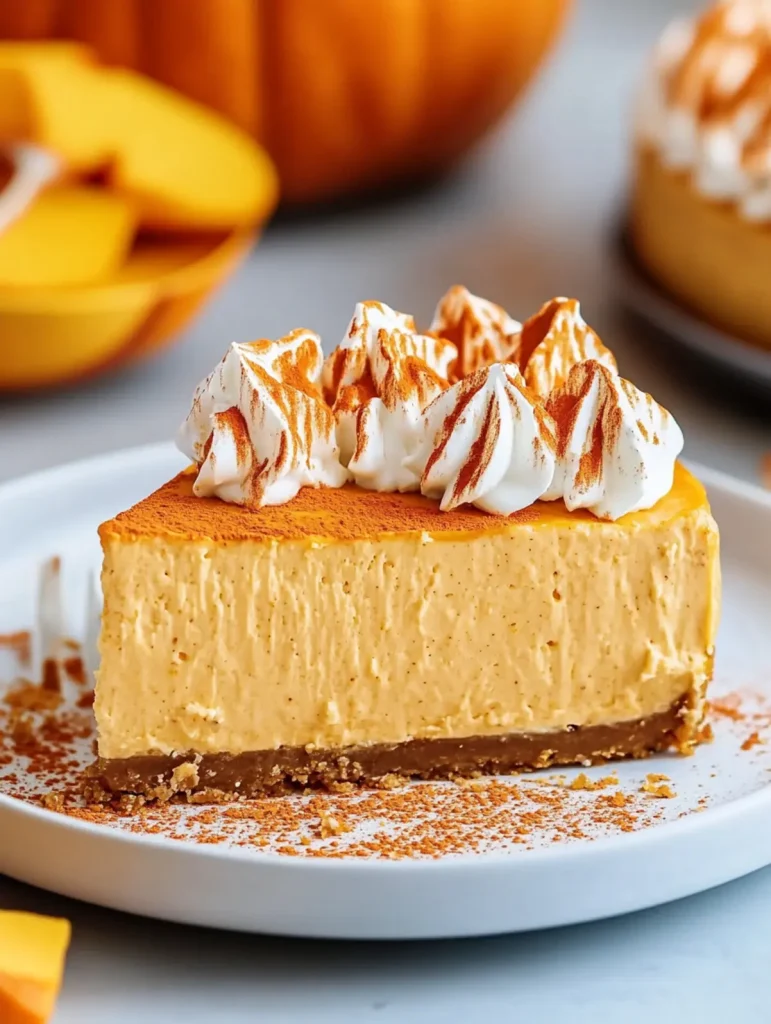
This velvety no-bake pumpkin cheesecake captures autumn’s essence in every perfectly spiced bite. The luxurious combination of cream cheese and pumpkin puree creates a cloud-like texture that melts effortlessly on the tongue, while the Nilla Wafer crust provides just the right amount of sweet crunch. No oven required—just a few simple steps yield a showstopping dessert that tastes like it took hours to create. A drizzle of caramel sauce transforms this already decadent treat into a fall celebration worthy of your most special gatherings.
Why You’ll Love This Recipe
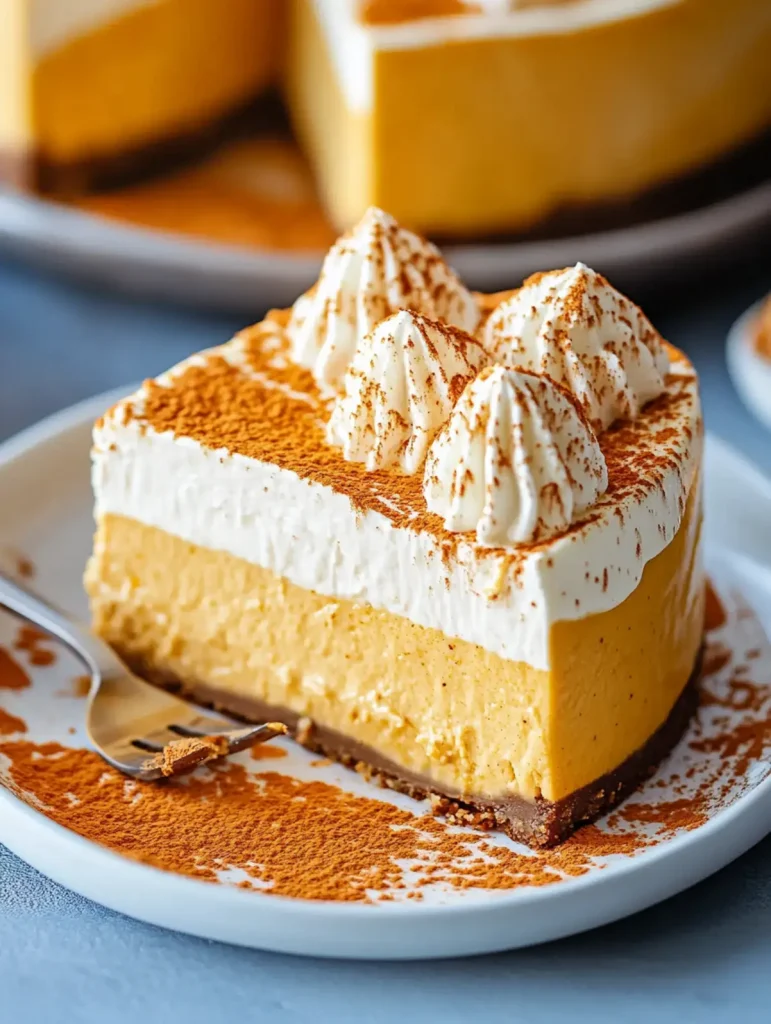
This no-bake pumpkin cheesecake delivers maximum fall flavor with minimum effort—perfect for both special occasions and everyday indulgence.
- Foolproof Elegance : Even novice bakers can create this impressive dessert without worrying about cracked tops or water baths.
- Dreamy Texture : The secret blend of cream cheese, whipped topping, and pumpkin creates a velvety consistency that’s lighter than traditional baked cheesecake.
- Time-Saving Wonder : With just 20 minutes of active preparation, this dessert delivers the taste of hours-long baking without heating up the kitchen.
- Make-Ahead Magic : This cheesecake actually improves after 24 hours in the refrigerator , allowing flavors to meld perfectly for stress-free entertaining.
- Customizable Canvas : The versatile base recipe welcomes personal touches—add crushed gingersnaps to the crust or fold in white chocolate chips for delightful variations.
- Simple Storage : Unlike fussy desserts that decline quickly, this cheesecake maintains its perfect texture for up to five days when properly refrigerated.
Ingredient Breakdown with Tips
The magic of this No-Bake Pumpkin Cheesecake lies in quality ingredients working together to create that perfect fall flavor and silky texture—each component plays a crucial role in the final dessert’s success.
- Nilla Wafers : These vanilla cookies create the perfect sweet foundation with their subtle flavor that complements the pumpkin filling. For a finer, more compact crust, pulse them in a food processor rather than crushing by hand.
- Pumpkin pie spice : This warming spice blend brings the quintessential fall flavor to both crust and filling. Look for fresh spice for maximum potency, or make your own with cinnamon, ginger, nutmeg, and cloves.
- Salted butter : Adds richness to the crust while helping bind the cookie crumbs. Make sure it’s fully melted and slightly cooled before mixing for optimal texture.
- Cream cheese : The backbone of any good cheesecake, providing structure and tangy creaminess. Allow it to reach room temperature for at least 30 minutes before mixing to prevent lumps in your filling.
- Dark brown sugar : Contains more molasses than light brown sugar, adding depth and a subtle caramel note. Pack it firmly when measuring for consistent results.
- Pumpkin puree : Use 100% pure pumpkin (not pie filling) for the best flavor and proper consistency. Brands like Libby’s provide reliable quality, but organic options work well too.
- Vanilla extract : Enhances all the other flavors while adding aromatic sweetness. Pure extract delivers superior flavor compared to imitation varieties.
- Whipped topping : Creates the light, mousse-like texture that makes this cheesecake so special. While Cool Whip is convenient, homemade whipped cream can be substituted for a more traditional approach.
- Caramel sauce (optional): Adds a decadent finishing touch that complements the pumpkin and spices. Store-bought works perfectly, but homemade takes this dessert to another level.
- Additional whipped cream (optional): Provides a beautiful decorative element and creamy contrast to the denseness of the cheesecake. Add a small dollop to each slice just before serving.
Step-by-Step Instructions
- Prepare the crust by placing Nilla Wafers in a food processor and pulsing until you have fine crumbs. Transfer to a mixing bowl and stir in 1/2 teaspoon of pumpkin pie spice and melted butter until the mixture resembles wet sand.
- Press the crust mixture firmly into the bottom of a 9-inch springform pan, using the bottom of a measuring cup to compact it evenly. Place in the refrigerator to chill while preparing the filling.
- Beat the cream cheese in a large bowl using an electric mixer until completely smooth and fluffy, about 2 minutes. I find that scraping down the sides halfway through ensures no lumps remain for that perfect velvet texture.
- Add the brown sugar , pumpkin puree, vanilla extract, and remaining 1 teaspoon of pumpkin pie spice to the cream cheese. Beat on medium speed until everything is well combined and silky smooth.
- Gently fold in 12 ounces (about 3/4) of the whipped topping using a rubber spatula. Work with a light hand in a figure-eight motion to maintain the airy texture that makes this cheesecake so luxurious.
- Spread the filling over the prepared crust, creating a smooth, even surface. Cover with plastic wrap and refrigerate for at least 4 hours, though overnight yields the best flavor and texture.
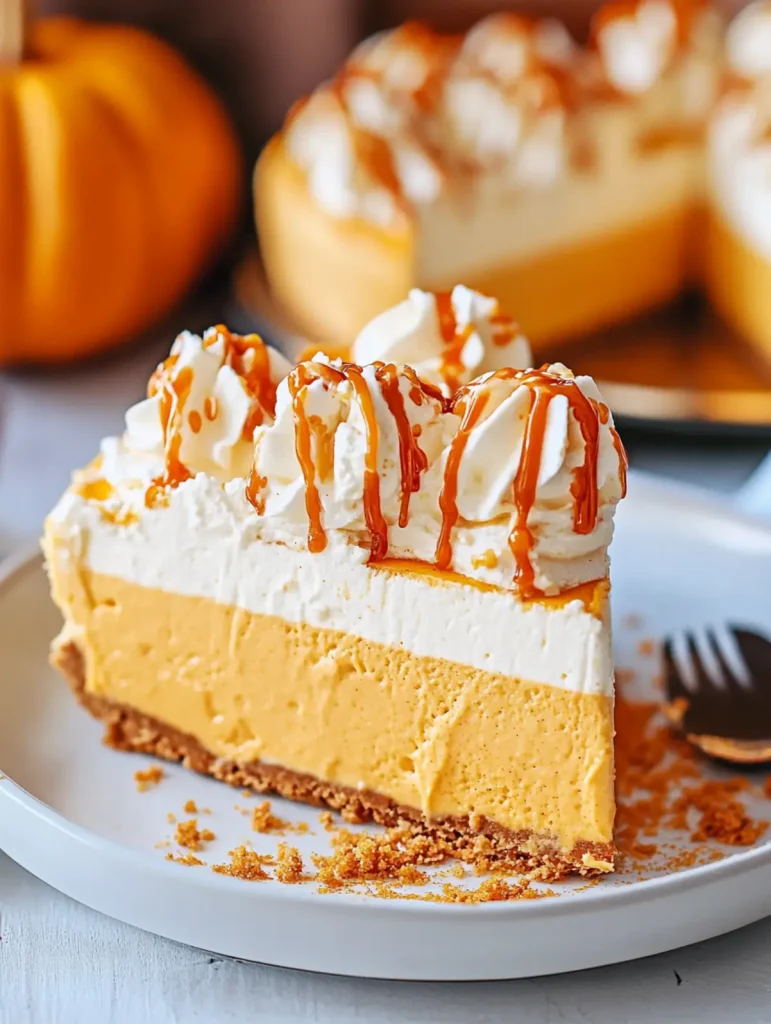
- Before serving , top the cheesecake with the remaining whipped topping, a sprinkle of pumpkin pie spice, and a drizzle of caramel sauce if desired.
Remember to keep the cheesecake refrigerated until ready to serve, and store any leftovers in the refrigerator for up to 5 days—though it’s so delicious, leftovers are rarely a concern!
Make Ahead Options
This No Bake Pumpkin Cheesecake is a busy cook’s dream for stress-free entertaining! You can prepare the entire dessert up to 3 days in advance , storing it covered in the refrigerator where the flavors actually improve over time. The crust can be made and pressed into the pan up to 24 hours ahead, while the filling can be prepared separately and refrigerated overnight before assembly. For optimal presentation, add the final whipped cream topping and caramel drizzle just before serving to maintain that picture-perfect appearance. This make-ahead approach saves precious time on party day while delivering the same velvety, spiced perfection your guests expect.
Storage & Freezing
This no-bake pumpkin cheesecake keeps beautifully in the refrigerator for up to 5 days when stored in an airtight container or covered tightly with plastic wrap. The cookie crust may soften slightly over time, but the flavor actually improves as the spices meld together.
For longer storage, this cheesecake freezes surprisingly well. Simply place the fully set cheesecake (without any whipped topping or caramel garnishes) in the freezer until firm, then wrap tightly in plastic wrap followed by aluminum foil. It will maintain its quality for up to 2 months frozen. I’ve found that slicing the cheesecake before freezing makes it easier to enjoy single portions whenever a craving strikes.
When ready to enjoy frozen cheesecake, thaw overnight in the refrigerator rather than at room temperature. This gradual thawing prevents condensation from making the crust soggy. Add fresh whipped topping and caramel drizzle just before serving for the best presentation and texture contrast.
For special occasions, you can make this cheesecake up to two days in advance—the flavors will continue developing, making your no-bake pumpkin cheesecake even more delicious when it’s time to serve.
Variations & Substitutions
Craving this velvety pumpkin cheesecake but need to adapt it to what’s in your pantry or dietary needs? Here are some delicious ways to make this no-bake wonder your own:
- Crust alternatives : Don’t have Nilla Wafers? Graham crackers, gingersnaps, or even speculoos cookies make fantastic substitutions. I particularly love using gingersnaps for an extra spicy kick that complements the pumpkin beautifully.
- Dairy-free adaptation : Replace the cream cheese with dairy-free cream cheese (like Kite Hill or Tofutti) and use coconut whipped topping instead of traditional Cool Whip for a completely dairy-free version that maintains that luxurious texture.
- Sugar options : Dark brown sugar gives a rich molasses flavor, but light brown sugar works perfectly too. For a less processed option, coconut sugar creates a wonderful caramel note that pairs beautifully with the pumpkin.
- Spice it your way : While pumpkin pie spice is convenient, creating your own blend lets you customize the flavor profile. Try increasing the ginger and adding a pinch of cardamom for a more complex, warming taste experience.
- Make it boozy : For an adults-only version, fold 1-2 tablespoons of bourbon, spiced rum, or amaretto into the filling. The alcohol enhances the vanilla and spice notes while adding sophisticated depth.
- Topping twists : Beyond caramel sauce, try a drizzle of maple syrup, crushed candied pecans, white chocolate shavings, or even a thin layer of apple butter for seasonal variations that make this dessert feel brand new each time you serve it.
Serving Suggestions
This no-bake pumpkin cheesecake is a versatile dessert that shines in any setting, from casual family dinners to elegant holiday gatherings. Its creamy texture and warm spices make it the perfect fall finale to any meal.
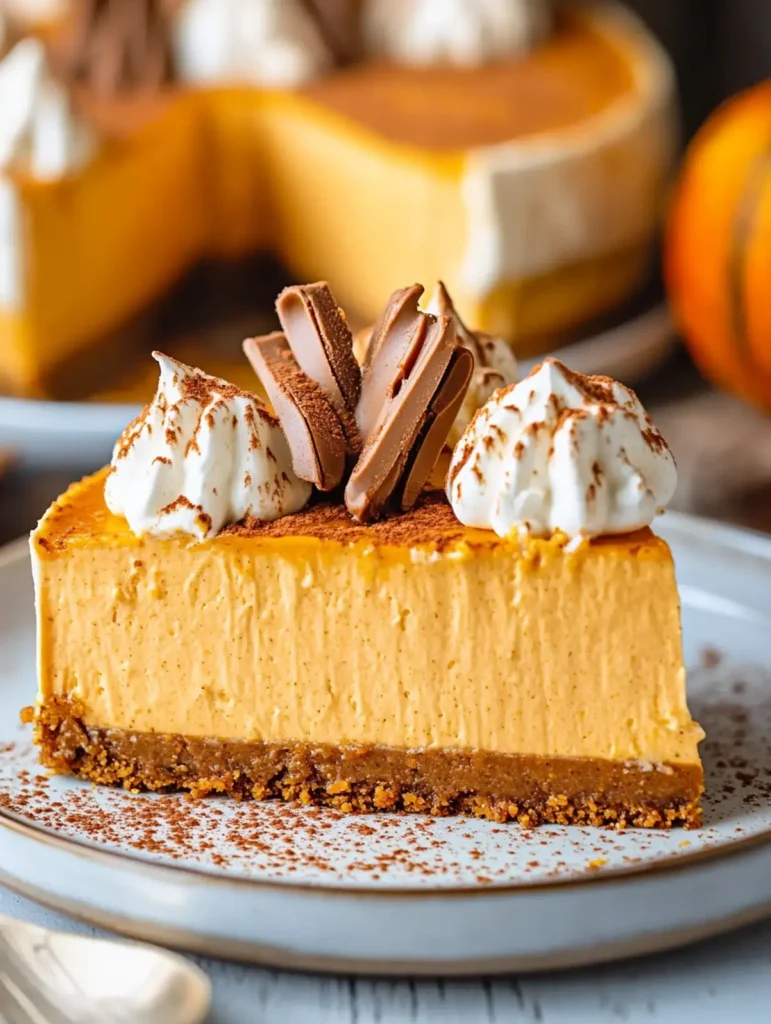
For an impressive presentation, I like to serve individual slices on chilled dessert plates with a light dusting of pumpkin pie spice and a fresh dollop of whipped cream. The contrast between the cool, velvety cheesecake and the warm-colored spice creates a beautiful visual that hints at the flavors to come.
Pair this cheesecake with a hot beverage to create a cozy dessert experience. A spiced chai latte or cinnamon coffee complements the pumpkin and spice notes beautifully, while a glass of dessert wine like Moscato d’Asti offers a lovely contrast to the rich, creamy texture.
For a delightful dessert buffet, place the whole cheesecake on a cake stand surrounded by small bowls of toppings—caramel sauce, crushed Nilla Wafers, chopped toasted pecans, and cinnamon whipped cream allow guests to customize their slice. This interactive serving approach makes this no-bake pumpkin cheesecake the centerpiece of any autumn gathering.
Tips for the Best Velvet Pumpkin Cheesecake: No-Bake Fall Perfection
Here’s how to make sure your no-bake pumpkin cheesecake turns out absolutely perfect every time:
- Room temperature cream cheese : Ensure your cream cheese sits out for at least 30 minutes before mixing. Cold cream cheese creates lumps that are impossible to smooth out once formed.
- Drain your pumpkin : I’ve found that placing the pumpkin puree in a fine-mesh sieve for 30 minutes helps remove excess moisture, preventing a soggy cheesecake texture.
- Perfect crust texture : The Nilla Wafer crust should feel like wet sand when properly combined with butter. If it seems too dry, add an extra tablespoon of melted butter.
- Gentle folding technique : When incorporating the whipped topping, use a rubber spatula and fold with a light hand—overmixing will deflate the air bubbles that create that signature velvet texture.
- Chill thoroughly : While four hours of refrigeration works in a pinch, allowing your no-bake pumpkin cheesecake to set overnight creates a more stable slice and deeper flavor profile.
Recipe FAQs
Can I use graham crackers instead of Nilla Wafers? Yes! Graham crackers make an excellent substitute.
How do I know when cream cheese is properly softened? It should yield easily to gentle finger pressure.
Can I use homemade whipped cream instead of Cool Whip? I prefer stabilized whipped cream—fold in carefully.
Why use pumpkin puree not pumpkin pie filling? Pure pumpkin lets you control sweetness and spices.
How long will this cheesecake stay fresh? Five days refrigerated in an airtight container.
Can I freeze this no-bake pumpkin cheesecake? Yes, freeze without toppings for up to 2 months.
- 0 Facebook
- 0 Pinterest
- 0 Email
- Copy Link
- 0 shares
Velvet Pumpkin Cheesecake: No-Bake Fall Perfection
Ingredients
Instructions
- Prepare the crust
by placing Nilla Wafers in a food processor and pulsing until you have fine crumbs. Transfer to a mixing bowl and stir in 1/2 teaspoon of pumpkin pie spice and melted butter until the mixture resembles wet sand.
- Press the crust mixture
firmly into the bottom of a 9-inch springform pan, using the bottom of a measuring cup to compact it evenly. Place in the refrigerator to chill while preparing the filling.
- Beat the cream cheese
in a large bowl using an electric mixer until completely smooth and fluffy, about 2 minutes. I find that scraping down the sides halfway through ensures no lumps remain for that perfect velvet texture.
- Add the brown sugar
, pumpkin puree, vanilla extract, and remaining 1 teaspoon of pumpkin pie spice to the cream cheese. Beat on medium speed until everything is well combined and silky smooth.
- Gently fold in
12 ounces (about 3/4) of the whipped topping using a rubber spatula. Work with a light hand in a figure-eight motion to maintain the airy texture that makes this cheesecake so luxurious.
- Spread the filling
over the prepared crust, creating a smooth, even surface. Cover with plastic wrap and refrigerate for at least 4 hours, though overnight yields the best flavor and texture.
- Before serving,
top the cheesecake with the remaining whipped topping, a sprinkle of pumpkin pie spice, and a drizzle of caramel sauce if desired.
Notes
Room temperature cream cheese: Ensure your cream cheese sits out for at least 30 minutes before mixing.
Drain your pumpkin: Place the pumpkin puree in a fine-mesh sieve for 30 minutes to remove excess moisture.
Perfect crust texture: The Nilla Wafer crust should feel like wet sand when combined with butter.
Gentle folding technique: Use a rubber spatula and fold with a light hand when incorporating the whipped topping.
Chill thoroughly: Allow your cheesecake to set overnight for a more stable slice and deeper flavor profile.
Nutrition
| Serving Size | 1 slice |
|---|---|
| Calories | 320 calories |
| Sugar Content | 22g |
| Sodium Content | 150mg |
| Fat Content | 19g |
| Saturated Fat Content | 10g |
| Unsaturated Fat Content | 8g |
| Trans Fat Content | 0g |
| Carbohydrate Content | 34g |
| Fiber Content | 1g |
| Protein Content | 4g |
| Cholesterol Content | 40mg |