- 0 Facebook
- 11 Pinterest
- 0 Email
- Copy Link
- 11 shares
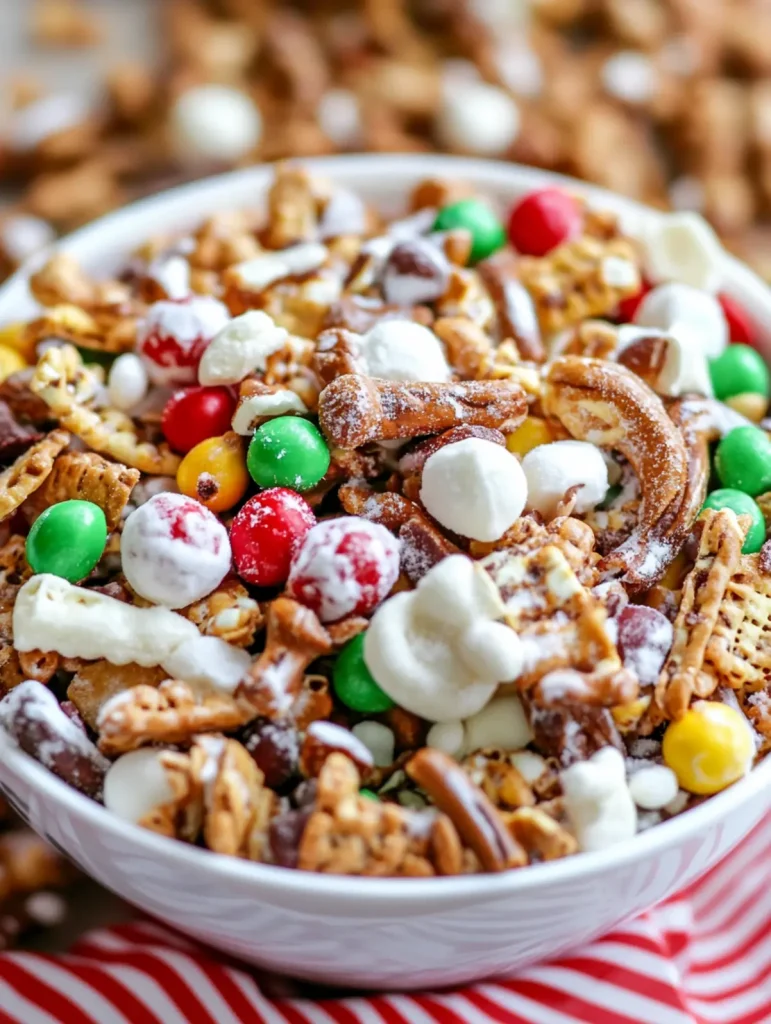
This crunchy-sweet Snow Day Snack Mix transforms everyday ingredients into an irresistible treat that’s impossible to stop munching. White candy coating wraps fluffy popcorn in a creamy hug while colorful M&M’S, playful sprinkles, and pillowy marshmallows create a carnival of flavors in every handful. The contrasting textures—from airy popcorn to snappy pretzels—make this no-bake creation the perfect companion for movie marathons during those chilly winter afternoons. Just fifteen minutes of prep yields a generous batch that’s sure to brighten even the gloomiest snow day.
Why It’s a Trusted Favorite
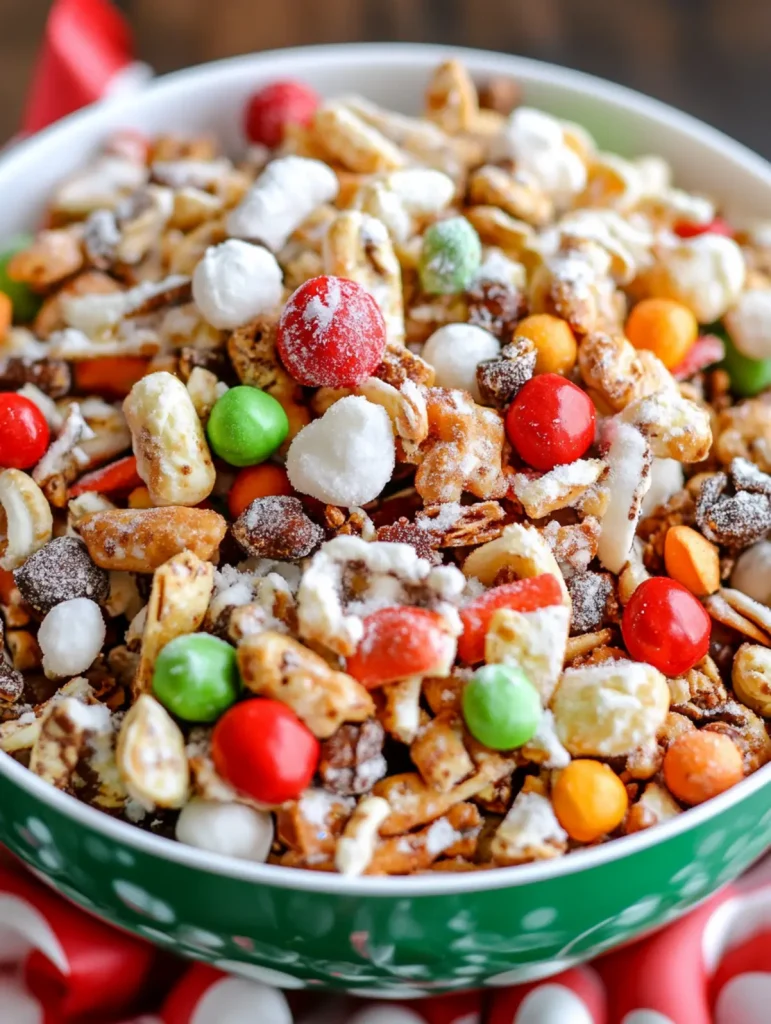
This Snow Day Snack Mix has become a wintertime staple for good reason, delivering both crowd-pleasing flavor and impressive simplicity that even novice cooks can master.
- Perfect Sweet-Salty Balance : The combination of salty pretzels and popcorn against sweet candy coating creates that addictive flavor contrast that keeps everyone reaching for another handful.
- No Oven Required : This entirely no-bake recipe means you can make it even during power outages on stormy days, using just a microwave or stovetop to melt the candy coating.
- Customization Champion : The basic formula works beautifully with whatever you have in your pantry—substitute different candies, add nuts, or switch to dark chocolate coating depending on preferences.
- Kid-Friendly Project : Little helpers can safely assist with mixing and sprinkling, making this a perfect family activity when everyone’s stuck indoors during a snow day.
- Impressive Presentation : The colorful medley of ingredients creates a visually striking snack that looks far more complicated than it actually is—perfect for impromptu gatherings or gifting in decorative containers.
Ingredient Notes
Each component in this Snow Day Snack Mix plays a crucial role in creating that perfect balance of textures and flavors that makes this treat so addictive. Here’s what makes each ingredient special and how to get the best results:
- Popcorn (12 cups popped) : The light, airy base that carries all the other flavors. Use freshly popped plain popcorn (air-popped or minimal oil) rather than pre-flavored varieties for the best coating adhesion. Be sure to remove any unpopped kernels before mixing.
- White candy coating (16 oz) : Creates the sweet, binding layer that holds everything together. Candiquik or quality white chocolate melting wafers work best as they melt smoothly without additives. For easier handling, chop block-style coating into smaller pieces before melting.
- Miniature pretzels (3 cups) : Provides the essential salty crunch that balances the sweetness. The small twist or stick varieties work best as they’re easy to eat in a mixed snack. For extra freshness, open the pretzel bag just before using.
- M&M’S (10 oz) : Adds pops of chocolate flavor and vibrant color throughout the mix. The candy shell prevents melting when added to the slightly warm mixture. Consider seasonal color varieties to match winter themes or holidays.
- Sprinkles (½ cup) : Contributes festive visual appeal and tiny bursts of texture. Jimmies (the rod-shaped sprinkles) hold up better in this mix than nonpareils, which tend to bleed color when in contact with residual warmth.
- Miniature marshmallows (10 oz) : Delivers soft, pillowy texture that contrasts beautifully with the crunchy elements. Add these last when the mixture has cooled slightly to prevent excessive melting. The mini size distributes more evenly throughout the Snow Day Snack Mix than standard marshmallows.
How to Make Cozy Snow Day Snack Mix: Irresistibly Sweet & Crunchy Treat
- Prepare your workspace by lining a large baking sheet with parchment paper and setting aside a large mixing bowl for combining ingredients. Make sure your popcorn is free of any unpopped kernels.
- Melt the white candy coating in a medium microwave-safe bowl in 30-second intervals, stirring between each interval until completely smooth. I’ve found this typically takes about 2 minutes total, but watch carefully as white chocolate can scorch easily.
- Place the popped popcorn in your large mixing bowl and pour about half of the melted candy coating over it. Gently fold with a rubber spatula until the popcorn is evenly coated, then add the remaining coating and continue folding.
- Add the miniature pretzels to the coated popcorn while the mixture is still slightly warm. Stir gently but thoroughly to incorporate them without breaking too many pretzels.
- Allow the mixture to cool for about 2 minutes, then fold in the M&M’S. This slight cooling prevents the candy shells from melting or streaking when they hit the warm coating.
- Quickly sprinkle the colorful sprinkles over the entire mixture and fold them in. The residual warmth will help them adhere to the coated popcorn and pretzels.
- Finally, add the miniature marshmallows and give everything one last gentle toss to distribute evenly throughout the mix. The coating should be cool enough now that the marshmallows won’t melt.
- Spread the completed Snow Day Snack Mix evenly across the prepared baking sheet. Allow it to cool completely at room temperature for about 30 minutes until the coating has set and the mix breaks apart easily.
Serving Suggestions
This Snow Day Snack Mix is as versatile as it is delicious – perfect for cozying up on those chilly winter afternoons when the snow is falling outside your window.
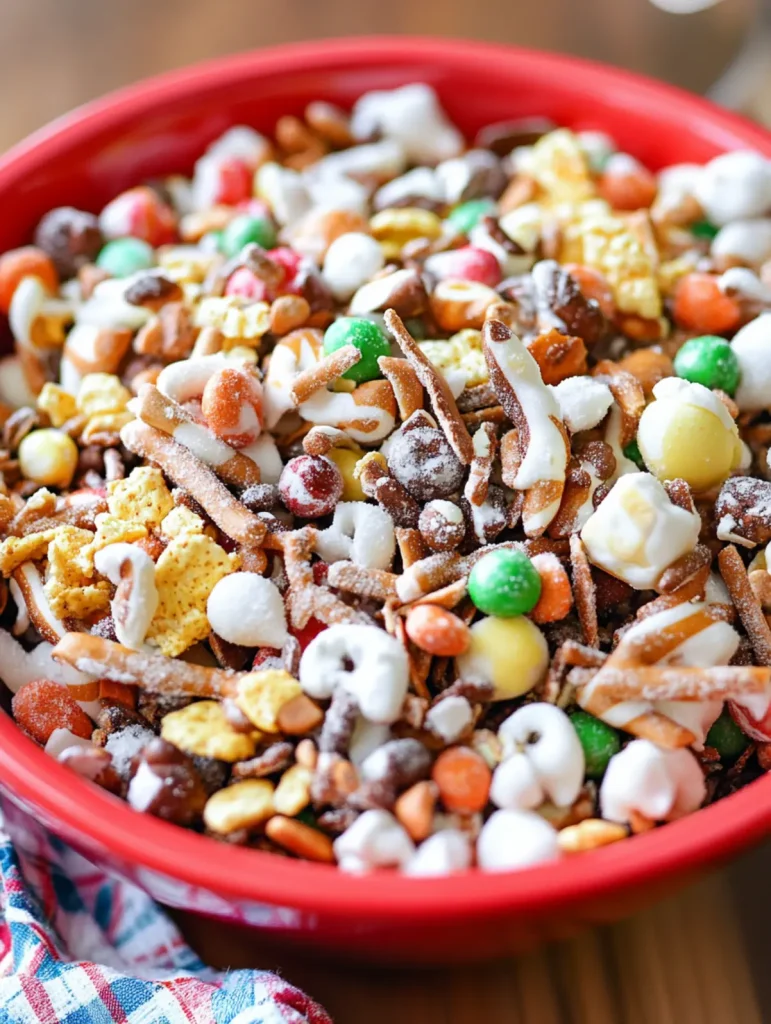
I love serving this colorful treat in oversized mugs for movie marathons – there’s something delightfully nostalgic about cupping a warm mug filled with sweet-salty goodness while watching your favorite films. For gatherings, try arranging the mix in clear glass jars or decorative bowls to showcase the vibrant colors of the M&M’S, sprinkles, and marshmallows against the white-coated popcorn.
For a complete snow day experience, pair this snack mix with steaming mugs of hot chocolate topped with extra mini marshmallows. The warm chocolate beverage complements the sweet candy coating perfectly, creating the ultimate comfort food duo. If you’re hosting a winter get-together, set up a Snow Day Snack Bar with the mix as your centerpiece, surrounded by thermoses of hot chocolate, apple cider, and perhaps a bowl of extra M&M’S for selective snackers.
For a fun gifting option, portion the Snow Day Snack Mix into cellophane bags tied with blue and white ribbons, or pack it into decorative tins with snowflake designs. I’ve found these homemade treats make wonderfully thoughtful presents for neighbors, teachers, or anyone who could use a bit of snowy day cheer regardless of the actual weather outside.
Storage & Freezing
This Snow Day Snack Mix stores beautifully at room temperature in an airtight container for up to 2 weeks, though I’ve rarely seen it last more than a few days in my household! The key is ensuring it’s completely cooled before storing to prevent the marshmallows from becoming sticky.
For longer storage, portion the snack mix into freezer-safe zip-top bags, pressing out excess air before sealing. The mix freezes well for up to 3 months, with the white candy coating providing excellent protection for the popcorn and pretzels. I like to keep a batch in the freezer for unexpected snow days or last-minute guests.
The marshmallows may change slightly in texture after freezing, becoming a bit chewier, but many people actually prefer this subtle transformation. When ready to enjoy, simply remove from the freezer and let the mix sit at room temperature for about 30 minutes before serving—no reheating necessary!
Variations & Substitutions
The beauty of this Snow Day Snack Mix is how easily you can adapt it to what you have on hand or to suit different taste preferences. Don’t let a missing ingredient stop you from enjoying this cozy treat!
- Chocolate lovers’ twist: Replace the white candy coating with milk, dark, or semi-sweet chocolate for a more decadent flavor profile. I sometimes use half white and half milk chocolate coating for the best of both worlds.
- Nut addition: Fold in 1-2 cups of lightly salted peanuts, cashews, or almonds after the coating step for added protein and crunch. This transforms the mix into a more substantial snack with wonderful textural contrast.
- Dietary adaptations: Use dairy-free candy melts and vegan marshmallows to create a plant-based version. For gluten-free needs, simply substitute the pretzels with gluten-free pretzels or rice cereal squares.
- Flavor boost: Add 1/2 teaspoon of extract to the melted candy coating—vanilla works beautifully with the white coating, while peppermint creates a wonderful holiday variation when paired with crushed candy canes instead of some sprinkles.
- Sweet swap options: No M&M’s? Try Reese’s Pieces, mini chocolate chips, or any small candy with a shell that won’t immediately melt. The key is maintaining that burst of chocolate flavor and color throughout the mix.
- Seasonal celebrations: Customize your mix for different holidays by choosing themed sprinkles and coordinating M&M’s colors—red and green for Christmas, pastels for Easter, or orange and black for Halloween. This simple change transforms the basic recipe into a year-round treat!
Make Ahead Options
This Snow Day Snack Mix is a meal prep superstar that actually gets better with time! You can make the entire batch up to 5 days in advance and store it in an airtight container at room temperature, where the flavors meld beautifully together. For maximum freshness during busy weeks, prepare all your dry ingredients (popcorn, pretzels, M&M’S) and store them separately in containers, then melt the candy coating and assemble everything in just 10 minutes when you’re ready to serve. The coating sets completely within 30 minutes, so you can even make this Snow Day Snack Mix the morning of a gathering and have it ready by afternoon—perfect for those unexpected snow day celebrations when you need a crowd-pleasing treat without the stress.
Expert Tips
These proven techniques will help you create the perfect Snow Day Snack Mix every time:
- Perfect popcorn preparation : Remove every unpopped kernel before mixing—they’re the number one culprit for unexpected dental disasters when enjoying your sweet treat!
- Master the melting : I’ve found adding a teaspoon of coconut oil to the white candy coating helps it melt more smoothly and coat the popcorn more evenly without clumping.
- Create cooling zones : Work with two bowls—one for the initial candy-coated popcorn mixture and another for adding the M&M’s and marshmallows—to better control temperature and prevent unwanted melting.
- Break it right : After cooling, break your Snow Day Snack Mix into bite-sized clusters rather than individual pieces—those perfect little sweet-salty chunks deliver the ideal balance of all ingredients in each bite.
- Seasonal switch-ups : Customize your mix for different occasions by changing sprinkle colors or using seasonal M&M’s varieties while keeping the same reliable coating technique.
Recipe FAQs
Can I use microwave popcorn instead of air-popped? Yes, just choose plain unsalted varieties.
Why did my white coating seize up? Water causes seizing – keep all tools dry.
How long does this snack mix stay fresh? Up to two weeks in airtight containers.
Can I substitute dark chocolate for white coating? Absolutely! It creates a delicious variant.
How do I prevent the marshmallows from melting? Add them last when mixture has cooled.
Can I make this without sprinkles? Yes, they’re decorative but not essential.
- 0 Facebook
- 11 Pinterest
- 0 Email
- Copy Link
- 11 shares
Cozy Snow Day Snack Mix: Irresistibly Sweet & Crunchy Treat
Ingredients
Instructions
Prepare your workspace by lining a large baking sheet with parchment paper and setting aside a large mixing bowl for combining ingredients. Make sure your popcorn is free of any unpopped kernels.
Melt the white candy coating in a medium microwave-safe bowl in 30-second intervals, stirring between each interval until completely smooth. I’ve found this typically takes about 2 minutes total, but watch carefully as white chocolate can scorch easily.
Place the popped popcorn in your large mixing bowl and pour about half of the melted candy coating over it. Gently fold with a rubber spatula until the popcorn is evenly coated, then add the remaining coating and continue folding.
Add the miniature pretzels to the coated popcorn while the mixture is still slightly warm. Stir gently but thoroughly to incorporate them without breaking too many pretzels.
Allow the mixture to cool for about 2 minutes, then fold in the M&M’S. This slight cooling prevents the candy shells from melting or streaking when they hit the warm coating.
Quickly sprinkle the colorful sprinkles over the entire mixture and fold them in. The residual warmth will help them adhere to the coated popcorn and pretzels.
Finally, add the miniature marshmallows and give everything one last gentle toss to distribute evenly throughout the mix. The coating should be cool enough now that the marshmallows won’t melt.
Spread the completed Snow Day Snack Mix evenly across the prepared baking sheet. Allow it to cool completely at room temperature for about 30 minutes until the coating has set and the mix breaks apart easily.
Notes
Perfect popcorn preparation : Remove every unpopped kernel before mixing—they’re the number one culprit for unexpected dental disasters when enjoying your sweet treat!
Master the melting : I’ve found adding a teaspoon of coconut oil to the white candy coating helps it melt more smoothly and coat the popcorn more evenly without clumping.
Create cooling zones : Work with two bowls—one for the initial candy-coated popcorn mixture and another for adding the M&M’s and marshmallows—to better control temperature and prevent unwanted melting.
Break it right : After cooling, break your Snow Day Snack Mix into bite-sized clusters rather than individual pieces—those perfect little sweet-salty chunks deliver the ideal balance of all ingredients in each bite.
Seasonal switch-ups : Customize your mix for different occasions by changing sprinkle colors or using seasonal M&M’s varieties while keeping the same reliable coating technique.
Nutrition
| Serving Size | 1 cup |
|---|---|
| Calories | 250 calories |
| Sugar Content | 30g |
| Sodium Content | 250mg |
| Fat Content | 10g |
| Saturated Fat Content | 6g |
| Unsaturated Fat Content | 3g |
| Trans Fat Content | 0g |
| Carbohydrate Content | 37g |
| Fiber Content | 2g |
| Protein Content | 2g |
| Cholesterol Content | 0mg |