- 0 Facebook
- 3 Pinterest
- 0 Email
- Copy Link
- 3 shares
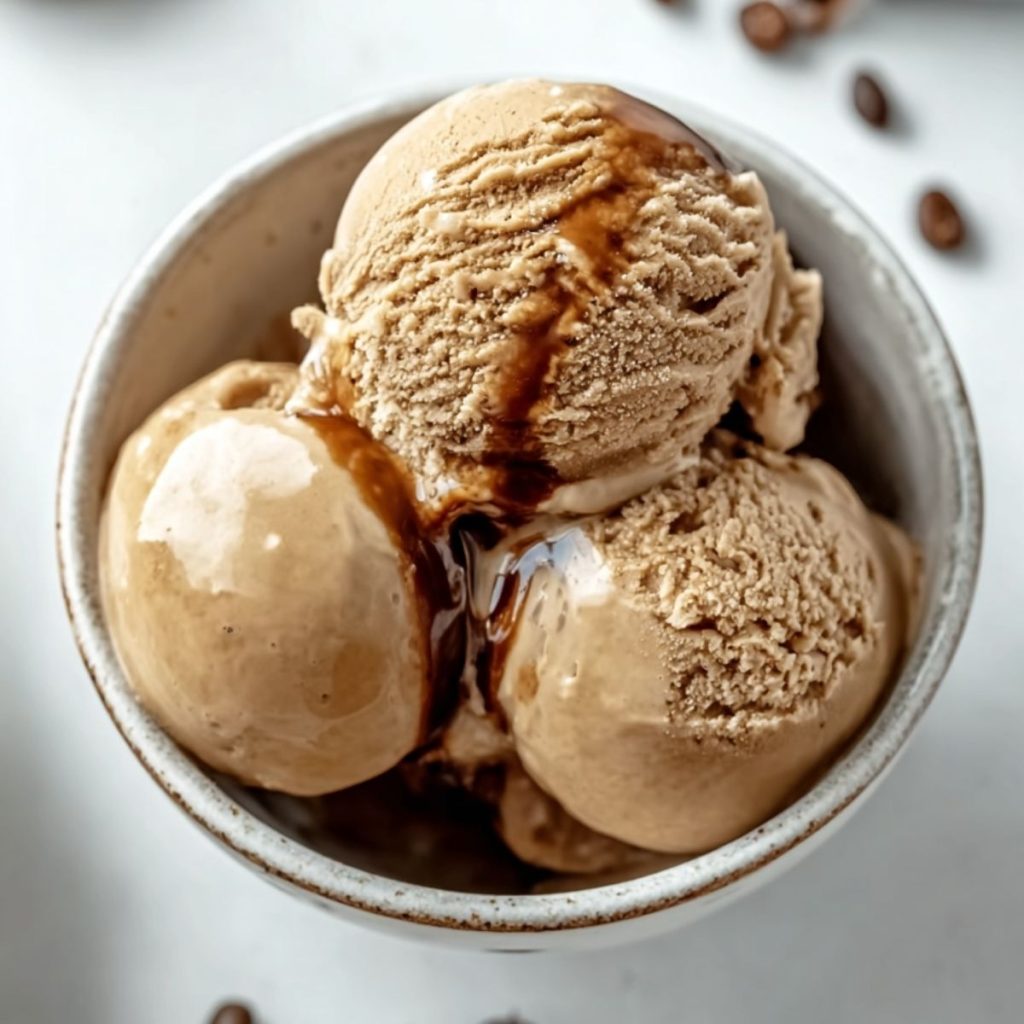
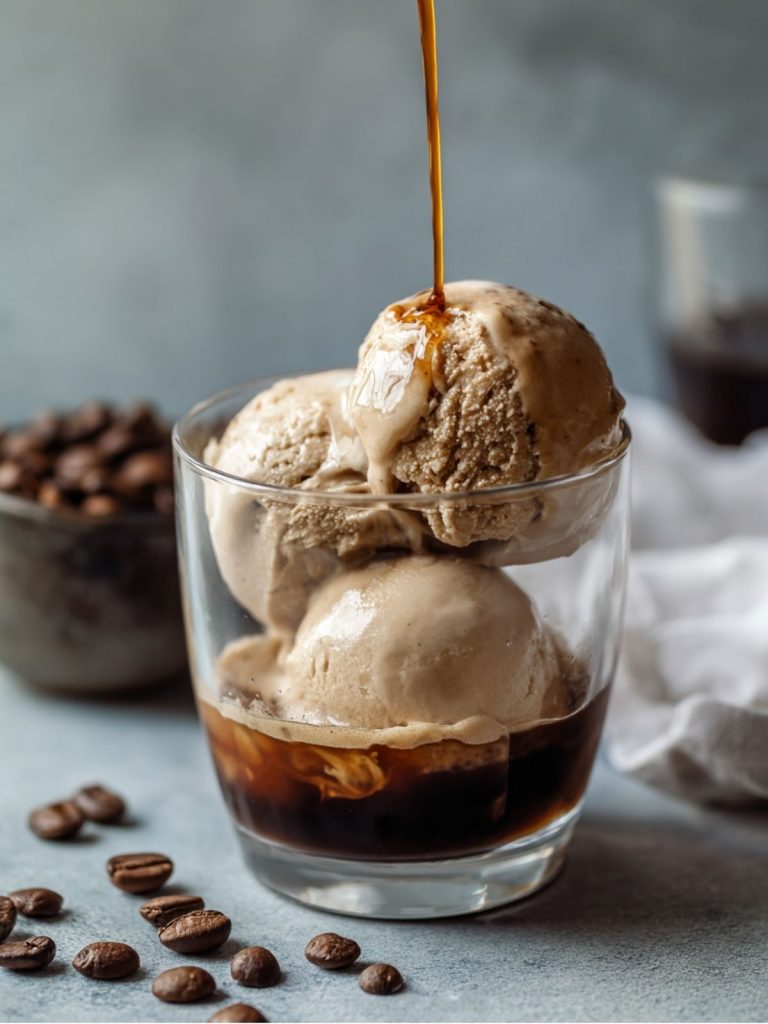
I fell in love with this easy-to-make Cold Brew Coffee and Coconut Milk Ice Cream for its creamy texture and unique blend of robust coffee and smooth coconut flavors. It’s a delightful treat that’s simple to prepare with just a few wholesome ingredients.
My first encounter with Cold Brew Coffee and Coconut Milk Ice Cream was during a visit to a quaint local café, known for its innovative fusion recipes. Inspired, I set out to recreate that experience at home, mixing my passion for rich coffee and creamy, tropical flavors. The result was a happy accident, turning into a personal favorite that combines the bold taste of cold brew with the soothing creaminess of coconut milk.
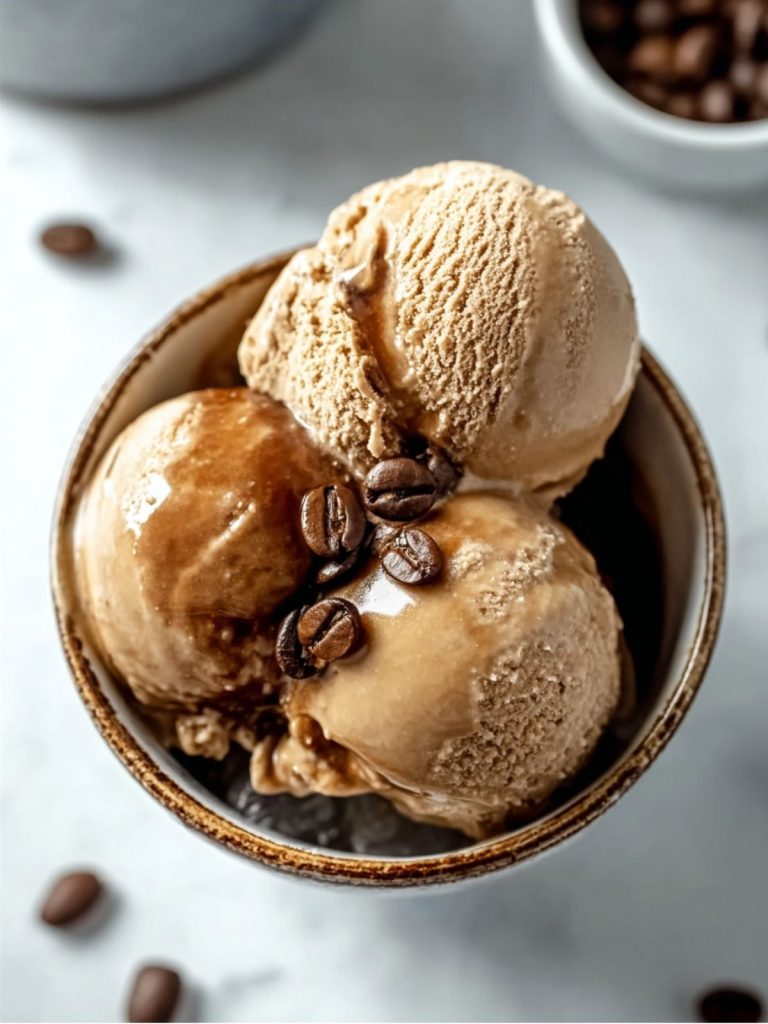
This recipe holds a special place in my culinary heart because of its simplicity and cost-effectiveness. Handmade without an ice cream maker, it caters to anyone willing to try their hand at something a bit out-of-the-box while still being accessible. Perfect for cutting through a hot day or impressing guests with a unique, tasty treat!
Why You’ll Love Cold Brew Coffee and Coconut Milk Ice Cream?
In crafting this ice cream, I drew from both classic recipes and modern techniques to ensure every scoop resonates with flavor and delivers enjoyable moments. Here’s why you’ll find it irresistible:
- Simple Ingredients: With the magic of just coffee, coconut milk, and a touch of sweetness, you’ll find it incredibly easy to make.
- Rich, Full-Bodied Flavor: The fusion of cold brew and coconut creates a robust yet smooth taste, offering a refreshing twist on traditional ice creams.
- Consistency and Texture: Expertly blended to deliver a creamy texture without fuss, even without specialized equipment.
- Customizable for All: Adjust it to suit your dietary preferences, making it a perfect dessert for everyone at your table.
- Quick Experience: Save time with minimal preparation while still creating a gourmet dessert that dazzles.
This recipe doesn’t just promise taste; it ensures an experience that’s easy to replicate, regardless of culinary skill level.
Ingredients Notes
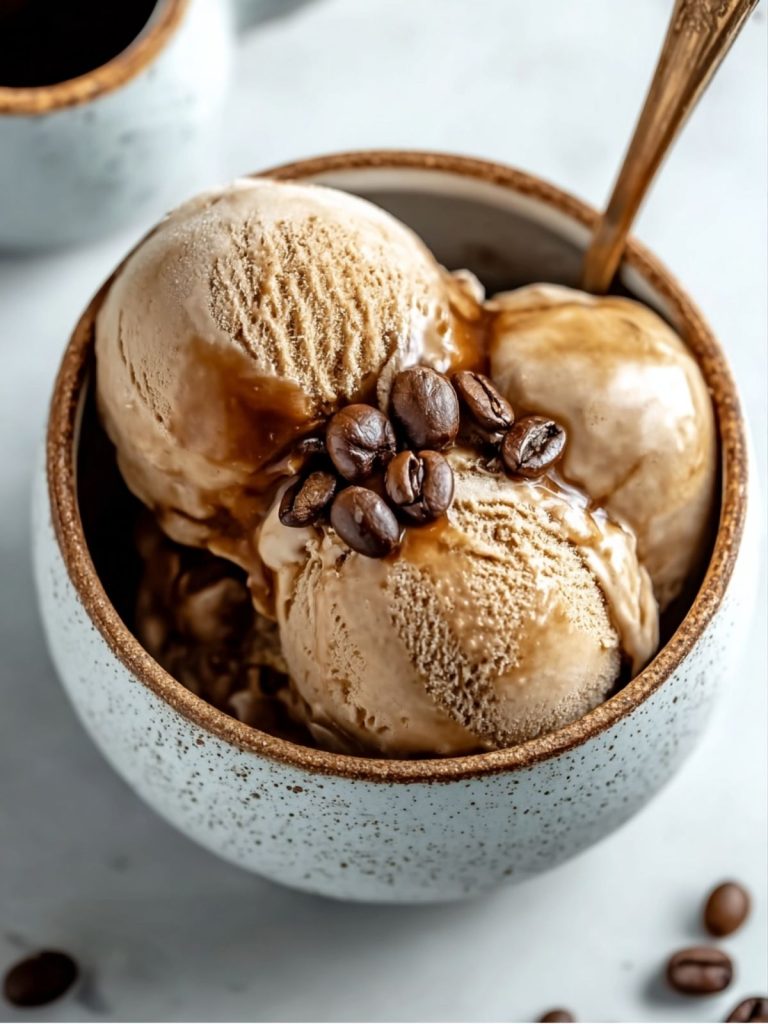
- Coconut milk: I use full-fat coconut milk for its creamy texture and natural sweetness, which creates a rich, velvety base and layers beautifully with coffee and vanilla.
- Cold brew coffee: Cold brew brings smooth, low-acid coffee flavor; I prefer homemade for control over strength, ensuring it enhances without overpowering the coconut.
- Coconut sugar: I love its deep, caramel-like flavor that blends seamlessly into warm liquids, adding complexity and a natural sweetness without being overly sugary.
- Vanilla extract: Pure vanilla rounds out the flavors with warmth and aroma; it subtly enhances both the coconut and coffee without stealing the spotlight.
How to Make Cold Brew Coffee and Coconut Milk Ice Cream?
- Gather Your Ingredients: Ensure you have 2 cups of coconut milk, 1/2 cup of homemade cold brew coffee, 1/3 cup of coconut sugar, and 1 teaspoon of pure vanilla extract ready. Proper preparation ensures a smooth process.
- Create Your Base: In a medium saucepan, combine the coconut milk and coconut sugar over medium heat. Stir gently until the sugar is fully dissolved. The sugar will impart a rich caramel hue while enhancing the natural sweetness of the coconut milk.
- Add Coffee and Vanilla: Remove the saucepan from heat and slowly stir in the cold brew coffee and vanilla extract. This combination should release a warm, inviting aroma while forming a harmonious blend that highlights both the tropical richness of coconut and the robust notes of coffee.
- Chill the Mixture: Transfer your mixture into a bowl, then refrigerate for at least 2 hours until thoroughly chilled. Chilling is crucial for achieving a smooth and creamy consistency without ice crystals.
- Churn the Ice Cream: Pour the chilled mixture into an ice cream maker and churn according to the manufacturer’s instructions. This step gives the ice cream its airy, whipped texture, ensuring each bite is delightfully smooth.
- Freeze to Set: Once churned, transfer the soft ice cream into a freezer-safe container. Seal it tightly and freeze for at least 4 hours or until firm. The final texture should be velvety and scoopable, with a balanced flavor profile that delights the senses.
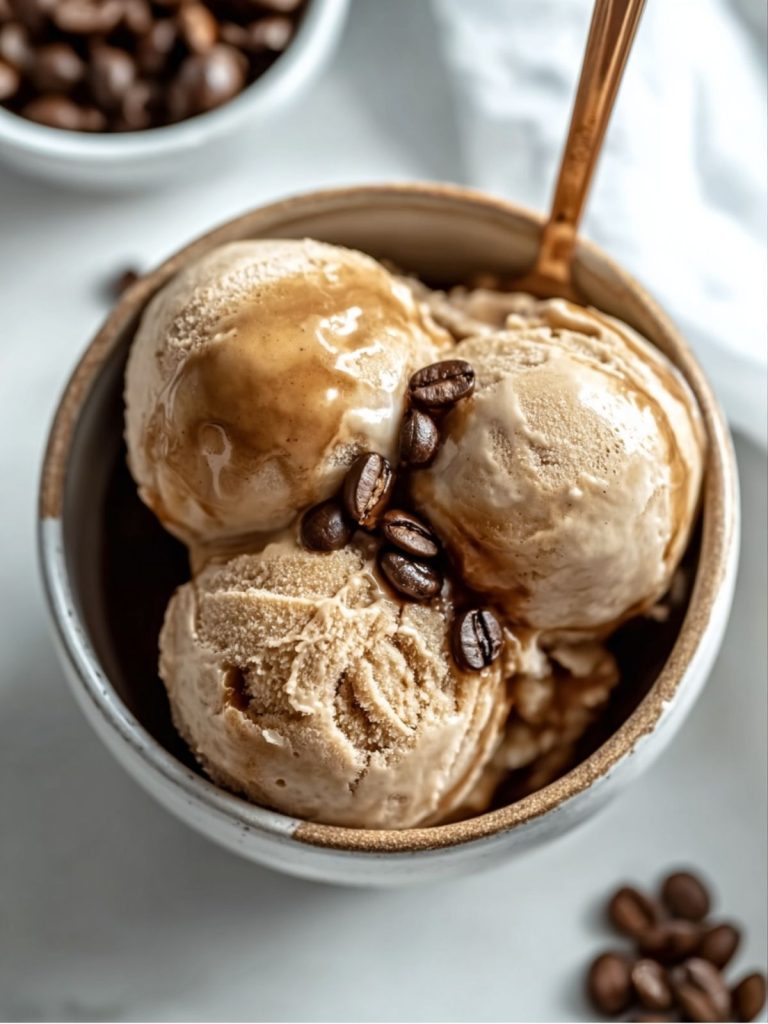
- Serve and Enjoy: Scoop out your homemade ice cream, savoring its creamy texture and complex flavors. Present it with your favorite toppings, or enjoy it simply as it is!
Expert Cooking Tips
- I grind coffee beans just before brewing to maximize flavor freshness.
- Use full-fat coconut milk for a creamier texture; shake well before opening.
- Churn the ice cream mixture for at least 20 minutes for optimal consistency.
- Chill your mixing bowl in the freezer for 15 minutes before use to speed up the freezing process.
- Add a pinch of salt to enhance the flavors without overpowering the sweetness.
- Filter your cold brew to ensure there are no coffee grounds in the final product.
- Freeze leftover coffee in ice cubes for blending into the mixture later.
Storage Tips
- Store ice cream in an airtight container to prevent freezer burn.
- Place a layer of plastic wrap against the surface to maintain freshness.
- Keep away from strong odors in the freezer by storing separately.
- Refrigerate any unused coconut milk in a sealed container for up to 5 days.
- Allow ice cream to soften at room temperature for 5-10 minutes before serving.
- For longer storage, double-wrap with additional plastic wrap inside the container.
- To reheat cold brew for other recipes, simmer gently without boiling.
- For safety, discard ice cream if it appears freezer burned or soupy.
Variations and Substitutions
- For a nuttier taste, add toasted almond shavings before churning.
- Replace coconut milk with almond milk for a lighter version.
- Add dark chocolate chips for a mocha flavor twist.
- Use lactose-free coconut milk to make it dairy-free for sensitive stomachs.
- Infuse with fresh mint leaves for a refreshing variation.
- Experiment with flavored cold brews like vanilla or caramel for a unique spin.
- Add fruit purees, like strawberry or mango, for a fruity touch.
- Opt for agave or maple syrup instead of sugar for a different sweetness profile.
What to Serve with Cold Brew Coffee and Coconut Milk Ice Cream?
- Almond Biscotti: Provides a crunchy texture that contrasts beautifully with the creamy ice cream for an elevated indulgence.
- Fresh Berry Salad: A mix of strawberries, blueberries, and mint for a fresh, tangy balance that enhances creamy flavors.
- Coconut Rice: Slightly sweet and sticky, it complements the flavor profile, tying together tropical notes with comforting starch.
- Dark Chocolate Shavings: Adds richness and a touch of bitterness to contrast and highlight the ice cream’s sweetness.
- Caramelized Pineapple: Warm, juicy, and slightly charred, it melds with coconut notes for a harmonious tropical treat.
- Toasted Walnuts: Offers a nutty crunch and earthiness that underscores the ice cream’s natural coconut flavors.
- Espresso Shot: Enhances the coffee element within the ice cream, intensifying the flavor experience with a bold finish.
FAQ
Use full-fat coconut milk and churn well to achieve creaminess.
Yes, tweak the sugar or maple syrup to taste before freezing.
Add espresso powder or a coffee liqueur for deeper coffee notes.
Transfer to airtight containers to minimize air exposure and maintain texture.
- 0 Facebook
- 3 Pinterest
- 0 Email
- Copy Link
- 3 shares
Cold Brew Coffee and Coconut Milk Ice Cream
Ingredients
Instructions
Gather Your Ingredients: I always make sure to start with 2 cups of coconut milk, 1/2 cup of homemade cold brew coffee, 1/3 cup of coconut sugar, and 1 teaspoon of pure vanilla extract. Having everything ready streamlines the process and prevents any unwanted surprises mid-recipe.
Create Your Base: In a medium saucepan, I combine the coconut milk and coconut sugar over medium heat. I stir continuously until the sugar is completely dissolved—this not only deepens the flavor but also gives the mixture a warm, golden tone that adds depth to the final ice cream.
Add Coffee and Vanilla: Once off the heat, I slowly incorporate the cold brew coffee and vanilla extract. This moment always releases an irresistible aroma—sweet, nutty, and slightly bitter—which is the perfect fusion of bold coffee and creamy coconut.
Chill the Mixture: I pour the mixture into a bowl and refrigerate it for at least 2 hours. From experience, proper chilling is key—it helps the ice cream churn better and prevents unpleasant ice crystals from forming.
Churn the Ice Cream: After chilling, I transfer the mixture into my ice cream maker and churn it according to the manufacturer’s instructions. This is where the texture transforms, becoming light, whipped, and beautifully creamy.
Freeze to Set: I scoop the churned ice cream into a freezer-safe container, smooth the top, and seal it tightly. Freezing for at least 4 hours ensures it sets to the perfect scoopable consistency without sacrificing creaminess.
Serve and Enjoy: Once firm, I scoop and serve the ice cream just as it is or with a touch of toasted coconut or dark chocolate. It’s rich, silky, and layered with flavor—a true reward for the effort.