- 0 Facebook
- 9 Pinterest
- 0 Email
- Copy Link
- 9 shares
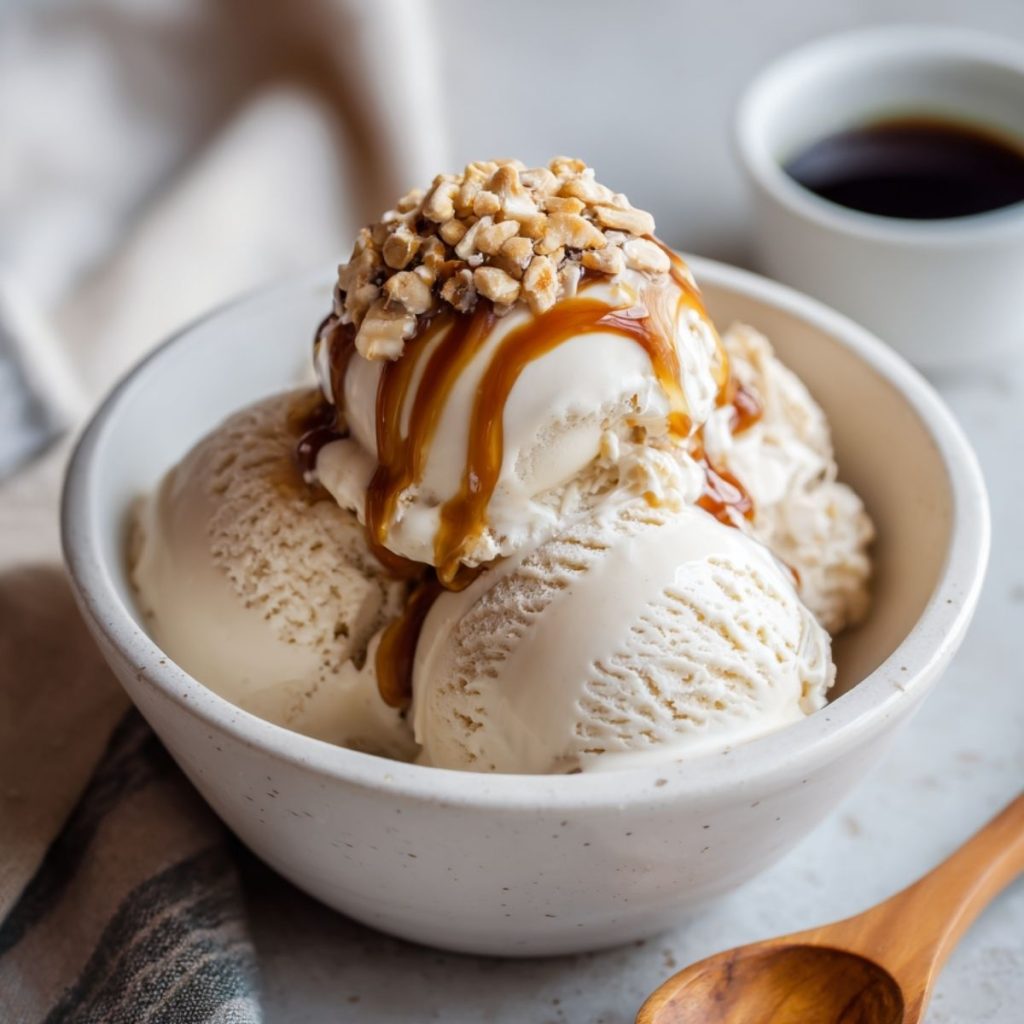
I’ve found that oat milk ice cream is not only easy to whip up but also packed with delicious, creamy flavors that highlight its simple ingredients like oat milk and natural sweeteners.
I first stumbled upon oat milk ice cream on a sunny afternoon at a quaint local farmers market. The discovery felt like striking gold — here was a guilt-free indulgence that tasted incredibly divine. Inspired by that first encounter, I experimented in my kitchen, aiming for a version that’s both healthy and easy on the wallet.
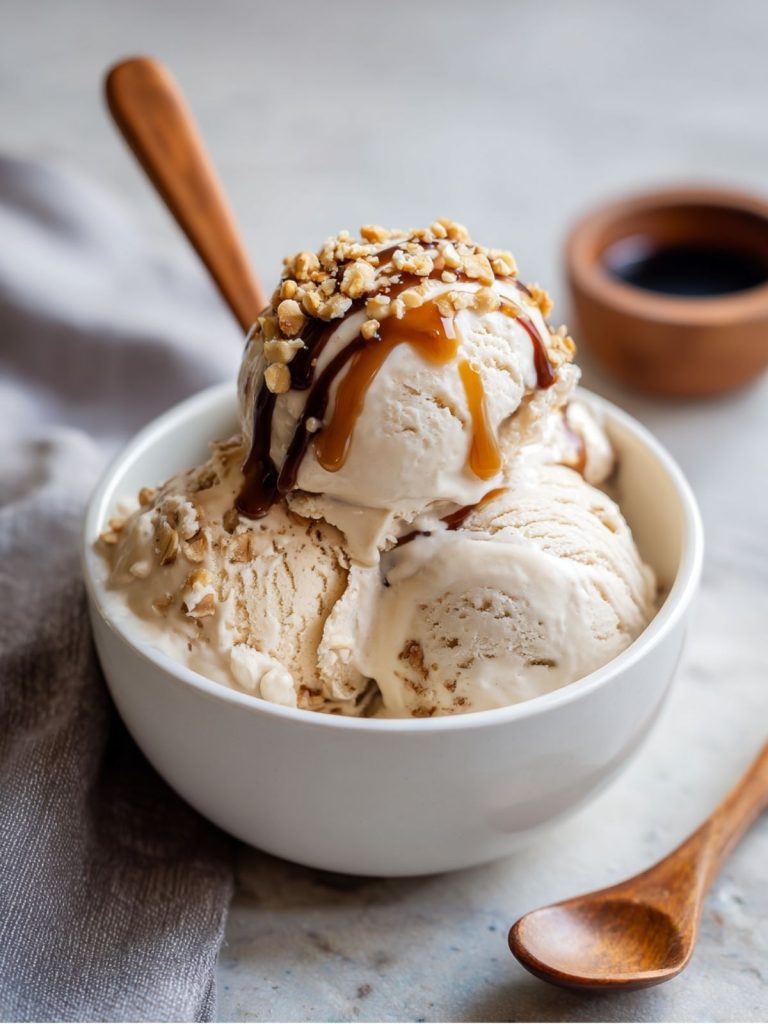
What makes this recipe truly special is its unique blend of flavors and textures, creating a luscious experience without the dairy. Not only does it cater to various dietary needs, but it’s also a delightful treat that saves you time and introduces a gourmet flair to homemade desserts. Whether you’re hosting or treating yourself, this recipe promises a memorable taste sensation.
Why You’ll Love Oat Milk Ice Cream?
When it comes to crafting the perfect oat milk ice cream, I’ve tapped into some expert techniques and insights to ensure maximum enjoyment for everyone, regardless of their experience level in the kitchen. Here’s why it stands out:
- Simple Ingredients: Relying on wholesome, everyday ingredients makes this recipe accessible and authentic, emphasizing natural sweetness and creamy textures.
- Rich Flavor Profile: The caramel-like essence of oat milk pairs beautifully with vanilla or chocolate, delivering a depth of flavor that feels rich and indulgent.
- No-Churn Method: Embrace the ease of no ice cream machine required, making the process stress-free and approachable for anyone eager to try their hand at homemade desserts.
- Consistency Guaranteed: By following reliable preparation methods, this recipe ensures consistently smooth and delightful results every time, crafting a perfect scoop that’s both creamy and satisfying.
With its delectable taste and effortless preparation, oat milk ice cream offers a refreshing dessert experience that’s both exciting and wholesome.
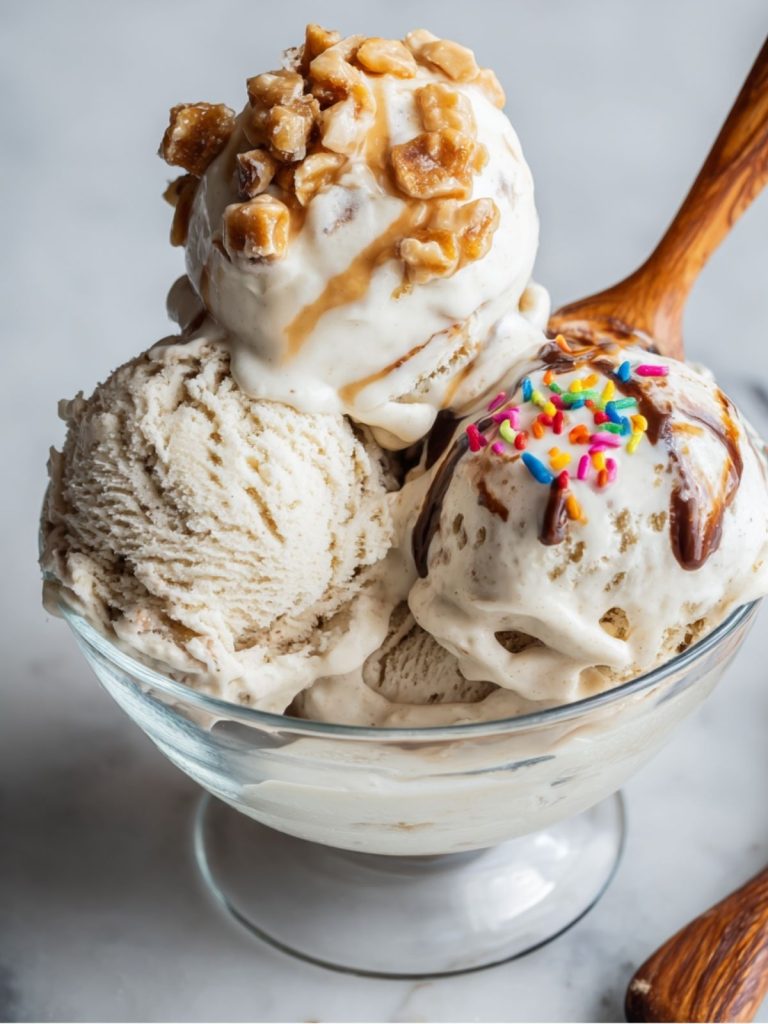
Ingredients Notes
- Oat Milk: I find barista-style oat milk to be unparalleled for its creaminess, perfect for creating a smooth texture in the ice cream.
- Agave Syrup: From my experience, using high-quality agave syrup enhances sweetness without overpowering, ensuring a balanced flavor profile.
- Vanilla Extract: Authentic vanilla extract is key. It adds depth and a comforting aroma, stimulating a nostalgic ice cream delight.
How to Make Oat Milk Ice Cream?
- Combine Ingredients: Start by gathering your 2 cups of barista-style oat milk, 1/3 cup of high-quality agave syrup, and 1 tsp of authentic vanilla extract. In a medium-sized saucepan, combine these ingredients. Stir gently to blend the syrup and vanilla extract uniformly with the oat milk.
- Heat the Mixture: Place the saucepan over medium heat. As you gently stir the mixture, notice how the warmth encourages the ingredients to marry. You’ll begin to detect the inviting aroma of vanilla blooming. Continue to heat until it reaches a gentle simmer, not a boil.
- Chill the Base: Remove the saucepan from the heat and allow the mixture to cool to room temperature. Pour it into a container and cover tightly. Refrigerate for at least 2 hours or until completely chilled. This step is crucial for setting the stage for a creamy ice cream base.
- Churn the Mixture: Once cooled, pour the mixture into your ice cream maker. Begin churning, according to the manufacturer’s instructions. As the base starts to freeze, it should develop into a rich, velvety texture. The sensation under the churn will transition from fluid to thickened cream.
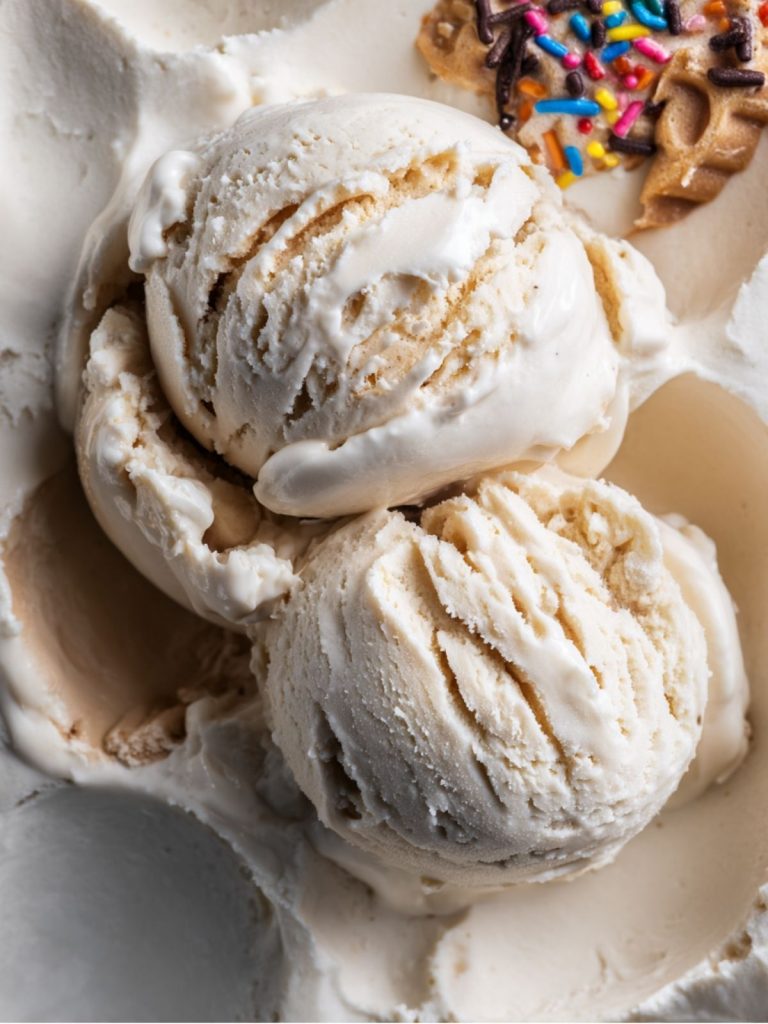
- Freeze and Serve: Transfer the ice cream to an airtight container and freeze for 2-4 hours for a firmer texture. When ready to serve, scoop and enjoy the creamy, slightly nutty delight with its perfectly sweet and aromatic profile.
Expert Cooking Tips
- Use a digital thermometer to monitor the temperature; aim for a gentle simmer at 170°F to avoid affecting creaminess.
- To prevent a skin forming on the mixture, press plastic wrap directly onto the surface while chilling.
- I always taste the base mixture before chilling, adjusting sweetness or vanilla to my preference.
- If the mixture is too icy, consider churning with a tablespoon of alcohol for softer texture.
- Ensure your ice cream maker bowl is completely frozen; this improves the churning process and final texture.
- I find using freshly ground vanilla beans enhances the flavor more than vanilla extract alone.
- Avoid overfilling the ice cream maker; allow room for the mixture to expand while freezing.
Storage Tips
- Store ice cream in a freezer-safe, airtight container to maintain freshness and prevent freezer odors.
- Cover the surface with wax paper before sealing to help prevent ice crystals from forming.
- For best texture, consume within 1-2 weeks to avoid freezer burn and flavor deterioration.
- Allow ice cream to soften in the refrigerator for 15 minutes before scooping to maintain creaminess.
- Use a clean, warmed scoop to serve; this prevents contamination and retains the ice cream’s texture.
- Avoid repeated temperature changes; keep the container sealed and in the coldest part of the freezer.
Variations and Substitutions
- Substitute maple syrup for agave syrup for a richer, deeper sweetness while maintaining a creamy texture.
- To make it gluten-free, ensure all ingredients, including oat milk, are certified gluten-free.
- Create a fruity version by folding in 1/2 cup of your favorite berry puree during the last churn minutes.
- For a nutty enhancement, add a handful of toasted almonds or hazelnuts to the ice cream towards the end of churning.
- Infuse chocolate by incorporating cocoa powder with the oat milk or add chocolate chips in the final churn minutes.
- To make it vegan, ensure all mix-ins and sweeteners are plant-based and free from animal products.
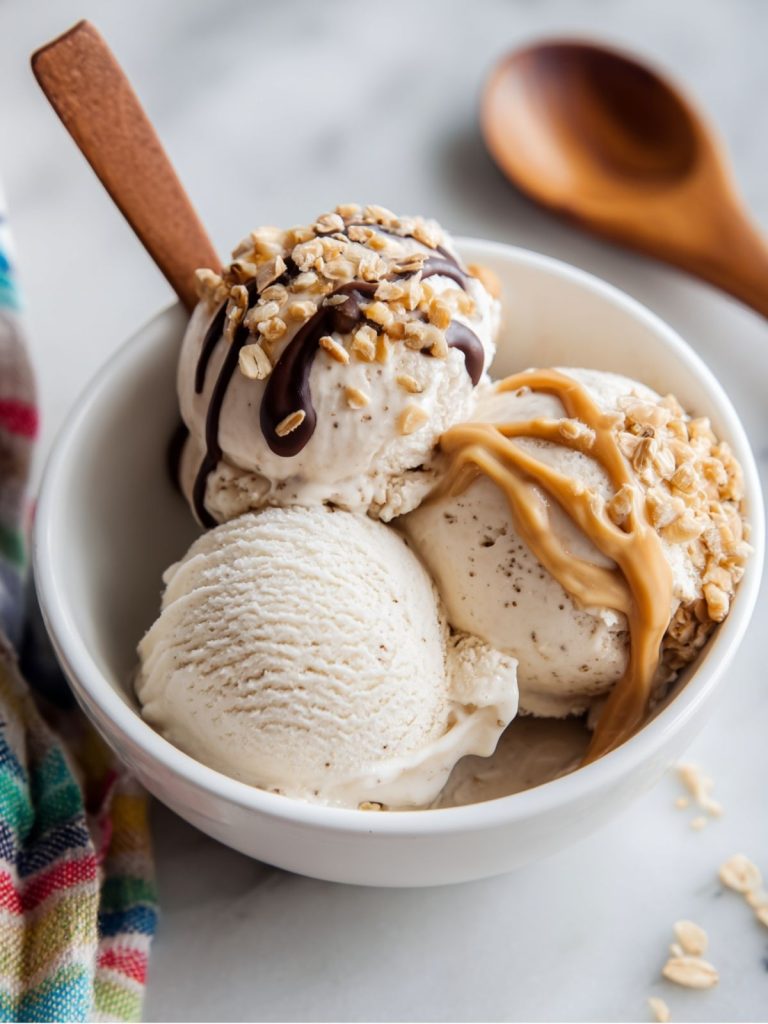
What to Serve with Oat Milk Ice Cream?
- Warm Berry Compote: The warmth complements the cold creaminess, enhancing the sweetness and adding a tangy contrast to your dessert.
- Chocolate-Dipped Strawberries: A luxurious pairing that adds texture, richness, and a juicy burst of flavor that complements creamy vanilla notes perfectly.
- Toasted Almond Biscotti: Adds a delightful crunch and nutty undertones, contrasting with the smooth, delicate texture of the ice cream.
- Lemon Shortbread Cookies: A crisp option with zesty citrus notes to balance the ice cream’s sweetness and enrich your palatal experience.
- Roasted Nut Mixture: Elevates with a savory crunch, enhancing the creamy texture while offering a delightful sophisticated flavor depth.
- Mixed Fresh Berries: Provides a fresh, juicy contrast, their natural acidity balancing out the sweetness of the ice cream perfectly.
- Coconut Whipped Cream: Offers a tropical flair with a fluffy texture that accentuates the ice cream’s creamy richness.
- Caramel Drizzle: Adds a deep, buttery sweetness, creating a luxurious finishing touch to the delicate oat milk base.
- Espresso Shots: For an affogato twist, providing a bold, bitter contrast that intensifies the ice cream’s flavor.
- Baked Pears: Soft, caramelized pears add warmth and a sweetness that matches harmoniously with vanilla undertones.
FAQs
Chill ingredients fully before churning for smoother creaminess.
Yes, adjust type and amount for personal sweetness preference.
Store in an airtight container to prevent freezer burns.
Insufficient churning time; ensure mixture is cold before starting.
Use barista style oat milk or add extra fats like coconut cream.
- 0 Facebook
- 9 Pinterest
- 0 Email
- Copy Link
- 9 shares
Creamy Oat Milk Ice Cream
Ingredients
Instructions
- Combine Ingredients
Start by gathering your 2 cups of barista-style oat milk, 1/3 cup of high-quality agave syrup, and 1 tsp of authentic vanilla extract. In a medium-sized saucepan, combine these ingredients. Stir gently to blend the syrup and vanilla extract uniformly with the oat milk.
- Heat the Mixture
Place the saucepan over medium heat. As you gently stir the mixture, notice how the warmth encourages the ingredients to marry. You’ll begin to detect the inviting aroma of vanilla blooming. Continue to heat until it reaches a gentle simmer, not a boil.
- Chill the Base
Remove the saucepan from the heat and allow the mixture to cool to room temperature. Pour it into a container and cover tightly. Refrigerate for at least 2 hours or until completely chilled. This step is crucial for setting the stage for a creamy ice cream base.
- Churn the Mixture
Once cooled, pour the mixture into your ice cream maker. Begin churning, according to the manufacturer’s instructions. As the base starts to freeze, it should develop into a rich, velvety texture. The sensation under the churn will transition from fluid to thickened cream.
- Freeze and Serve
Transfer the ice cream to an airtight container and freeze for 2-4 hours for a firmer texture. When ready to serve, scoop and enjoy the creamy, slightly nutty delight with its perfectly sweet and aromatic profile.