- 0 Facebook
- 1 Pinterest
- 0 Email
- Copy Link
- 1 share
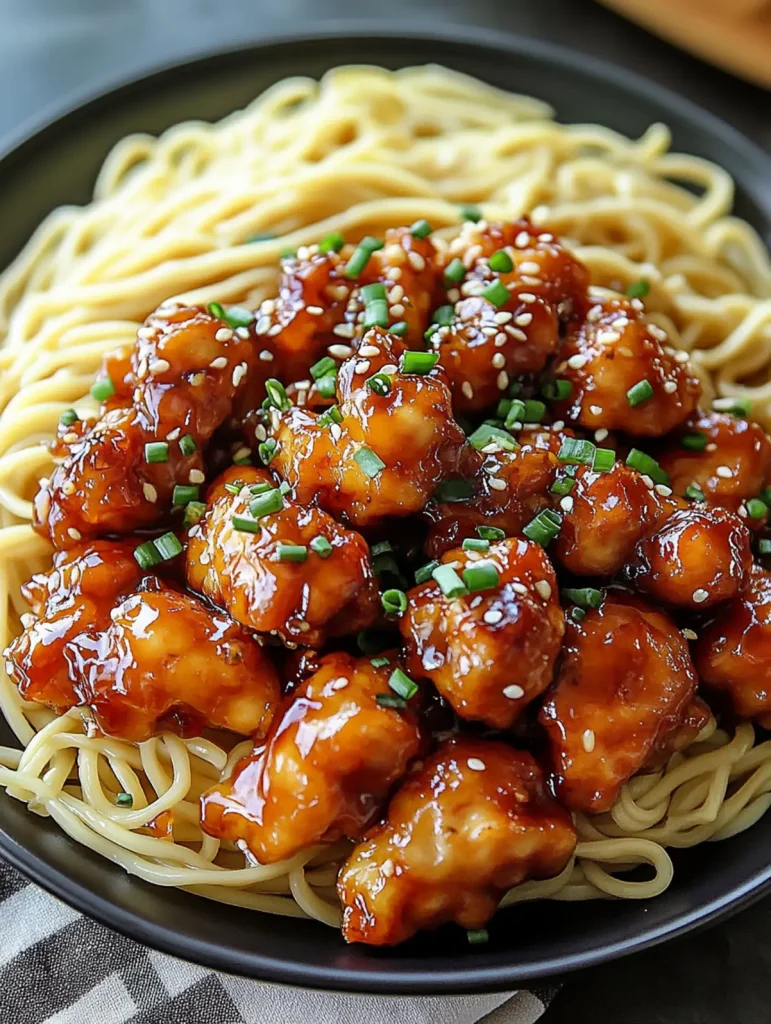
Crispy, golden chicken pieces glazed in a luscious honey garlic sauce create pure dinnertime magic when paired with buttery, garlic-infused noodles. This Ultimate Crispy Honey Garlic Chicken delivers that perfect textural contrast — crunchy exterior giving way to tender, juicy meat — while the sauce strikes an irresistible balance between sweet and savory. The garlic butter noodles soak up every bit of the aromatic sauce, making each twirl of the fork a flavor-packed experience. Finish with a sprinkle of bright green chives for a restaurant-quality dish that comes together right in your own kitchen.
Why You’ll Love This Recipe
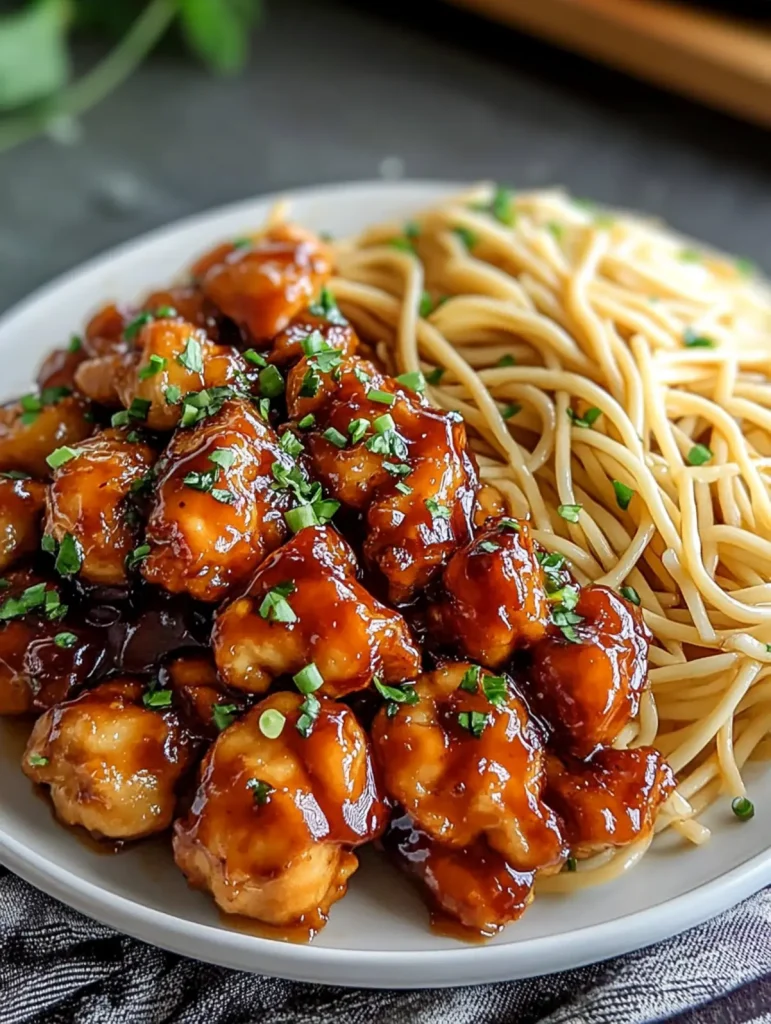
This Crispy Honey Garlic Chicken with Garlic Butter Noodles brings restaurant quality right to your dinner table with minimal effort and maximum flavor. Here’s why it’s worth adding to your regular rotation:
- Double Garlic Delight : The aromatic garlic appears in both the honey sauce and buttery noodles, creating layers of flavor that develop differently in each component.
- Textural Paradise : The contrast between the shatteringly crispy chicken exterior and the silky, twirl-worthy noodles creates that perfect bite that keeps everyone coming back for more.
- Foolproof Crunch : The cornstarch and flour coating creates a protective shell that keeps the chicken juicy inside while developing that golden-brown exterior that stands up to the sauce.
- Weeknight Wonder : Despite its impressive presentation, this entire dish comes together in under 45 minutes, making it perfect for both everyday dinners and special occasions.
- Flavor Balance Master Class : The honey provides sweetness, soy sauce adds umami depth, vinegar brings brightness, and butter lends richness – creating a perfectly balanced sauce that coats every bite.
Ingredient Breakdown with Tips
Each ingredient in this Crispy Honey Garlic Chicken with Garlic Butter Noodles plays a crucial role in developing the perfect balance of flavors and textures that make this dish so irresistible. Understanding how each component works ensures your success from the very first attempt.
- Chicken breast : Select plump, evenly sized breasts for consistent cooking. For extra tender results, consider briefly brining them in salt water for 15-30 minutes before cutting into bite-sized pieces.
- Salt and pepper : Don’t skip this basic seasoning step for the chicken. Freshly ground black pepper provides more pronounced flavor than pre-ground varieties.
- Eggs : These create the essential “glue” that helps the coating stick to the chicken. Room temperature eggs create a more even coating than cold ones straight from the refrigerator .
- Cornstarch : The secret to that crispy exterior that stays crunchy even when sauced. Look for non-GMO varieties for the purest flavor profile.
- All-purpose flour : Works with cornstarch to create the perfect coating texture. For a gluten-free option, rice flour makes an excellent substitution with similar crispiness.
- Oil for frying : Choose a neutral oil with a high smoke point like canola, vegetable, or peanut oil. The oil should be at 350-375°F (175-190°C) for optimal crispiness without greasiness.
- Honey : The star sweetener that gives this dish its name. Use pure, quality honey for the best flavor—darker varieties like buckwheat or wildflower add more complexity than standard clover honey.
- Garlic cloves : Fresh garlic provides irreplaceable aroma and depth. Mince it just before cooking to preserve its volatile compounds and maximum flavor potential.
- Soy sauce : Adds savory umami foundation to the sauce. Low-sodium varieties allow better control over the final salt level while maintaining depth of flavor.
- Rice vinegar or apple cider vinegar : Brightens the sauce with necessary acidity to balance the sweetness. Rice vinegar offers subtle sweetness, while apple cider vinegar provides a slightly fruitier tang.
- Red pepper flakes : These optional flakes add gentle heat that balances the sweetness of the honey. Adjust according to your preference—Korean gochugaru flakes make a wonderful alternative with more complex flavor.
- Cornstarch slurry : This thickening agent creates that perfect sauce consistency that clings to the chicken. Always mix with cold water before adding to prevent lumps.
- Spaghetti or noodles : Provides the perfect vehicle for soaking up the delicious sauce. Asian egg noodles or rice noodles make excellent alternatives to spaghetti for a more authentic twist.
- Butter : Creates the rich, glossy coating for the noodles. Use unsalted European-style butter with higher fat content for superior flavor and texture.
- Chives or green onions/parsley : These fresh herbs add a pop of color and bright flavor that cuts through the richness. Always add just before serving to maintain their vibrant appearance.
How to Make The Ultimate Crispy Honey Garlic Chicken with Garlic Butter Noodles
- Prepare the chicken coating. Season chicken pieces with salt and pepper, then dredge each piece first in beaten eggs, then in a mixture of cornstarch and flour until evenly coated.
- Fry until golden. Heat oil in a large pan over medium-high heat and fry the coated chicken in batches for 3-4 minutes per side until crispy and golden brown. I always leave enough space between pieces to ensure they crisp up rather than steam.
- Make the honey garlic sauce. In a small bowl, whisk together honey, minced garlic, soy sauce, vinegar, and red pepper flakes (if using). In another small bowl, prepare the cornstarch slurry by mixing cornstarch with water until smooth.
- Cook the noodles. Bring a large pot of salted water to a boil and cook the noodles according to package instructions until al dente. Drain and set aside.
- Glaze the chicken. Pour the honey garlic sauce into a clean pan and bring to a simmer over medium heat. Add the cornstarch slurry, stirring constantly until the sauce thickens enough to coat the back of a spoon – this should take about 1-2 minutes.
- Prepare the garlic butter noodles. In a separate pan, melt butter over medium heat and sauté minced garlic for 30 seconds until fragrant but not browned. Add the cooked noodles and toss until evenly coated with the garlic butter mixture.
- Combine and serve. Add the crispy chicken to the thickened sauce and gently toss until each piece is generously coated. Serve the glazed chicken over the garlic butter noodles and garnish with freshly chopped chives or green onions.
Remember to work quickly once the chicken is fried – this ensures it stays crispy even after being coated in the delicious honey garlic sauce!
Make Ahead Options
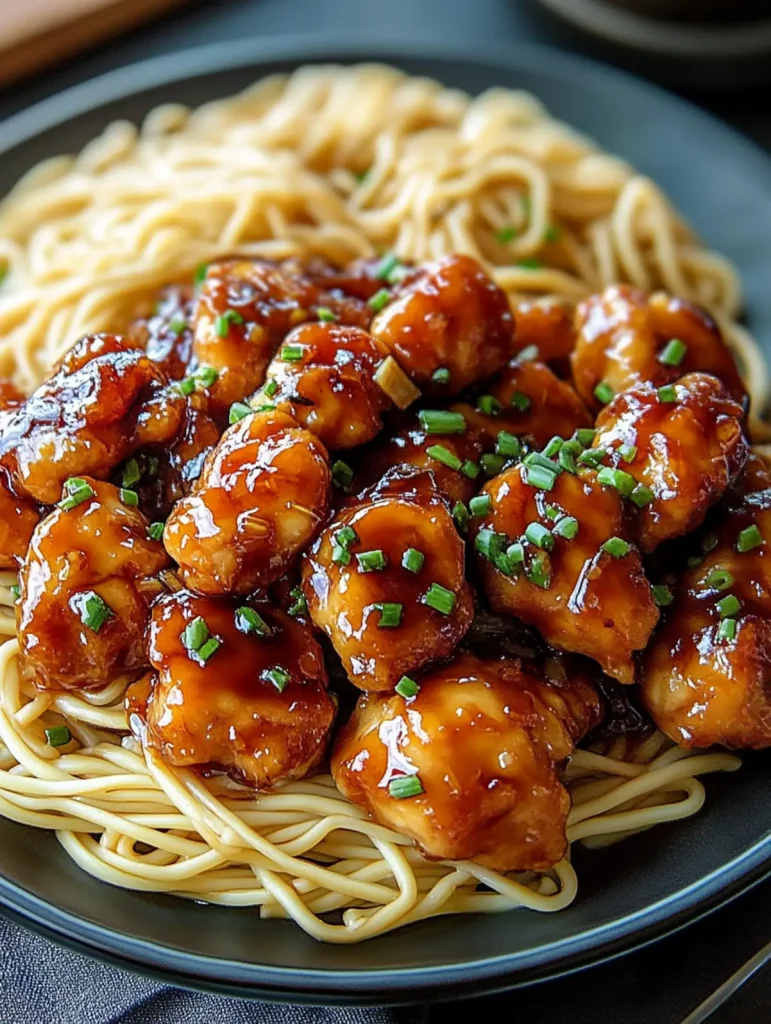
This Crispy Honey Garlic Chicken with Garlic Butter Noodles is a meal prep champion that saves precious time during busy weeknights! You can prepare the chicken coating mixture and cut the chicken into bite-sized pieces up to 24 hours in advance, storing them separately in the refrigerator (this actually helps the coating adhere better). The honey garlic sauce can be whisked together and refrigerated for up to 3 days ahead of time. When ready to serve, simply bring the sauce to room temperature, fry the pre-coated chicken pieces until golden, cook fresh noodles, and combine everything as directed. The crispy chicken maintains its perfect texture when coated just before serving, delivering restaurant-quality results with half the prep work!
Serving Suggestions
This Crispy Honey Garlic Chicken with Garlic Butter Noodles is a showstopper on its own, but the right presentation and pairings can elevate it to restaurant-quality status.
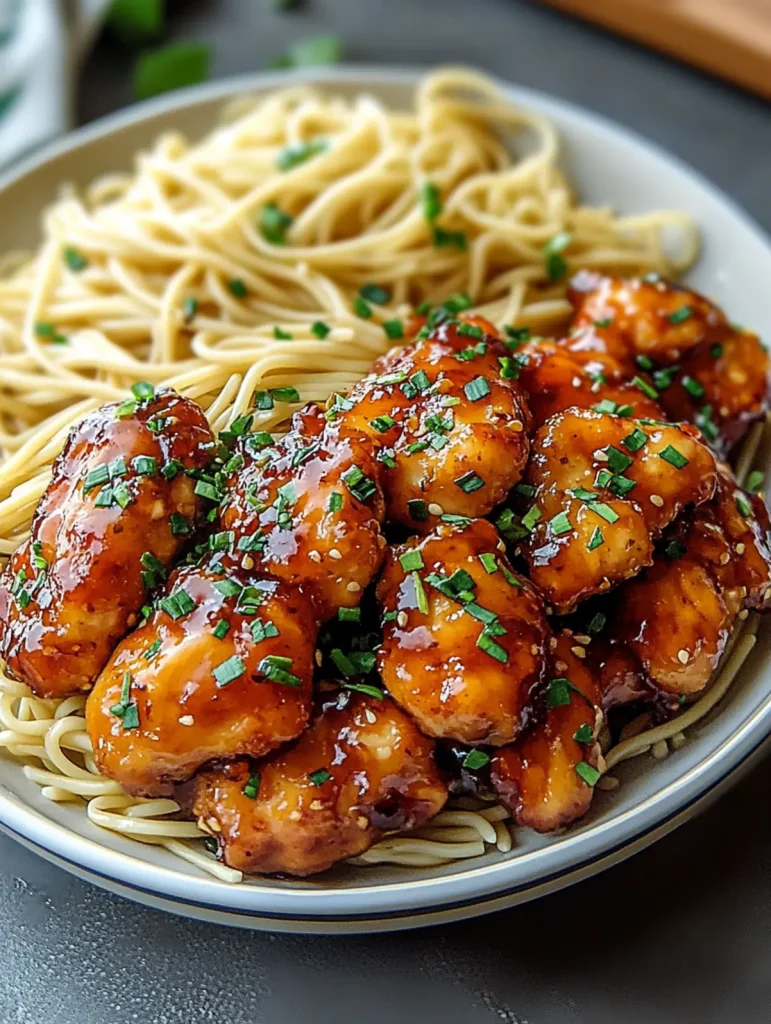
For the perfect presentation, serve the glazed chicken pieces atop a swirled bed of the garlic butter noodles in wide, shallow bowls. This allows the sauce to pool slightly around the edges while keeping the chicken prominently displayed. Finish with a generous sprinkle of freshly chopped green onions or chives for color contrast and a final aromatic touch.
Balance this rich dish with simple vegetable sides that provide freshness and crunch. I love serving it with quick-pickled cucumbers or a simple Asian-inspired slaw with rice vinegar dressing. The acidity cuts through the sweet honey garlic sauce beautifully. For a complete meal, steamed broccoli or bok choy makes an excellent accompaniment, catching any extra sauce in their florets.
For beverages, this dish pairs wonderfully with slightly sweet white wines like Riesling or Gewürztraminer that complement the honey in the sauce. For non-alcoholic options, try a sparkling water with a squeeze of lime or a jasmine green tea served cold.
This Crispy Honey Garlic Chicken makes an impressive centerpiece for dinner parties, but it’s equally satisfying as a cozy weekend dinner when you want something special that doesn’t require hours in the kitchen. The balance of sweet, savory, and garlicky flavors with multiple textures makes this a meal worth sharing.
Storage & Freezing
This Crispy Honey Garlic Chicken with Garlic Butter Noodles can be stored in the refrigerator , but for best results, keep the components separate. Store the chicken and noodles in different airtight containers in the refrigerator for up to 3 days. The crispy coating will naturally soften as it sits in the refrigerator , but proper reheating can help restore some of its texture.
For freezing, this dish requires special handling. The glazed chicken can be frozen for up to 2 months in a freezer-safe container, but be aware the texture will change somewhat upon thawing. I recommend freezing only the chicken pieces before adding the sauce if possible – this preserves more of the original texture. The garlic butter noodles don’t freeze well and are best made fresh, as freezing can make them mushy.
To reheat, the oven method works best for maintaining crispiness. Place refrigerated chicken on a baking sheet and warm in a 350°F (175°C) oven for 10-15 minutes until heated through. For frozen chicken, thaw overnight in the refrigerator first. The microwave works in a pinch, but use 50% power in short intervals to prevent rubbery chicken. When reheating the noodles, add a splash of water and a small pat of butter in a skillet over medium heat to revive their silky texture and prevent them from drying out.
Variations & Substitutions
Making this recipe your own is part of the fun of home cooking! Here are some delicious ways to customize this dish based on what you have on hand or what you’re craving:
- Protein swap: Not a chicken fan? Try this with cubed firm tofu (press it first!), large shrimp, or even thinly sliced pork for equally delicious results. Just adjust cooking times accordingly – shrimp only needs about 2 minutes per side.
- Gluten-free option: I’ve made this completely gluten-free by substituting rice flour for all-purpose flour and using tamari instead of soy sauce. Rice noodles or gluten-free spaghetti work perfectly for the noodle component.
- Spice it up: For heat lovers, add a tablespoon of gochujang or sriracha to the honey garlic sauce, or double the red pepper flakes. The sweet-spicy combination is absolutely addictive!
- Veggie boost: Toss in steamed broccoli florets, snow peas, or julienned bell peppers when coating the chicken with sauce. This adds color, nutrition, and texture while making it a complete one-dish meal.
- Noodle alternatives: While spaghetti works great, try this with ramen noodles, udon, or even rice for a different textural experience. When I’m watching carbs, I sometimes serve the chicken over a bed of stir-fried cabbage or zucchini noodles.
- Make it lighter: Reduce the oil by air-frying or oven -baking the coated chicken at 400°F for 15-18 minutes. You’ll still get a nice crunch without deep-frying, though the texture will be slightly different.
Expert Tips
After years of perfecting this Crispy Honey Garlic Chicken with Garlic Butter Noodles, I’ve discovered a few game-changing tricks:
- Double-dredge for maximum crunch: After the first coating, let the chicken rest for 2 minutes, then dip in egg and cornstarch mixture again—this creates that restaurant-quality crispy shell that withstands the sauce.
- Cornstarch is king: The 50/50 cornstarch-flour ratio is crucial—cornstarch creates that signature crackly exterior that stays crispy even when coated in the honey garlic sauce.
- Toast your garlic: When making the noodles, cook the minced garlic in butter just until golden but not brown (about 30 seconds)—this develops a nutty flavor without bitterness.
- Sauce secrets: Heat the honey mixture before adding the cornstarch slurry for a silky-smooth sauce. If it thickens too much, a tablespoon of water or chicken stock will bring it back to glossy perfection.
- Timing matters: I always prepare the noodles while the chicken rests after frying, then glaze the chicken right before serving—this prevents the coating from becoming soggy.
Recipe FAQs
Can I use chicken thighs instead of breast? Yes! Thighs stay juicier when fried.
How do I keep the chicken crispy with sauce? Coat chicken just before serving—never let it sit.
Is there a gluten-free option? Replace flour with rice flour for identical results.
Can I make this less sweet? Reduce honey to 1/4 cup for a more savory flavor.
What’s the best noodle substitute? I prefer rice noodles—they absorb flavors beautifully.
Can I make this ahead for meal prep? Keep chicken and sauce separate until ready to eat.
- 0 Facebook
- 1 Pinterest
- 0 Email
- Copy Link
- 1 share
The Ultimate Crispy Honey Garlic Chicken with Garlic Butter Noodles
Ingredients
Instructions
- Prepare the chicken coating
Season chicken pieces with salt and pepper, then dredge each piece first in beaten eggs, then in a mixture of cornstarch and flour until evenly coated.
- Fry until golden
Heat oil in a large pan over medium-high heat and fry the coated chicken in batches for 3-4 minutes per side until crispy and golden brown.
- Make the honey garlic sauce
In a small bowl, whisk together honey, minced garlic, soy sauce, vinegar, and red pepper flakes (if using). In another small bowl, prepare the cornstarch slurry by mixing cornstarch with water until smooth.
- Cook the noodles
Bring a large pot of salted water to a boil and cook the noodles according to package instructions until al dente. Drain and set aside.
- Glaze the chicken
Pour the honey garlic sauce into a clean pan and bring to a simmer over medium heat. Add the cornstarch slurry, stirring constantly until the sauce thickens enough to coat the back of a spoon.
- Prepare the garlic butter noodles
In a separate pan, melt butter over medium heat and sauté minced garlic for 30 seconds until fragrant but not browned. Add the cooked noodles and toss until evenly coated.
- Combine and serve
Add the crispy chicken to the thickened sauce and gently toss until each piece is generously coated. Serve the glazed chicken over the garlic butter noodles and garnish with freshly chopped chives or green onions.
Notes
Double-dredge for maximum crunch: After the first coating, let the chicken rest for 2 minutes, then dip in egg and cornstarch mixture again.
Cornstarch is king: The 50/50 cornstarch-flour ratio is crucial—cornstarch creates that signature crackly exterior.
Toast your garlic: Cook the minced garlic in butter just until golden but not brown.
Sauce secrets: Heat the honey mixture before adding the cornstarch slurry for a silky-smooth sauce.
Timing matters: Prepare the noodles while the chicken rests after frying, then glaze the chicken right before serving.
Nutrition
| Serving Size | 1 plate |
|---|---|
| Calories | 600 calories |
| Sugar Content | 15g |
| Sodium Content | 800mg |
| Fat Content | 25g |
| Saturated Fat Content | 10g |
| Unsaturated Fat Content | 10g |
| Trans Fat Content | 0g |
| Carbohydrate Content | 60g |
| Fiber Content | 3g |
| Protein Content | 30g |
| Cholesterol Content | 200mg |