- 0 Facebook
- 0 Pinterest
- 0 Email
- Copy Link
- 0 shares
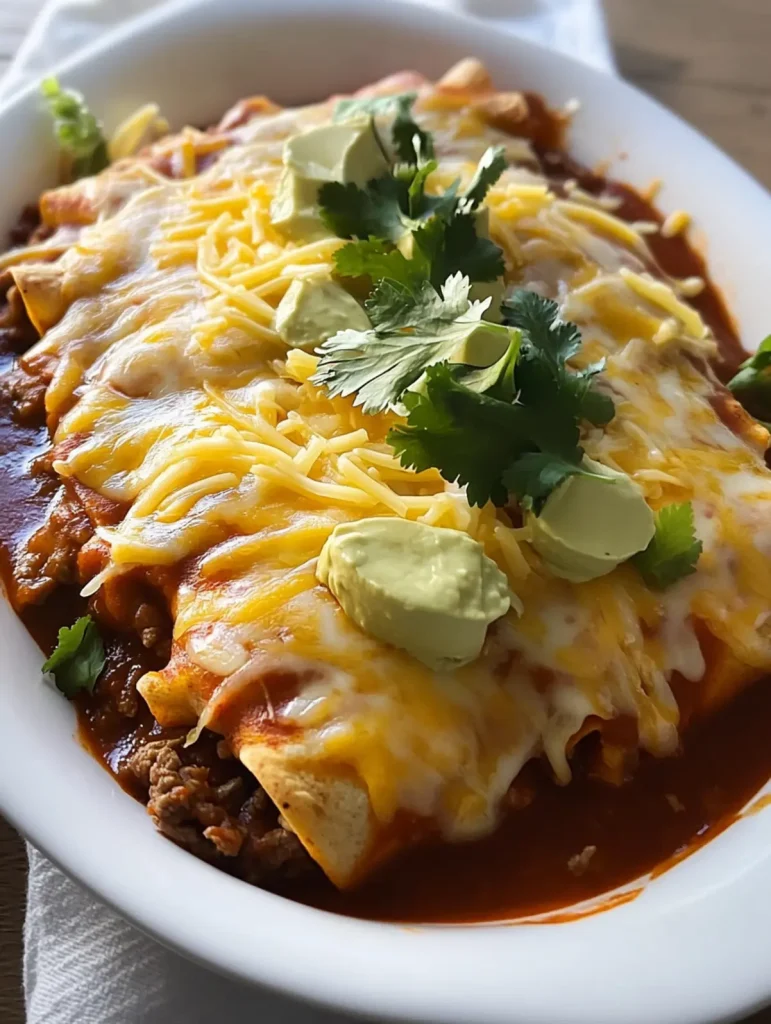
These red chile beef enchiladas transform simple ingredients into something truly extraordinary. Tender shredded beef mingles with sautéed onions and melty cheese, all tucked inside corn tortillas and bathed in rich, slightly spicy Hatch red chile sauce. The contrast between the hearty, sauce-soaked enchiladas and fresh, crisp toppings creates a perfect balance of textures and flavors. Finished with a golden, bubbling cheese crust, these enchiladas bring restaurant-quality Mexican comfort food straight to the dinner table—pair with a side of fluffy Spanish rice for a complete meal worth savoring.
Why It Belongs in Your Recipe Box
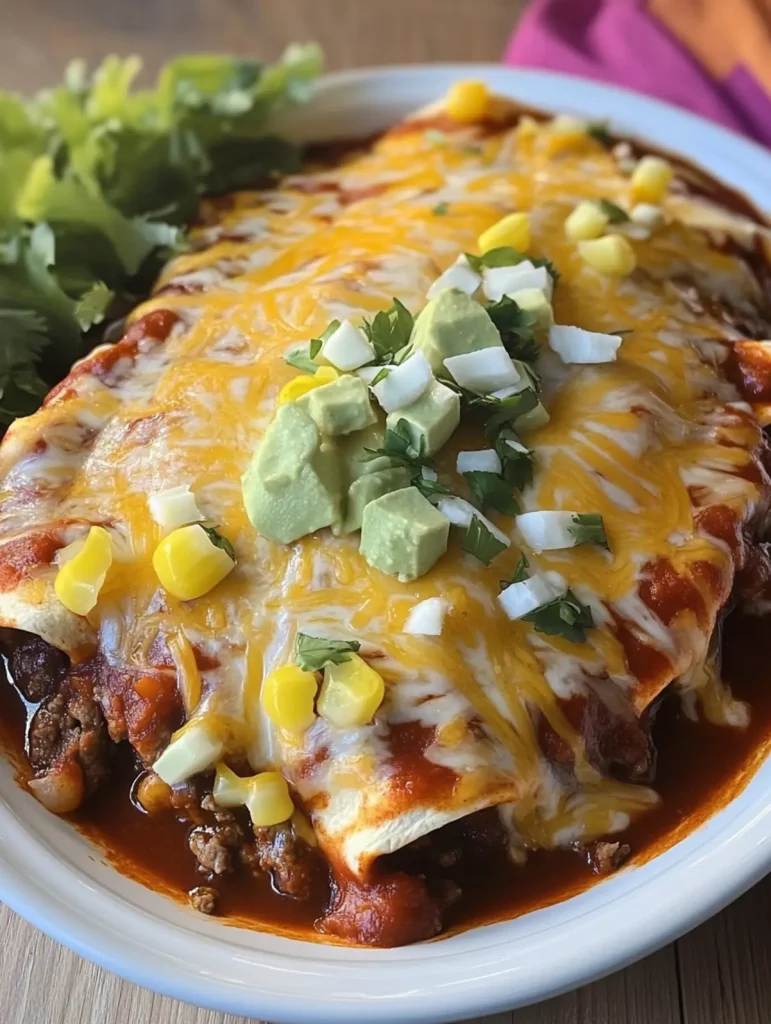
These Cozy Homemade Red Chile Beef Enchiladas deliver authentic Mexican comfort food with surprising ease. Here’s why they deserve a permanent spot in your recipe collection:
- Restaurant-Quality Results : The combination of tender shredded beef and authentic Hatch red chile sauce creates depth of flavor that rivals your favorite Mexican restaurant without the hefty price tag.
- Weeknight Wonder : Ready in just 45 minutes from prep to table, these enchiladas fill your home with mouthwatering aromas while requiring minimal hands-on cooking time.
- Meal Prep Champion : The filled enchiladas can be assembled a day ahead and refrigerated, making them perfect for busy households or stress-free entertaining on demand.
- Texture Perfection : The contrast between the sauce-soaked tortillas, melty cheese, and fresh crisp toppings creates a satisfying interplay that keeps every bite interesting and crave-worthy.
- Customization Friendly : Add roasted vegetables, switch to chicken, or adjust the spice level by choosing mild or hot enchilada sauce–the foundation recipe adapts beautifully to different dietary preferences.
- Freezer-Friendly Formula : These enchiladas freeze beautifully for up to three months, creating a ready-to-bake dinner solution for those evenings when cooking from scratch isn’t possible.
Ingredient Notes
Every component in these Red Chile Beef Enchiladas contributes to creating that perfect balance of authentic flavors, textures, and aromas. Quality ingredients make all the difference in transforming this simple dish into something truly memorable.
- Shredded roast beef : The star protein that provides rich, savory depth. Leftover pot roast works beautifully, or save time with store-bought rotisserie beef from the deli section.
- Butter : Creates a flavorful base for sautéing onions, adding richness that vegetable oil simply can’t match. Use unsalted butter to better control the overall salt level in the dish.
- Diced onion : Provides essential aromatic foundation and subtle sweetness. Yellow onions work best as they become perfectly tender and slightly caramelized when sautéed.
- Mexican Cheese Blend : This pre-shredded mix typically contains monterey jack, cheddar, queso quesadilla, and asadero cheeses that melt beautifully. For best results, look for blocks you can shred yourself—they contain fewer anti-caking agents and melt more smoothly.
- Hatch Red Chile Enchilada Sauce : The authentic heart of these enchiladas, offering distinctive earthy flavor with medium heat. True Hatch chiles from New Mexico provide the optimal balance of flavor and spice.
- Corn Tortillas : Traditional choice that withstands the sauce better than flour alternatives. Warming them briefly in a dry skillet makes them more pliable for rolling without cracking.
- Shredded lettuce : Adds fresh crispness that balances the rich, warm enchiladas. Iceberg or romaine work best as they maintain their texture against the warm dish.
- Chopped tomatoes : Provides bright acidity and color contrast. Roma tomatoes are ideal as they’re less watery and hold their shape when chopped.
- Cilantro leaves : Delivers bright, citrusy notes that cut through the richness. If serving to guests, consider offering this on the side as some people experience cilantro as soapy-tasting due to genetics.
- Sliced black olives : Contributes subtle brininess and Mediterranean depth. Pre-sliced canned olives work perfectly, just drain and rinse lightly before using.
- Sour cream : Creates a cooling counterpoint to the mild heat of the chile sauce. Full-fat version offers the best flavor and texture, but Greek yogurt makes an excellent tangy substitute.
Let’s Cook It
- Preheat your oven to 375°F and lightly coat a 9×13-inch baking dish with cooking spray or a thin layer of enchilada sauce to prevent sticking.
- Melt butter in a large skillet over medium heat. Add the diced onion and sauté for 3-4 minutes until softened and translucent but not browned.
- Combine the shredded roast beef, sautéed onions, and 2 cups of the Mexican cheese blend in a large mixing bowl. I find gently tossing with a fork helps distribute everything evenly without compacting the mixture.
- Warm the corn tortillas to make them pliable by briefly heating each one in a dry skillet for about 10 seconds per side, or wrap the stack in damp paper towels and microwave for 30-45 seconds.
- Pour about ¼ cup of the enchilada sauce into the bottom of your prepared baking dish . Then assemble each enchilada by placing about ⅓ cup of the beef-cheese mixture down the center of a tortilla, rolling it tightly, and placing it seam-side down in the dish.
- Once all enchiladas are arranged in the dish, pour the remaining enchilada sauce evenly over the top, making sure to cover all exposed tortilla edges to prevent them from drying out during baking.
- Sprinkle the remaining 1 cup of cheese over the top and bake uncovered for 20-25 minutes, until the sauce is bubbling and the cheese is melted and beginning to brown at the edges.
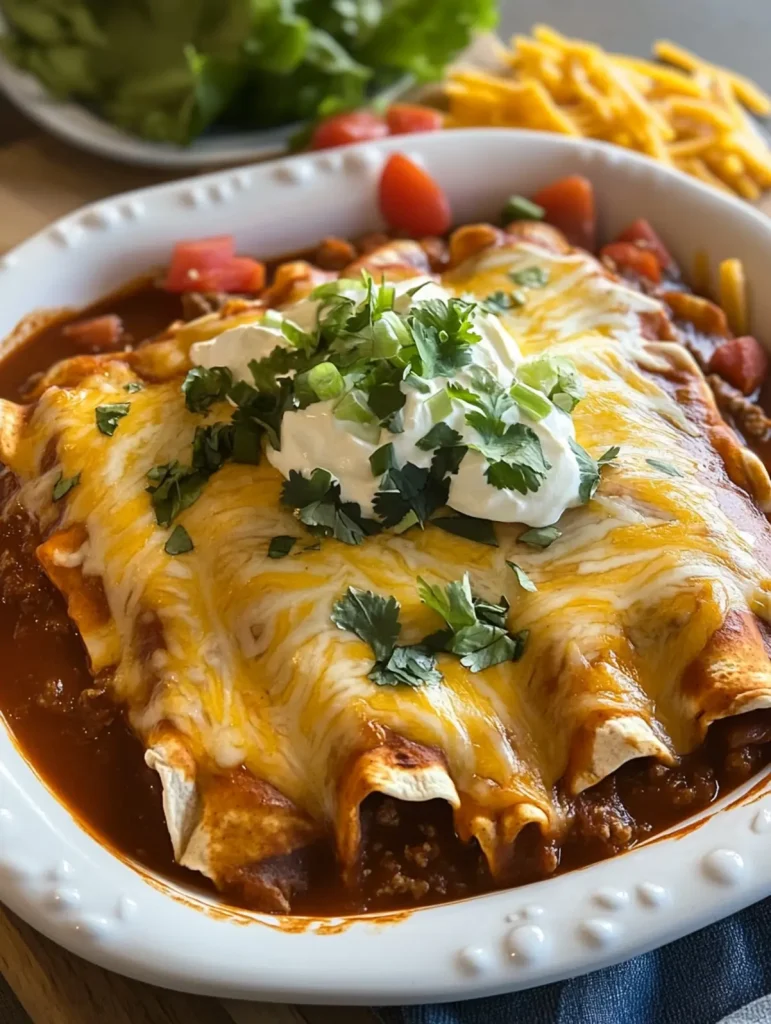
- Serve hot, garnished with shredded lettuce, chopped tomatoes, cilantro, black olives, and a dollop of sour cream. The contrast between the warm, saucy enchiladas and the cool, fresh toppings is what makes this dish truly special.
Variations & Substitutions
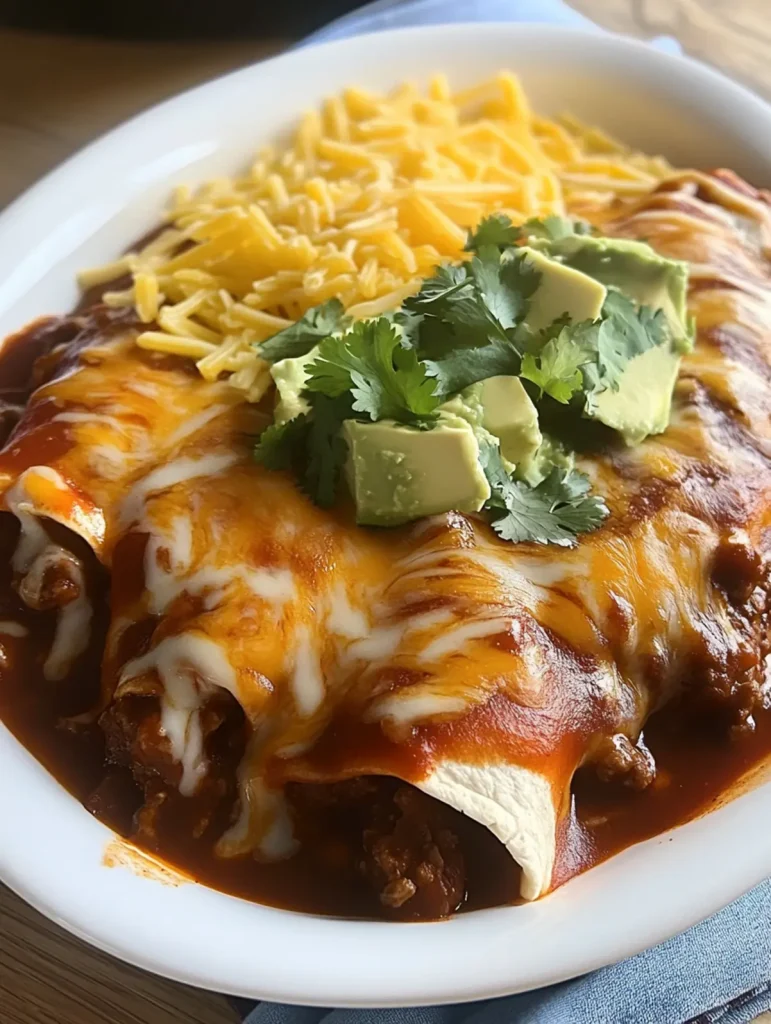
Don’t be afraid to adapt this recipe based on what you have on hand or to suit your family’s preferences. The beauty of enchiladas is their flexibility!
Protein options: While shredded beef creates a rich, hearty filling, you can easily substitute rotisserie chicken, leftover turkey, or even browned ground beef. For a vegetarian version, replace the meat with a mixture of black beans, corn, and sautéed bell peppers.
Make it spicier: I sometimes add a diced jalapeño or two to the onion sauté for an extra kick. You can also look for “hot” Hatch enchilada sauce or stir in 1-2 teaspoons of chipotle powder to the beef mixture.
Cheese variations: While the Mexican cheese blend offers convenience, try using all Monterey Jack for maximum meltiness or a combination of sharp cheddar and queso fresco for a more complex flavor profile.
Tortilla alternatives: Flour tortillas can replace corn if that’s your preference or what you have available. They create a softer enchilada with a different texture – just know they tend to absorb more sauce.
Sauce options: If Hatch red chile sauce isn’t available, regular red enchilada sauce works fine. For a green chile version, substitute green enchilada sauce and use chicken in place of beef for a delicious variation.
Dietary adjustments: For a gluten-free meal, double-check that your enchilada sauce is certified gluten-free (most are, but some contain wheat-based thickeners). For dairy limitations, dairy-free cheese alternatives will work, though they don’t melt quite as beautifully as traditional cheese.
Storage & Freezing
These Red Chile Beef Enchiladas store beautifully, making them perfect for meal prep or enjoying as leftovers. Store any garnishes separately from the enchiladas to maintain their freshness and texture.
For refrigeration, place cooled enchiladas in an airtight container and refrigerate for 3-4 days. The flavors often deepen overnight, making them even more delicious the next day. I’ve found that covering the container with foil before adding the lid helps prevent the sauce from drying out.
These enchiladas freeze exceptionally well for up to 2 months. For best results, freeze them before baking—assemble the dish completely (including sauce and cheese topping), then cover tightly with plastic wrap and foil. When ready to serve, thaw overnight in the refrigerator and bake as directed, adding 10-15 extra minutes if still cold from the refrigerator .
To reheat leftover baked enchiladas, cover with foil and warm in a 350°F oven for 15-20 minutes until heated through. The microwave works for individual portions, but the corn tortillas may become slightly soggy—sprinkling a little extra cheese on top before reheating helps revive their texture and flavor.
Serving Suggestions
These Red Chile Beef Enchiladas deserve to be the star of your table, with just the right accompaniments to create a complete and satisfying meal experience.
I love serving these enchiladas family-style right in the baking dish , allowing everyone to spoon their own portion and customize with the fresh toppings. Always arrange the shredded lettuce, chopped tomatoes, cilantro, black olives, and sour cream in small individual bowls around the main dish, creating an interactive dinner experience that guests appreciate.
For an authentic Mexican feast, pair these enchiladas with cilantro-lime rice or traditional Spanish rice to soak up the extra sauce. A simple side of slow-simmered pinto or black beans adds heartiness while complementing the rich Hatch chile flavor. For drinks, try serving with horchata for a family meal or ice-cold Mexican beer with lime wedges for casual entertaining—the slight bitterness perfectly balances the richness of the cheese and beef.
If you’re planning a special occasion, consider extending your spread with quick-pickled red onions for bright acidity, a bowl of guacamole, and warm tortilla chips. I’ve found that these Red Chile Beef Enchiladas are impressive enough for dinner parties but comforting enough for Sunday family dinners—versatility that makes them a true recipe box staple.
Tips for the Best Cozy Homemade Red Chile Beef Enchiladas Worth Savoring
These little tricks will help you elevate your Red Chile Beef Enchiladas from good to absolutely memorable:
- Perfect the tortilla prep : I’ve found that properly warming corn tortillas is crucial—too little heat makes them crack, too much makes them brittle. The damp paper towel microwave method for 30 seconds works consistently for me.
- Layer your sauce strategically : Start with a thin layer of enchilada sauce on the bottom of your baking dish before adding enchiladas. This prevents sticking and ensures every bite has that rich Hatch chile flavor.
- Cheese distribution matters : Reserve about ¼ cup of your cheese mixture to sprinkle inside the enchiladas that will go at the ends of your baking dish —these typically get less filling but deserve equal cheesy goodness!
- Rest before serving : Allow the baked enchiladas to rest 5 minutes before topping with fresh garnishes. This helps the sauce slightly thicken and the flavors to settle, preventing the “too hot to taste anything” syndrome.
- Prep toppings while baking : Chop your lettuce, tomatoes, and cilantro while the enchiladas bake so they’re perfectly fresh when served, creating that magical temperature and texture contrast that makes this dish special.
Make Ahead Options
These Red Chile Beef Enchiladas are a meal prep champion that saves precious time on busy weeknights! You can assemble the entire dish up to 24 hours in advance—simply fill and roll the tortillas, arrange them in your baking dish , and pour the enchilada sauce over top, but hold off on the final cheese layer. Cover tightly with plastic wrap and refrigerate overnight. The tortillas will actually absorb some of the sauce flavors, making them even more delicious. When ready to bake, remove from refrigerator 15 minutes before cooking, sprinkle with the remaining cheese, and bake as directed (adding an extra 5-10 minutes to account for the cold start temperature).
Recipe FAQs
Can I use chicken instead of roast beef? Yes! Shredded rotisserie chicken works perfectly.
How do I prevent corn tortillas from cracking? Warm them properly before rolling.
Is there a substitute for Hatch enchilada sauce? Any quality red enchilada sauce will work.
Can I make these enchiladas ahead of time? Assemble up to 24 hours before baking.
Are these enchiladas freezer-friendly? Yes, freeze unbaked for up to 2 months.
How spicy are these enchiladas? I find them mild-medium, depending on sauce brand.
- 0 Facebook
- 0 Pinterest
- 0 Email
- Copy Link
- 0 shares
Cozy Homemade Red Chile Beef Enchiladas Worth Savoring
Ingredients
Instructions
Preheat your oven to 375°F and lightly coat a 9×13-inch baking dish with cooking spray or a thin layer of enchilada sauce to prevent sticking.
Melt butter in a large skillet over medium heat. Add the diced onion and sauté for 3-4 minutes until softened and translucent but not browned.
Combine the shredded roast beef, sautéed onions, and 2 cups of the Mexican cheese blend in a large mixing bowl. I find gently tossing with a fork helps distribute everything evenly without compacting the mixture.
Warm the corn tortillas to make them pliable by briefly heating each one in a dry skillet for about 10 seconds per side, or wrap the stack in damp paper towels and microwave for 30-45 seconds.
Pour about ¼ cup of the enchilada sauce into the bottom of your prepared baking dish. Then assemble each enchilada by placing about ⅓ cup of the beef-cheese mixture down the center of a tortilla, rolling it tightly, and placing it seam-side down in the dish.
Once all enchiladas are arranged in the dish, pour the remaining enchilada sauce evenly over the top, making sure to cover all exposed tortilla edges to prevent them from drying out during baking.
Sprinkle the remaining 1 cup of cheese over the top and bake uncovered for 20-25 minutes, until the sauce is bubbling and the cheese is melted and beginning to brown at the edges.
Serve hot, garnished with shredded lettuce, chopped tomatoes, cilantro, black olives, and a dollop of sour cream. The contrast between the warm, saucy enchiladas and the cool, fresh toppings is what makes this dish truly special.
Notes
Perfect the tortilla prep : I’ve found that properly warming corn tortillas is crucial—too little heat makes them crack, too much makes them brittle. The damp paper towel microwave method for 30 seconds works consistently for me.
Layer your sauce strategically : Start with a thin layer of enchilada sauce on the bottom of your baking dish before adding enchiladas. This prevents sticking and ensures every bite has that rich Hatch chile flavor.
Cheese distribution matters : Reserve about ¼ cup of your cheese mixture to sprinkle inside the enchiladas that will go at the ends of your baking dish—these typically get less filling but deserve equal cheesy goodness!
Rest before serving : Allow the baked enchiladas to rest 5 minutes before topping with fresh garnishes. This helps the sauce slightly thicken and the flavors to settle, preventing the “too hot to taste anything” syndrome.
Prep toppings while baking : Chop your lettuce, tomatoes, and cilantro while the enchiladas bake so they’re perfectly fresh when served, creating that magical temperature and texture contrast that makes this dish special.
Nutrition
| Serving Size | 1 enchilada |
|---|---|
| Calories | 450 calories |
| Sugar Content | 3g |
| Sodium Content | 800mg |
| Fat Content | 25g |
| Saturated Fat Content | 12g |
| Unsaturated Fat Content | 10g |
| Trans Fat Content | 0g |
| Carbohydrate Content | 35g |
| Fiber Content | 3g |
| Protein Content | 25g |
| Cholesterol Content | 80mg |